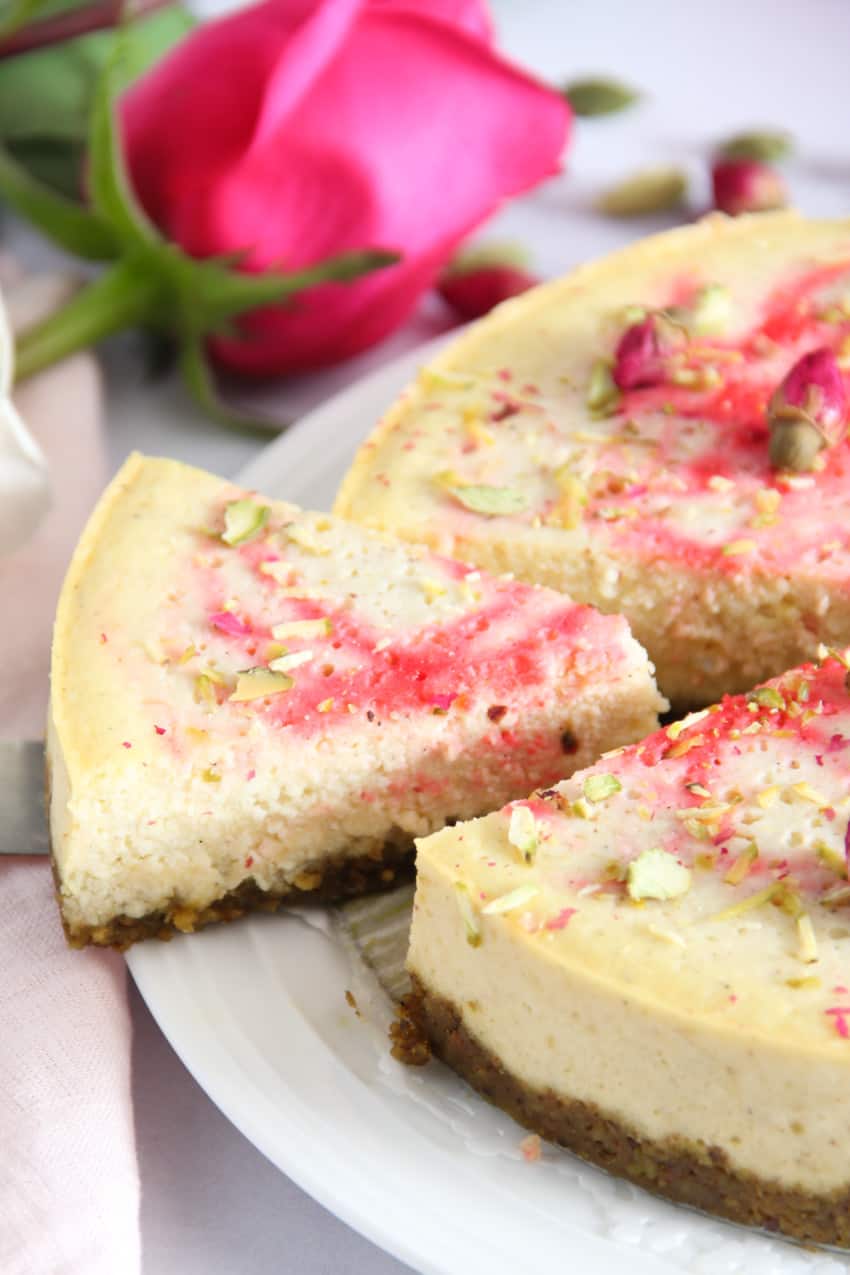
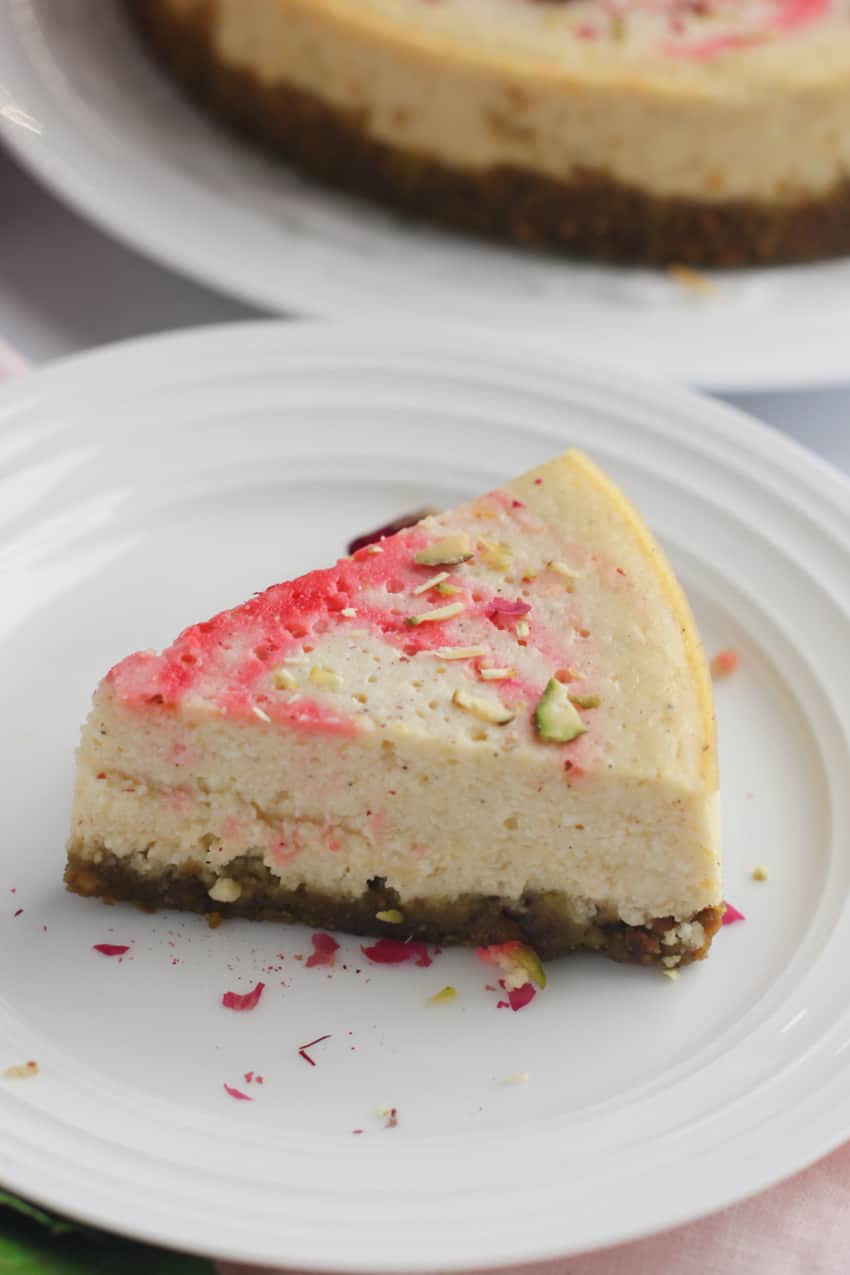
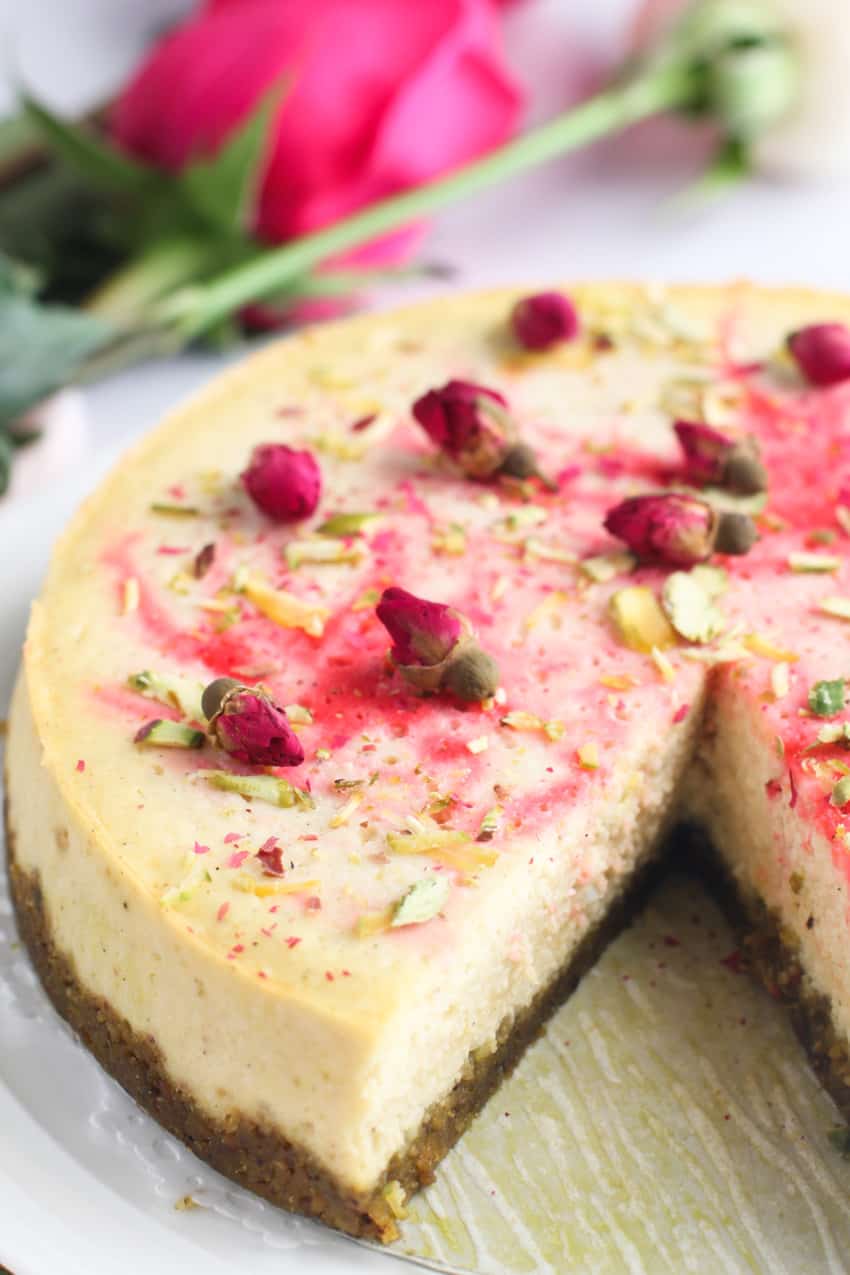
Lighter than the traditional cheesecake, this perfectly sweetened Ricotta Cheesecake is laced with delicate notes of rose, cardamom, and pistachios that come together effortlessly in the Instant Pot. The cake has a rich luxurious texture from ricotta cheese and the buttery pistachio crust will remind you of the nutty baklava. A must-try recipe that will win everyone's heart over.
Jump to:
Ricotta cheesecake is my go-to dessert whenever I have company. It's a no-fail recipe that everyone enjoys and the best part is that you can make it a few days ahead of time. I love the convenience of ricotta cheese to make easy homemade Indian desserts like the classic Kalakand and Thandai Kalakand.
Infused with rose essence, this milk cake recipe transports me back to my grandmother's rose garden where I enjoyed my favorite rose-flavored "Kharvas", "Junnu", or steamed cake. Her cake was made with fresh milk directly from the farm. My updated version is made with ricotta cheese and steamed to a lush and creamy consistency with light golden edges.
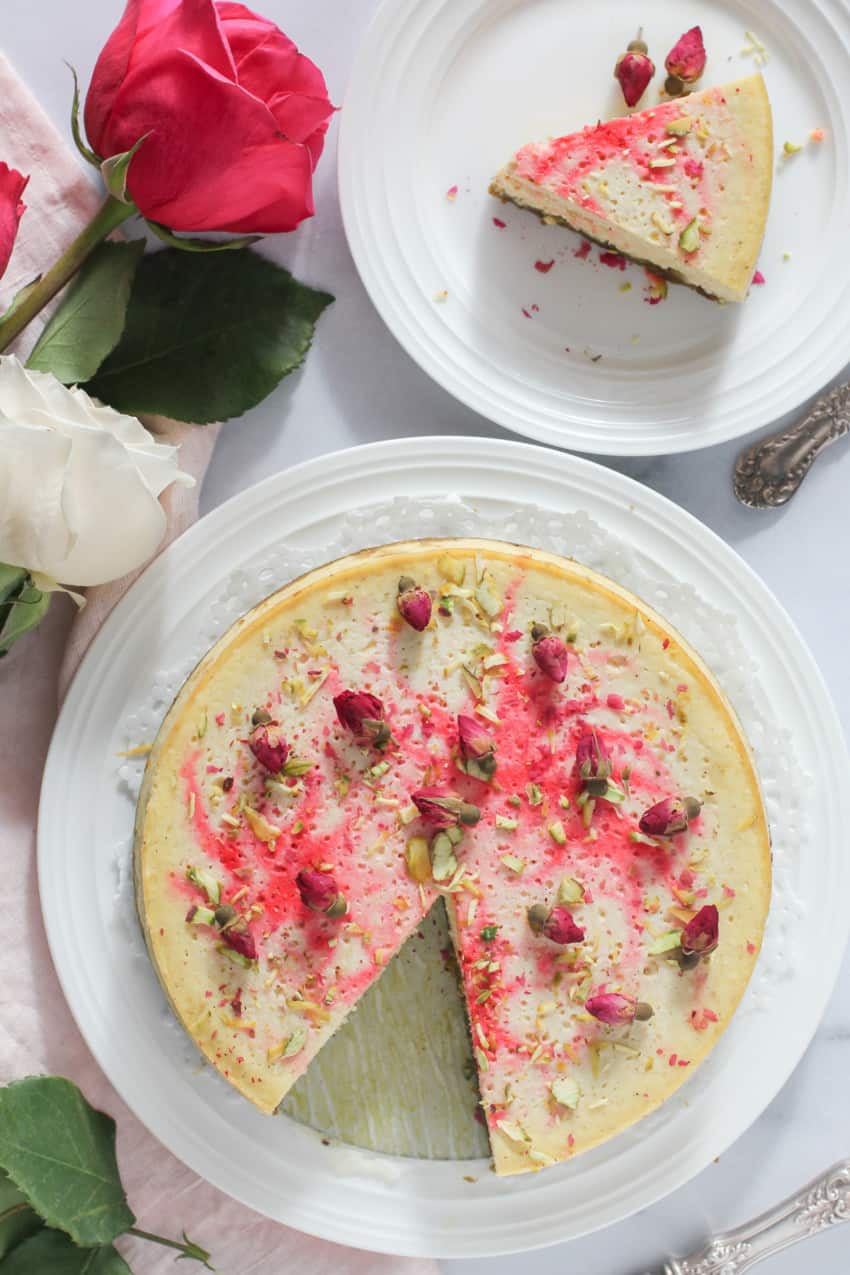
This recipe is a variation of my original Rose Milk Cake recipe from The Essential Indian Instant Pot Cookbook. The recipe from the book has become super popular and I love reading the rave reviews on how everyone loves the flavors.
A twist to the original recipe, this version has a rich buttery crust of ground unsalted pistachios that level up the flavors and textures. The crust takes 5 minutes to make and sets as you prepare the cake batter.
The nutty crust always makes me think of my favorite baklava with a more natural sweetness from the ground pistachios. So go ahead and make this ricotta cheesecake to celebrate Valentine's Day, birthday, or anniversary, or make it anytime you crave a heavenly dessert!
Ingredients
This recipe uses a few basic ingredients such as full-fat ricotta, pistachios, and sugar that are readily available. Cardamom powder is available in many grocery stores too. Rose Essence is a must-have ingredient for this cake and is available in Indian grocery stores or can be ordered online. I like the Viola brand rose essence that adds delicate floral flavors to Indian desserts such as the karanji and also sevai kheer.
The rose essence is more aromatic and natural tasting than the rose water that is more commonly available. Although in a pinch, a tablespoon of good quality rose water can be substituted instead of the rose essence.
How to Make Ricotta Cheesecake
Step 1: Prepare the cake pan and crust
- Line the bottom of a 7-inch cake pan with a removable bottom with parchment paper. Coat the sides of the pan and the parchment paper with cooking spray.
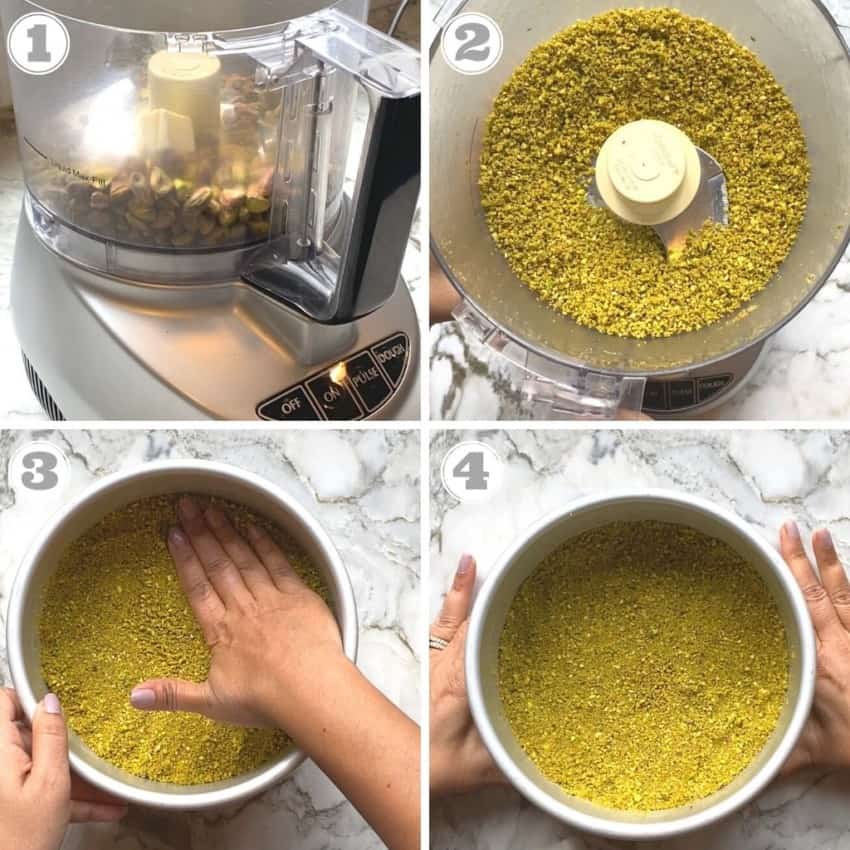
- Add the pistachios and ½ tablespoon of butter to a food processor. Pulse for 2 to 4 seconds, repeating until the pistachios are chopped finely with crumbly textures.
- Pour the pistachios into the prepared cake pan and spread it all around the bottom pressing it gently with the tip of your fingers to form an even layer of crust. Place the cake pan in the freezer while you prepare the remaining ingredients.
Step 2: Make the cake batter
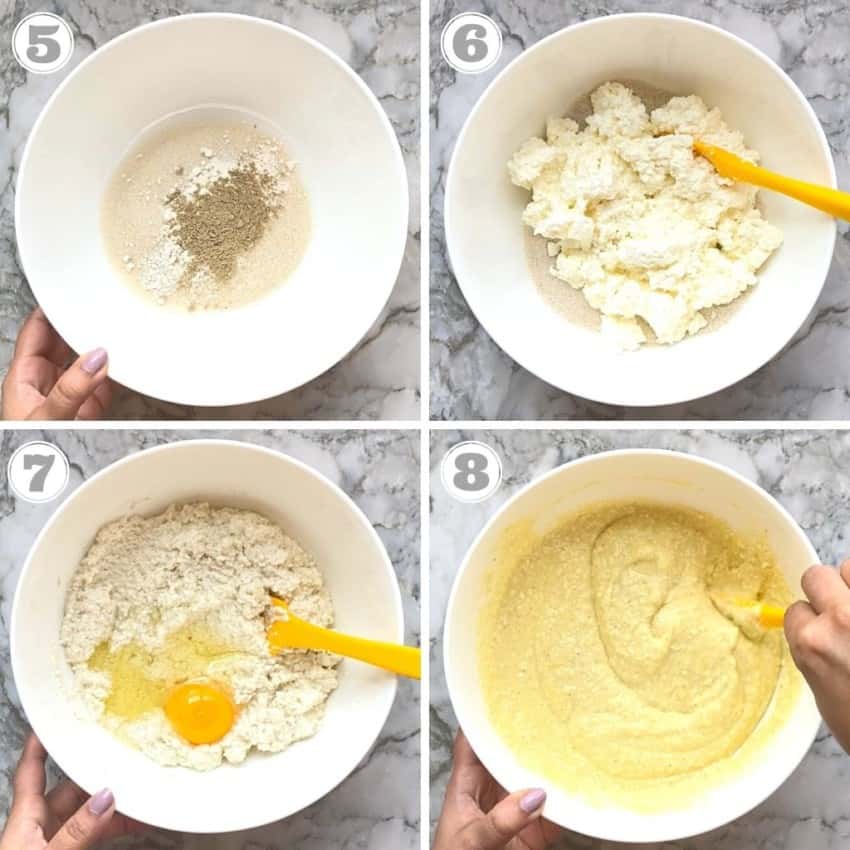
- In a large bowl, first mix all the dry ingredients - sugar, flour, and cardamom. Next, stir in the ricotta and rose essence until well combined.
- Add the eggs, one at a time, and stir after each addition until just combined.
Step 3: Cover the pan and pressure cook
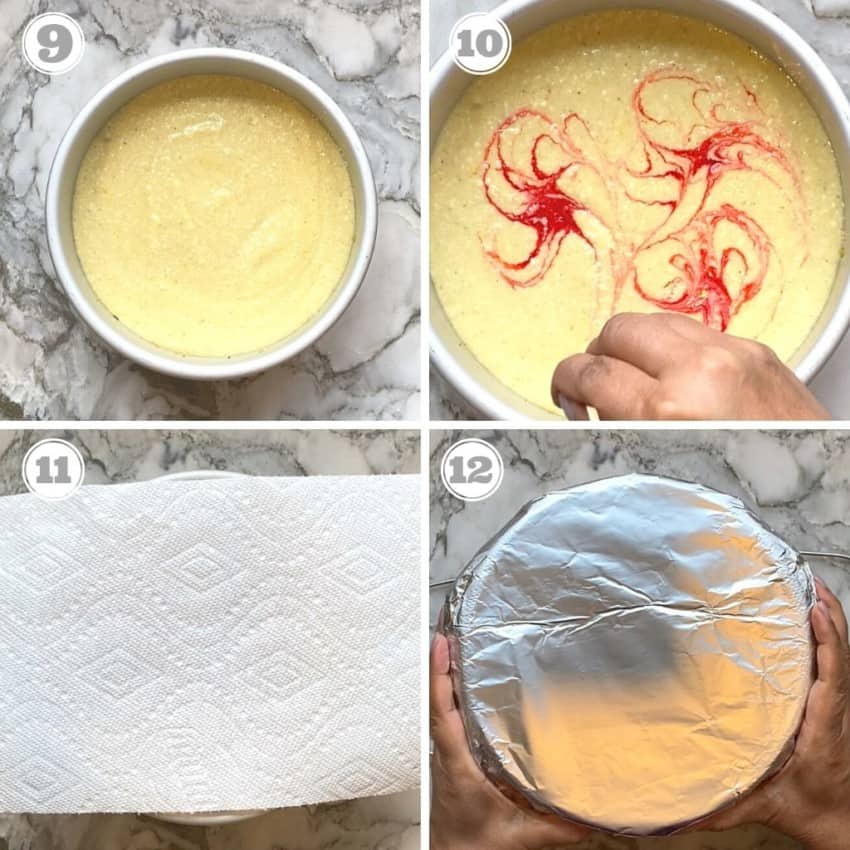
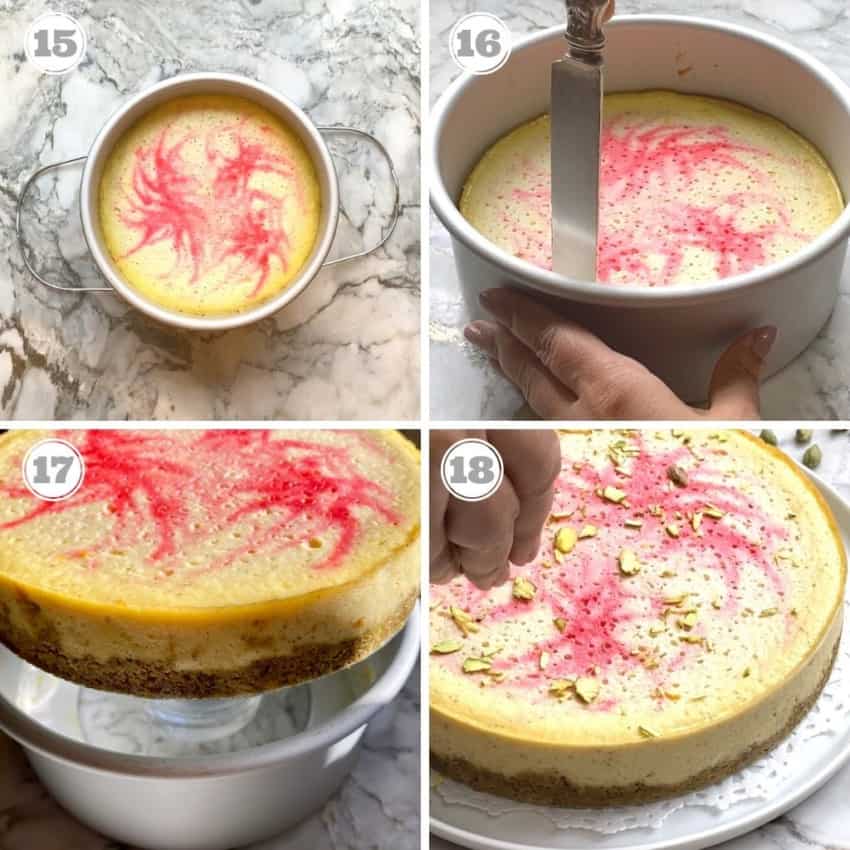
- Pour the batter into the prepared pan. Add the food coloring and gently swirl through the batter with a toothpick.
- Place the pan on the wire-metal steam rack. Cover the pan with a paper towel and place an 8-inch sheet of aluminum foil over the top, crimping down the foil around the sides of the pan to secure the paper towel in place.
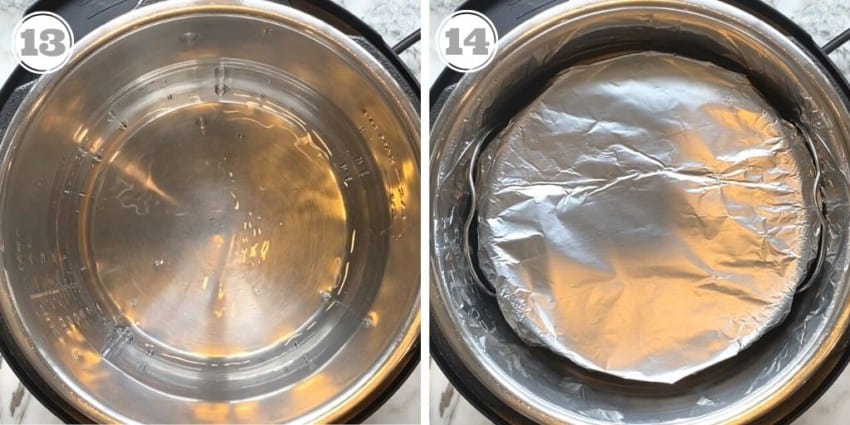
- Pour 1 cup water into the Instant Pot and carefully place the cake pan with the rack in the Instant Pot.
- Secure the lid and set the Pressure Release to Sealing. Select the Pressure Cook or Manual setting and set the cooking time for 40 minutes at high pressure. Let the pressure release naturally; this will take 10 to 15 minutes.
Step 4: Take the cake out and chill
- Open the pot and, wearing heat-resistant mitts, lift out the cake pan. Remove the foil and paper towel, then dab off any liquid that may have accumulated on top of the cake with another paper towel.
- Let the cake cool on the counter for about 1 hour (the cake will continue to cook as it cools).
- To remove the cake from the pan, carefully run a butter knife around the inside edge of the pan and down the sides. If your pan is a push pan type, place it on an empty glass cup and gently push down on the top edges of the pan. This will help the cake to release from the pan sides. If using a springform pan, unclasp the collar on the pan and lift it off. Transfer the cake to a platter. Garnish with sliced pistachios (optional).
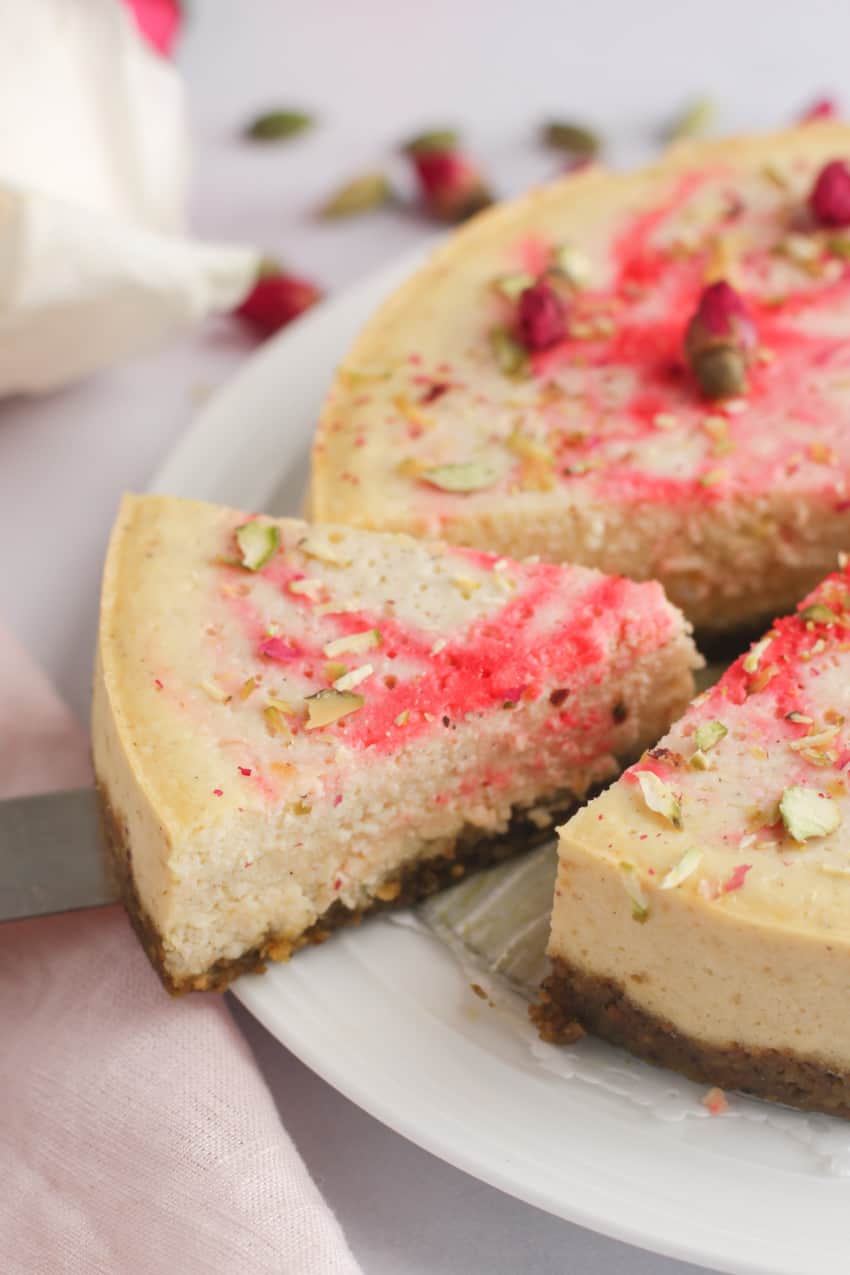
- Refrigerate for at least 4 hours, cut into wedges, and serve chilled.
Frequently asked questions
Ricotta Cheesecake stays well refrigerated for up to 10 days in an airtight container. You can also freeze it for a longer shelf life.
Allergic to nuts? Go ahead and make the recipe without the pistachio crust and skip the pistachio garnish. Follow the same cooking times and the cheesecake comes out equally delish.
Have green cardamom pods? Gently hammer the pods with a pestle or rollover with a rolling pin, so it helps separate the seeds from the outer shell. Take out the seeds and store the outer covering along with your black tea bags. They add a nice aroma to your chai. Ground the seeds to a fine powder using a mortar and pestle, a rolling pin, or a spice jar. Add 1 to 2 teaspoons of sugar to the seeds which will help grind the cardamom seeds into fine powder. You can then reduce that much sugar from the cake filling and add extra ground cardamom to get the flavor.
You can freeze Ricotta Cheesecake for up to a month by placing it in a freezer-proof container or wrapping it in foil and then keeping it in a freezer zip-lock bag. To defrost keep cake overnight in the refrigerator to thaw.
Yes, you can. Preheat the oven to 350 degrees F. Bake for 40 mins or until the sides are golden brown and the wooden skewer comes out clean. Also depending on the size of the cake pan, the cooking time will be more or less.
More Indian Dessert Recipes
Did you enjoy this pretty cheesecake? Here are a few more desserts that never fail to impress:
- Raspberry Trifle - Delightfully airy cake, fresh berries, cardamom & saffron pudding layered with pistachios and cream, a no-cook recipe
- Rose Faluda - An ice cream float with aromatic rose syrup, cool basil seeds, and thin noodles over the chilled milk
- Cinnamon Sugar Puff Pastry Twists - Easy 3-ingredient homemade Khari biscuits that are delicious to eat and a treat to the eyes
- Summer Berry Cake - Delicious cake made with mixed berries and lemon zest that is topped with lemon glaze and fresh berries
- Berry Bread Pudding - A lush and creamy bread pudding made with berries tucked in the layers of rich brioche bread and milk custard.
Here are some more visually inspiring dishes that I often make when entertaining:
- Tandoori Cauliflower - a show-stopper vegetarian dish with whole roasted spicy cauliflower garnished with pickled onions, buttery pistachios, and crunchy-sweet pomegranate seeds
- Aloo Chat in Filo Cups - a stunning contrast of colors & a crispy tang are the hallmarks of this visually delightful & incredibly delicious dish
- Easy Baked Salmon - Impressive and fancy, this no-fail baked salmon recipe is a sure way to impress your guests
- Stuffed Tomatoes - a gorgeous, spicy, sweet, and tangy vegan dish that is ready in under 30 minutes
- Fiesta Quinoa Salad - vegan salad packed with bright, vibrant flavors that will keep everyone asking for more
- Spicy Mango Salad - flavor-bursting mango salad with refreshing cucumbers and red onions, with sweet & spicy dressing, topped with roasted peanuts
★ Have you tried this recipe? We love your feedback, Please click on the stars in the recipe card below to rate.
Recipe
Ricotta Cheesecake with Rose, Cardamom and Pistachios
Ingredients
- ¾ cup raw unsalted pistachios
- ½ tablespoon unsalted butter
- ½ cup sugar
- 2 teaspoons all-purpose flour
- 1 teaspoon ground cardamom
- 1 container 15-ounces full-fat ricotta cheese
- 1 teaspoon rose essence
- 3 large eggs at room temperature
- 2 or 3 drops red natural food coloring optional
- 1 tablespoon raw unsalted pistachios thinly sliced, optional garnish
Instructions
Prepare the cake pan and crust
- Line the bottom of a 7-inch cake pan with a removable bottom with parchment paper. Coat the sides of the pan and the parchment paper with cooking spray.
- Add the pistachios and ½ tablespoon of butter to a food processor and pulse for 2 to 4 seconds until the pistachios are chopped finely with crumbly textures. Pour the pistachios into the prepared cake pan and spread it all around the bottom pressing it gently with the tip of your fingers to form even layer of crust. Place the cake pan in the freezer while you prepare the remaining ingredients.
- Pour 1 cup water into the Instant Pot and place the wire-metal steam rack in the pot.
Make the cake batter
- In a large bowl, first mix all the dry ingredients - sugar, flour, and cardamom.
- Then stir in the ricotta and rose essence until well combined. Add the eggs, one at a time, and stir after each addition until just combined.
- Pour the batter into the prepared pan. Add the food coloring and gently swirl through the batter with a toothpick.
Cover the pan and pressure cook
- Cover the pan with a paper towel and place an 8-inch sheet of aluminum foil over the top, crimping down the foil around the sides of the pan to secure the paper towel in place.
- Place the pan on the rack in the Instant Pot. Secure the lid and set the Pressure Release to Sealing. Select the Pressure Cook or Manual setting and set the cooking time for 40 minutes at high pressure.
- Let the pressure release naturally; this will take 10 to 15 minutes.
Take the cake out and chill
- Open the pot and, wearing heat-resistant mitts, lift out the cake pan. Remove the foil and paper towel, then dab off any liquid that may have accumulated on top of the cake with another paper towel. Let the cake cool on the counter for about 1 hour (the cake will continue to cook as it cools).
- To remove the cake from the pan, carefully run a butter knife around the inside edge of the pan and down the sides. If your pan is a push pan type, place it on an empty glass cup and gently push down on the top edges of the pan. This will help the cake to release from the pan sides. If using a springform pan, unclasp the collar on the pan and lift it off.
- Transfer the cake to a platter. Garnish with sliced pistachios (optional). Refrigerate for at least 4 hours and up to 5 days.
- Cut into wedges and serve cold.
Video
Notes
- Ricotta Cheesecake stays well refrigerated for up to 10 days in an airtight container. You can also freeze it for longer shelf life.
- You can freeze Ricotta Cheesecake up to a month by placing it in a freezer-proof container or wrapping it in a foil and then keeping it in a freezer zip lock bag. To defrost keep the cake overnight in the refrigerator to thaw.
- For a nut-free recipe, skip the pistachio crust and garnish. Follow the same cook times and the cheesecake comes out equally delish.
- To bake this cake, preheat the oven to 350 degrees F. Bake for 40 mins or until the sides are golden brown and the wooden skewer comes out clean. Also depending on the size of the cake pan, the cooking time will be more or less.
Nutrition
♥ Subscribe to our Youtube Channel for tasty and easy video recipes. Looking for more Instant Pot recipes? Check out our delicious Instant Pot Recipe board on Pinterest.


Deb says
Made it with both Rose flavor and saffron flavor - both turned out amazing!
Amy Saldanha says
Love ricotta but I can’t take eggs, can you make this cake eggless? What can you substitute to get the same consistency?
Appreciate your ideas,
Hanika says
Bake temperature ?
Archana says
350 degrees for 40 mins or until the sides are golden brown and wooden skewer comes out clean. Also depending on the size of the cake pan the cook time will be more or less.
Divya Marwaha says
Could I use a premade walnut crust?
Archana says
Yes! That will work.
Nam says
Archana, this is one of my favorites I made it both ways with ricotta and once with cream cheese too and I did mine in instant pot and also switch to oven use.
I love the flavors and decorating mine! I love all the inspirational ideas you have and changing one thing here or there to make it my own in a way individual. You are so awesome and love so many of your tips and recipes!
Nimi says
Hi, what can I substitute for eggs ? This looks so yummy.
Archana says
Hey! I have tried this recipe a few times without eggs but not happy with taste or textures.
Rajeshwari says
Thanks for the recipe. If I want to double this recipe, what size baking pan would I need.
Archana says
You will need a 9-inch pan although I am not sure if it will fit your Instant Pot. You can always bake it on the oven.
Krissy says
This was absolutely perfect! My boyfriend is from New Delhi, and I made this for him, and he said it not only reminded him of home, but it was one of the best desserts he'd ever eaten!
I was curious if I could substitute marscarpone cheese instead of ricotta? I don't buy ricotta often but almost always have marscarpone cheese in my fridge. 🙂
Archana says
Thank you Krissy for the lovely feedback. I have not tested the recipe with mascarpone cheese. I feel this recipe needs ricotta cheese for the right texture