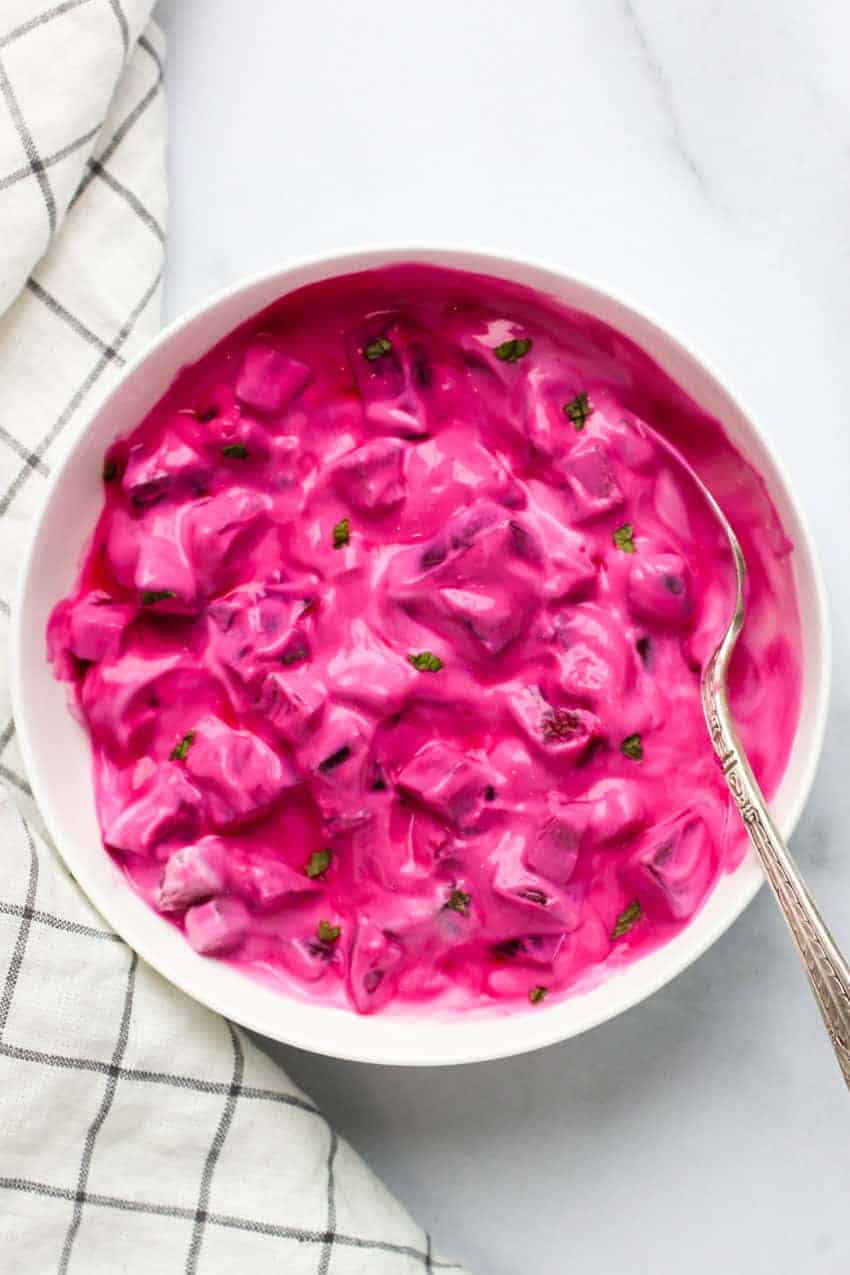
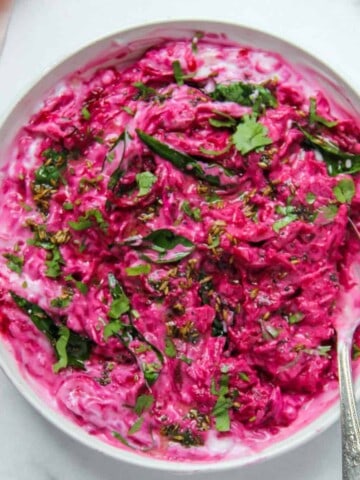
The brilliant hue of beets and creamy texture of yogurt in my signature beet raita is a visually striking accompaniment for many Indian dishes. This cool and refreshing side dish can hold its own plate, but it can also enhance complex flavors while toning down the heat and warmth of spicy dishes.
This recipe originally published in Oct 2015 has been updated with more information, new photos and a video
Looking for a show-stopper side dish? This Beet Raita is the one! It's my go-to when I am hosting, potlucks, and when I share it on my Instagram, my DM's get flooded with recipe requests.
Super simple to make, it's the red beets that are the star ingredient in this dish. The best part is that it can be made ahead and the color of the raita keeps getting deeper over time. And if you love beets like I do, try this Beet Koshimbir too.
Dairy yogurt can be easily substituted with plant-based yogurt for a vegan diet.
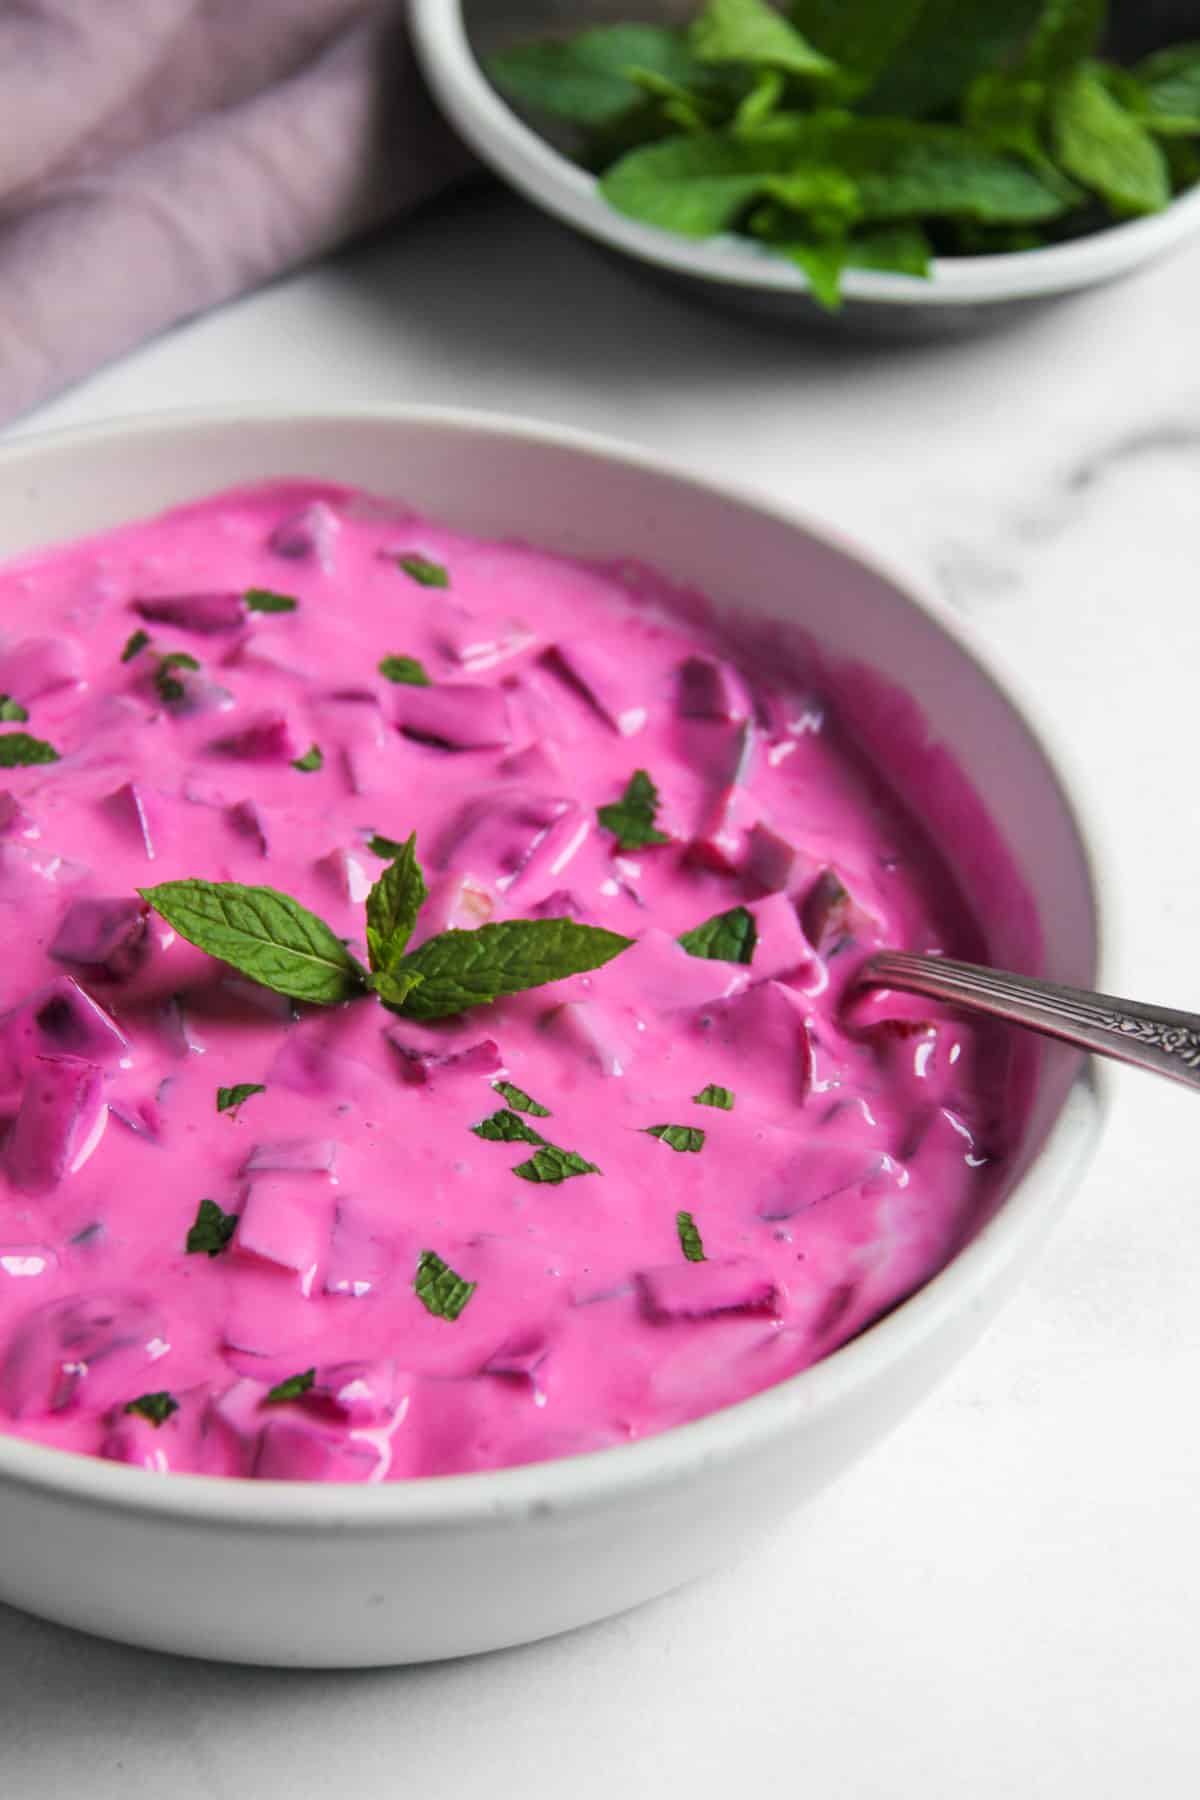
What is a Raita
Raita is a side dish made with vegetables or fruits mixed in smooth and creamy yogurt with salt and sugar to taste. Raita is made in SO many different ways throughout India. Recipes such as Cucumber Raita have raw cucumbers, while some raita recipes use cooked veggies, like this Pumpkin Raita with steamed pumpkin cubes and a tempering of spices, curry leaves, etc.
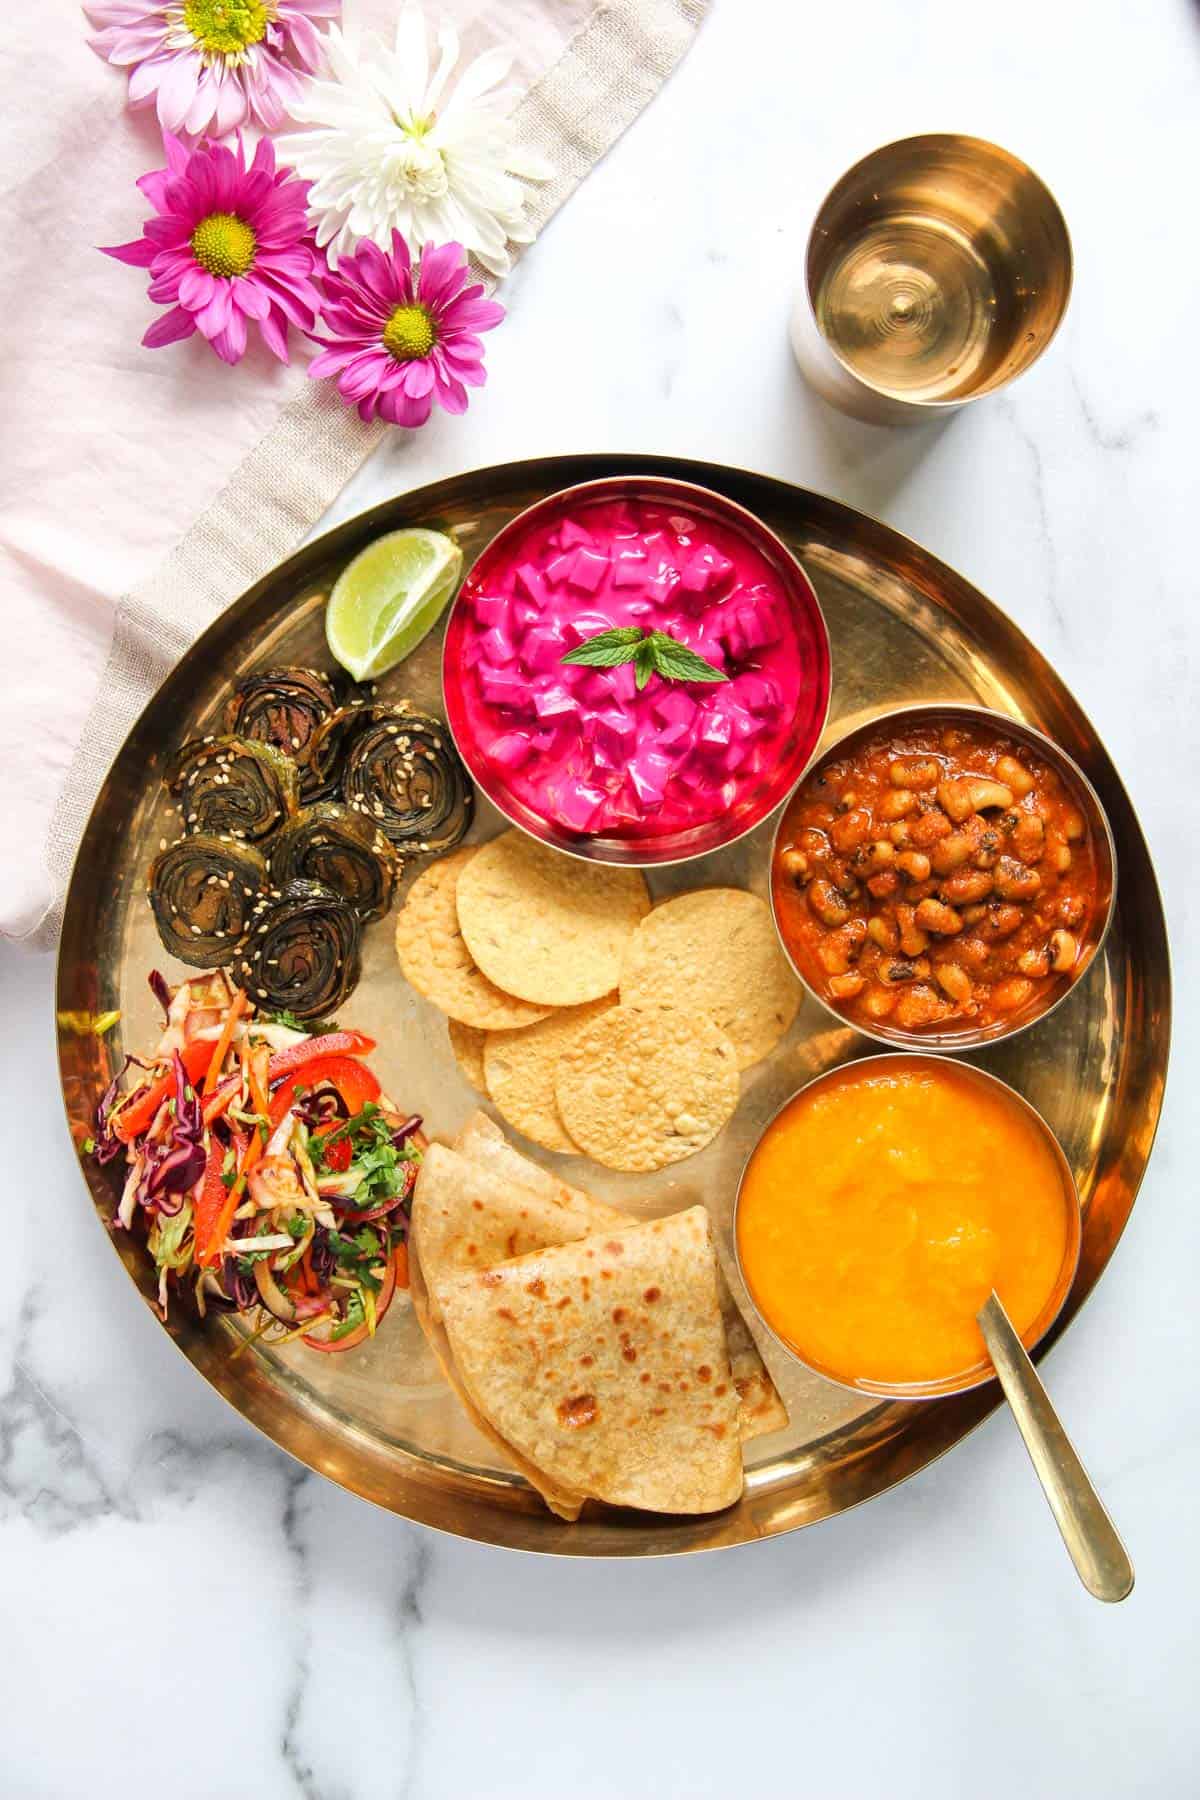
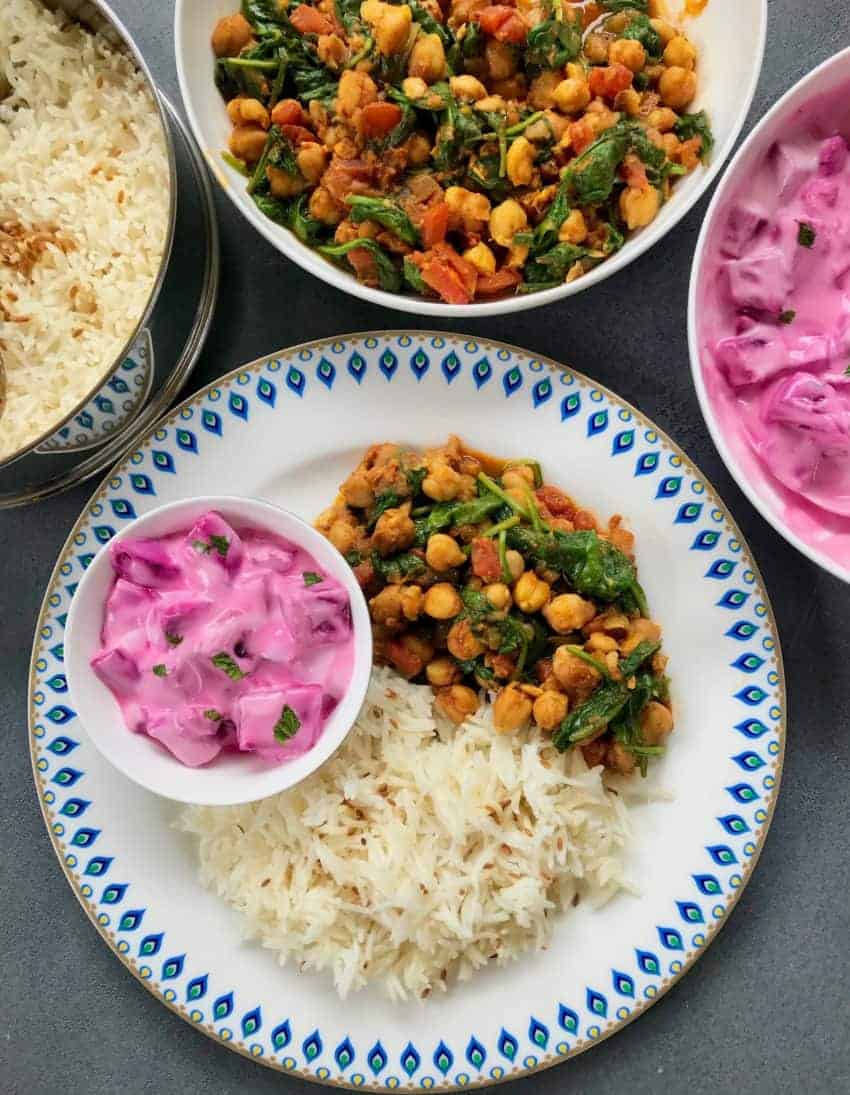
Raita pairs well with Curries such as Chana Masala, Paneer Makhani, and Dum Aloo served with Roti or Parathas. It also makes for a wholesome and balanced meal served along with Pulao or Biryani. It is also a must in Indian Vegetarian Thali meal.
Benefits of Beets
Beet is a nutrient-rich vegetable where both the root as well as the green leaves are edible. Although in India we see only the vibrant red beets, here in the US we also get gold or even striped red and white beets.
Beetroots are naturally sweet and can be eaten raw, steamed, or roasted. They make for a great addition to salads, dips, raitas, soups, and curries. They are packed with essential vitamins and minerals and have antioxidant betalains that help reduce inflammation.
Ingredients
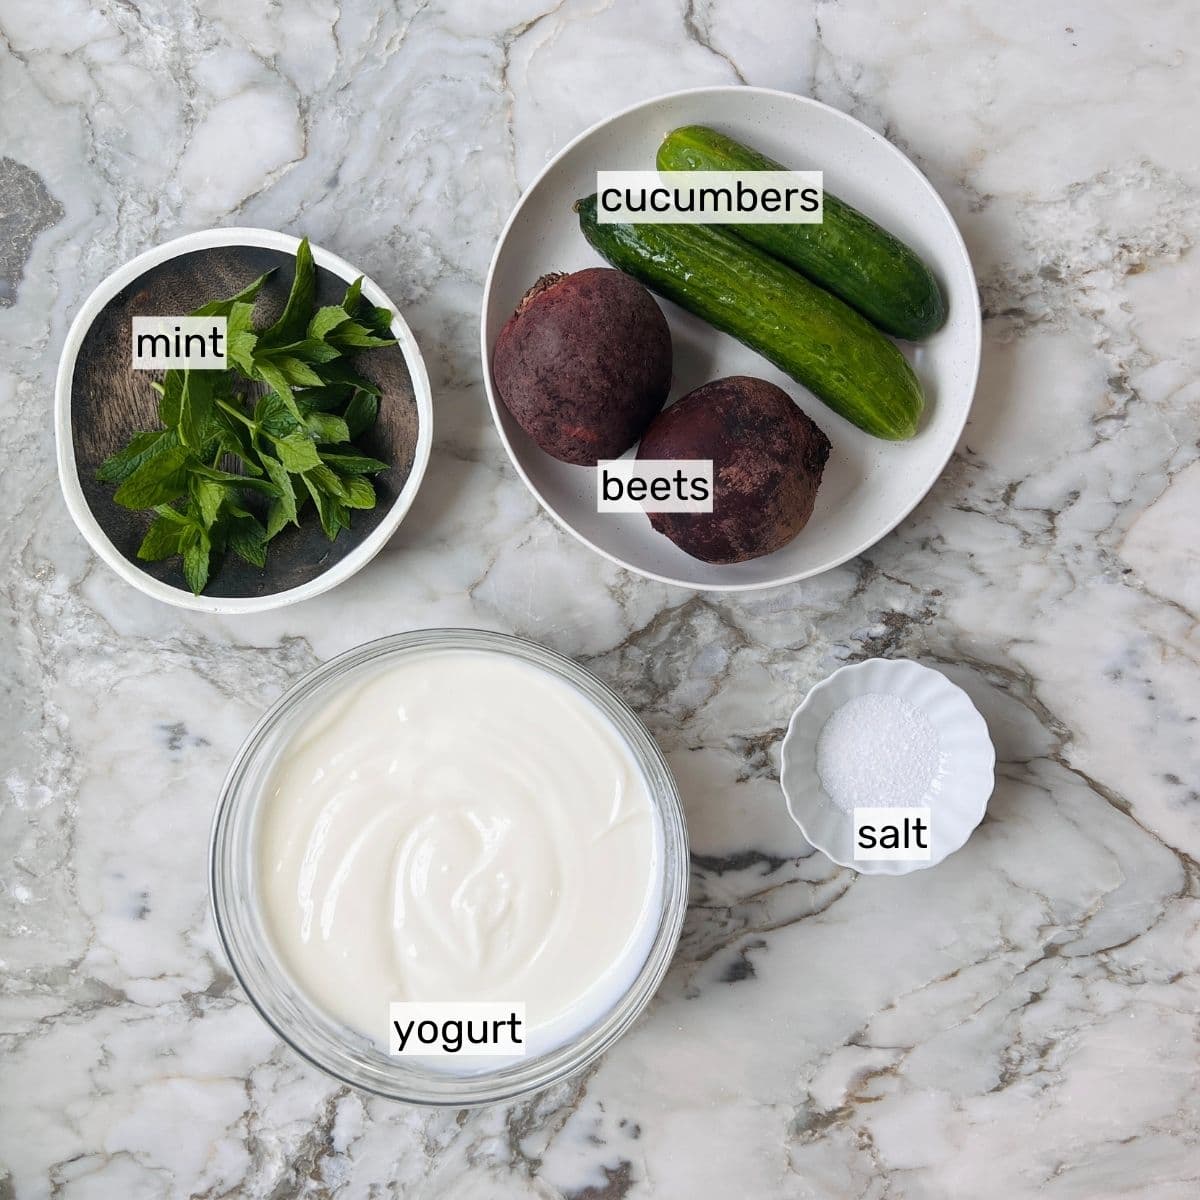
- Beets - use small to medium fresh red beets as they need shorter pressure cooking time. You can also use pre-steamed beets or roasted beets for this recipe.
- Cucumbers - Persian or small English cucumbers work best for this recipe as they have minimal or no seeds. Although traditionally cucumbers are not added to the beet raita, I love the crunchy textures they add to the dish.
- Yogurt - Plain unsweetened yogurt works great for this recipe. Full-fat yogurt will give a more creamy texture compared to low-fat or non-fat yogurt.
- Salt - A pinch of salt balances the tangy and sweet flavors of raita.
How to Make Beet Raita
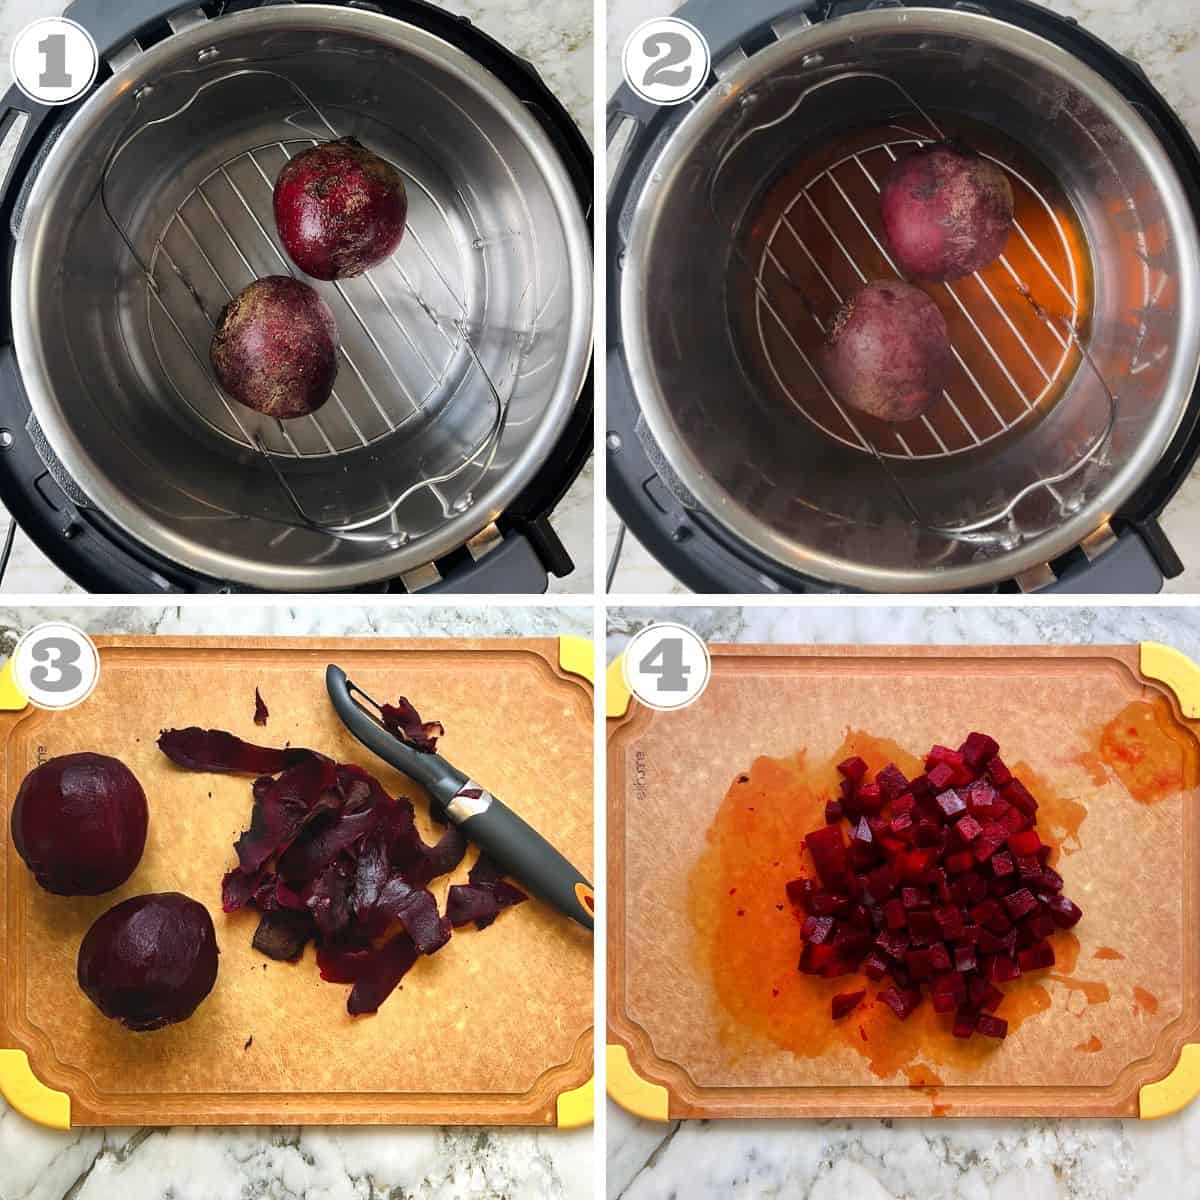
- Add one cup of water to the Instant Pot insert and place the trivet. Place rinsed beets on the trivet and steam the beets.
- Open the Instant Pot and allow the beets to cool.
- Peel and dice into small cubes. Note: You can also roast beets in the oven.
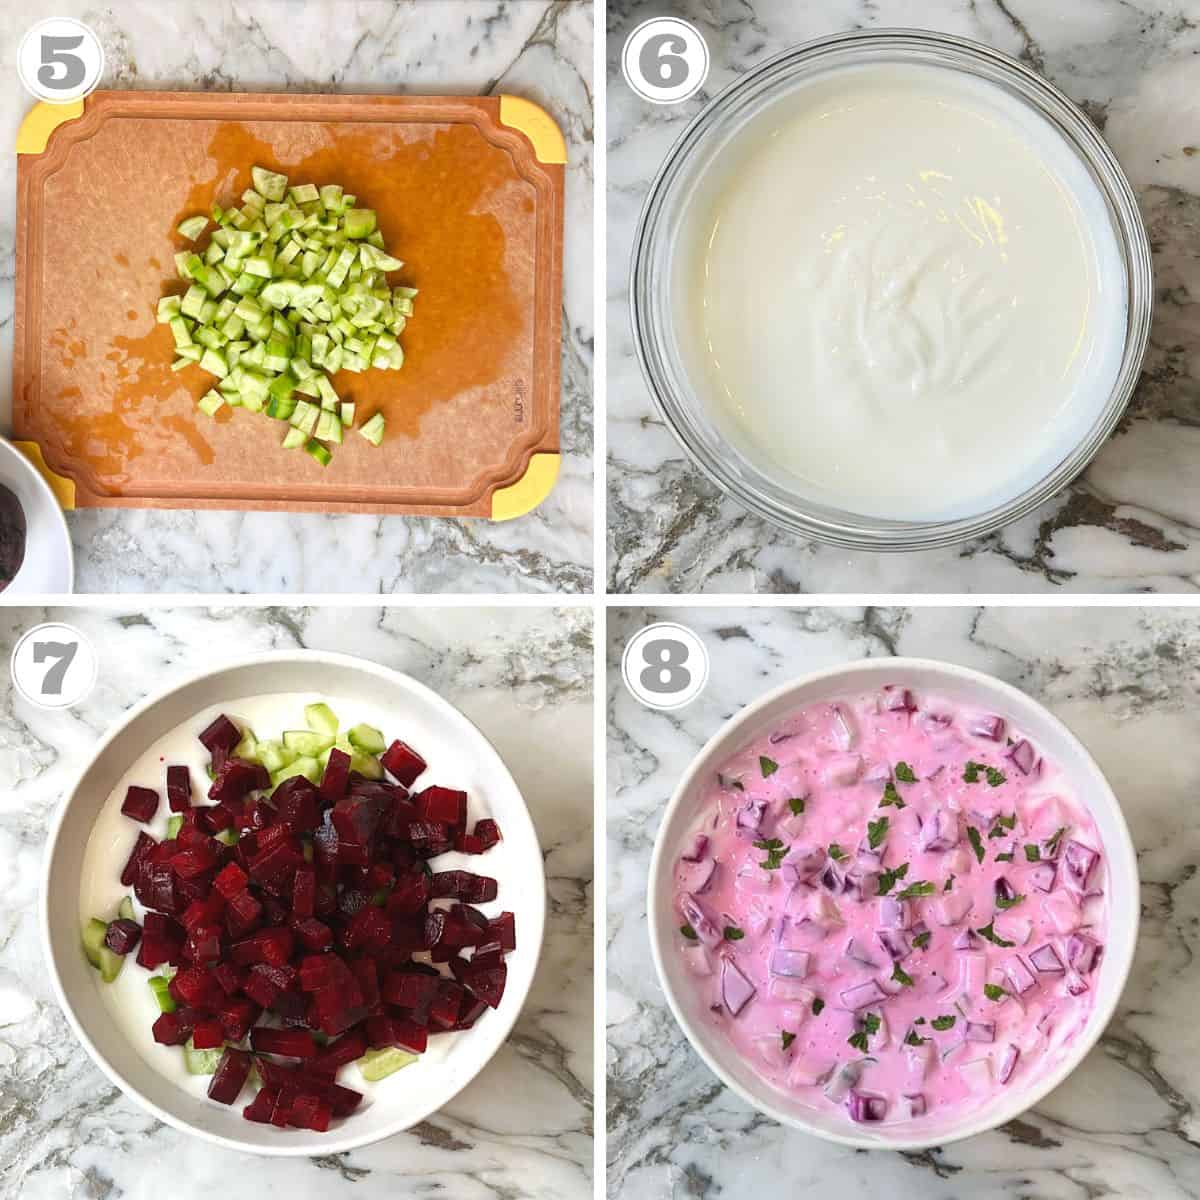
- Peel and dice cucumbers.
- In a medium bowl whisk together yogurt and salt.
- Add diced cucumber and beets.
- Mix and garnish with mint.
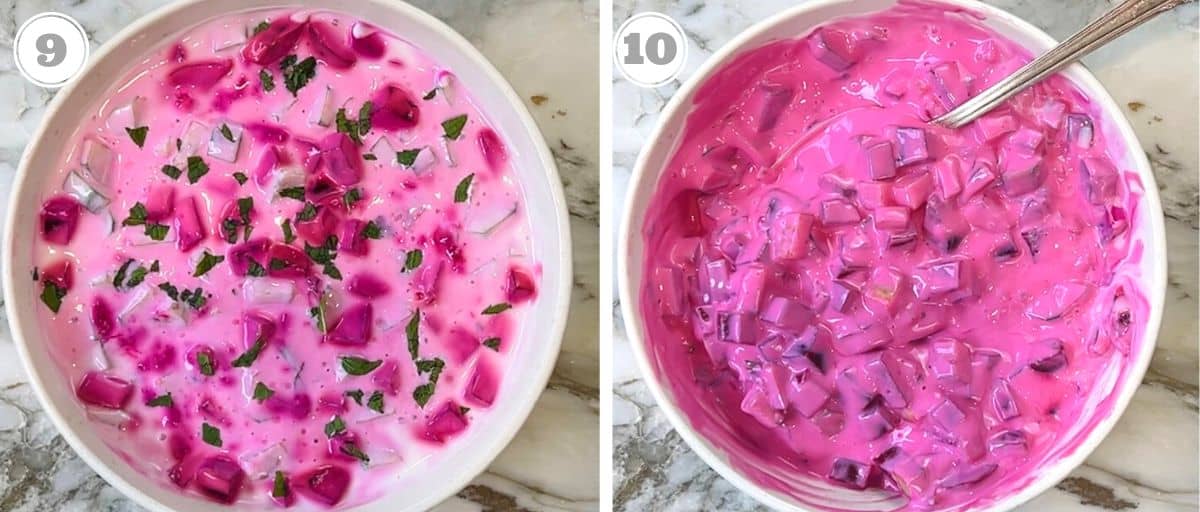
- Refrigerate until ready to serve. This step will also help the beets release a more vibrant pink color.
- Stir well and serve.
Serving
Raita makes for a great side dish with Indian food. Hosting your next Indian party? Make sure to include this vibrant dish that everyone will enjoy especially with dishes like:
Storing
Store any leftover beet raita refrigerated in an airtight container for up to 3 days.
Green beet leaves are full of vitamins A, C, K, and B2. So next time you buy a whole bunch of beets do not toss the leaves away. Instead, make a delicious side dish with beet leaves similar to any other green vegetable - finely dice the stems and saute them in olive oil with garlic. Once the stems have become tender add chopped leaves and saute until they have cooked down. Add salt and pepper to taste.
Packaged cooked beets are readily available in many grocery stores. They are super convenient and time-saving and can be used in this recipe.
Recipe
Beet and Cucumber Raita
Ingredients
- 2 medium beets
- ½ teaspoon kosher salt
- 2 cups yogurt full fat
- 2 small Persian cucumbers peeled and cubed
- 8 fresh mint leaves optional
Instructions
Steaming Beets in Instant Pot:
- Pour 1 cup of water into the Instant Pot insert and place the trivet in the pot. Place the beets on the trivet.
- Secure the lid and set the pressure release to sealing. Manual(Hi)/Pressure Cook for 15 minutes. Let the pressure release naturally, this will take about 10 minutes. Open the pot and wearing heat-resistant mitts transfer the beets to a plate or cutting board. Let cool. When cool enough to handle, peel the beets and cut them into ½-inch cubes.
Making Raita
- In a medium bowl whisk together yogurt and salt. Stir in cucumber.
- Add the beets to the raita, stir to combine, and garnish with the mint. Store in an airtight container in the refrigerator for up to 3 days and serve chilled.
Video
Notes
- Store-bought pre-cooked beets or Oven-roasted beets can be used in place of steamed beets.
Nutrition
♥ We LOVE to hear from you! Did you try this recipe? Please share your food photo with hashtag #ministryofcurry on Facebook or Instagram, so we can see it and our followers can enjoy it too! Thank you and Happy Cooking
♥ Subscribe to our Youtube Channel for tasty and easy video recipes. Looking for more Instant Pot recipes? Check out our delicious Instant Pot Recipe board on Pinterest.



Deepa says
Hi Archana, do you cut the beets in half or chop them up before putting in instant pot?
Archana says
I don’t unless they are really big! I usually will buy small or medium beets and then place them whole in the pot
Elaine Crocker says
Hi Archana,
Can I use one cup full fat yogurt and one cup fat free yogurt?
Archana says
Yes!!
Meena says
Is that colour in raita only by mixing chopped beets? Or did you add any pulp?
Archana says
Just from the beets. Longer your keep the raita, the color will continue to deepen.
Mel says
This look really good. Would we be able to substitute fresh beets for canned beets?
Archana says
yes!
Rod says
I made this with some home-made pickled beets for a dinner party and everyone loved it. Definately going to make this again. It was delicious and visually beautiful.
Archana says
Thank you for the lovely feedback