

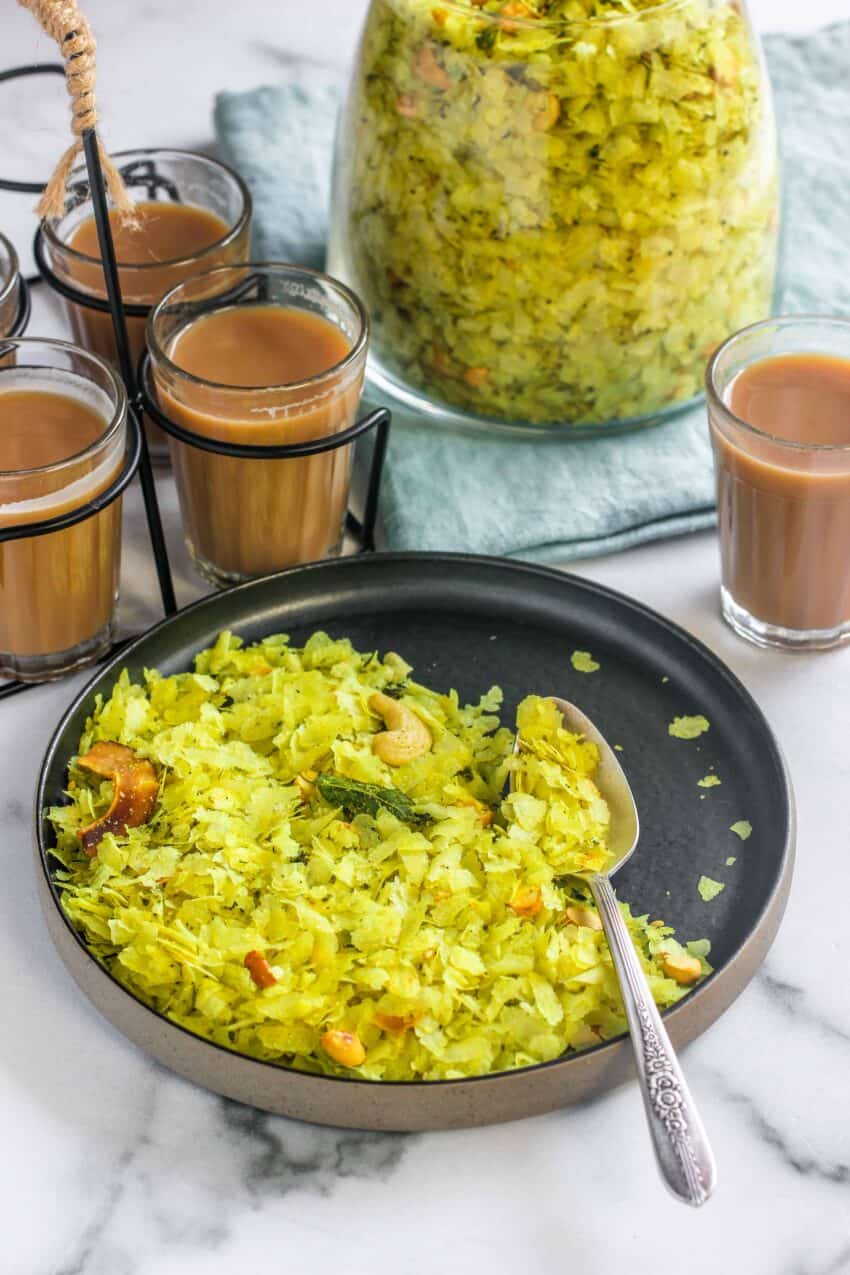
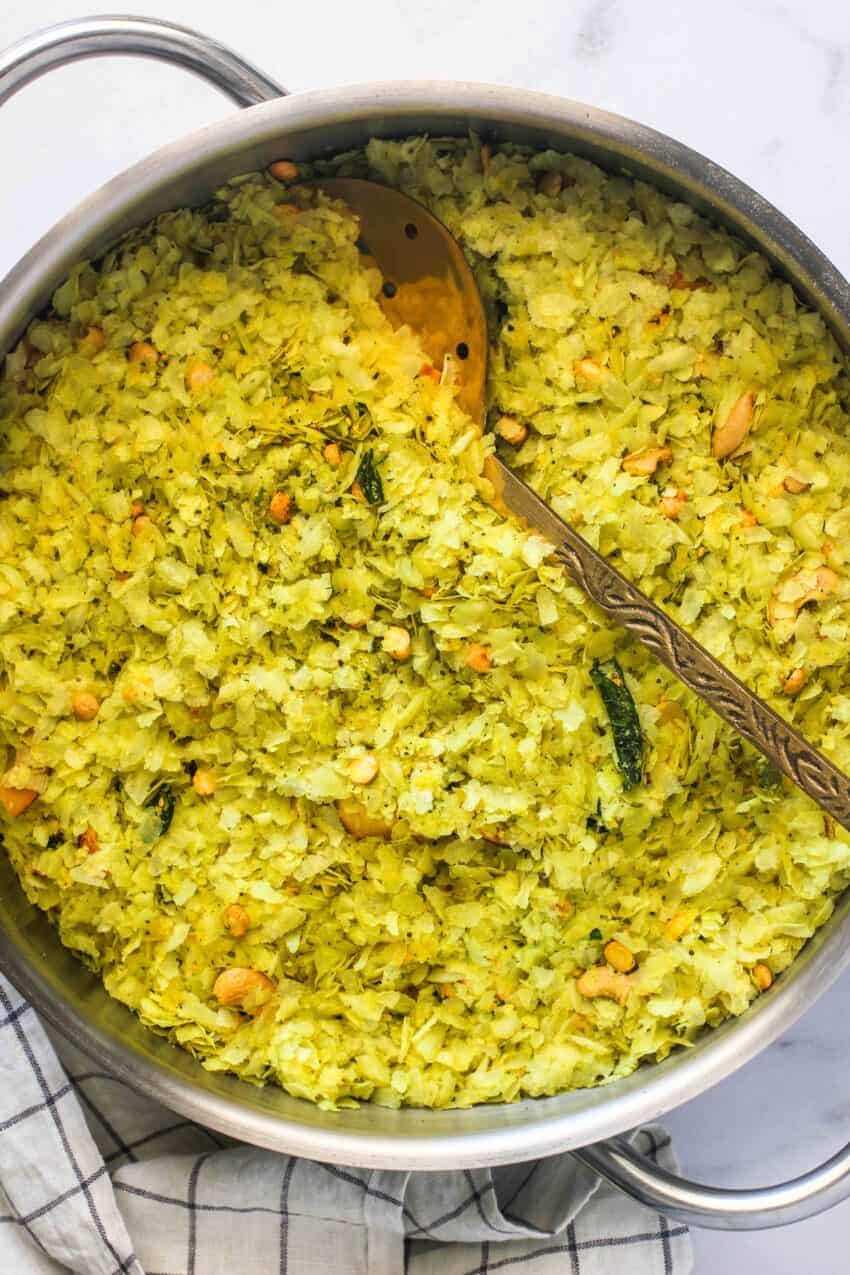
Poha Chivda is my forever crunchy snack - light, crisp, and perfectly spiced. I grew up in Maharashtra watching my mom roast thin poha with nuts, chilies, and curry leaves, and that "can't-stop-eating" bite is exactly what I still crave with afternoon chai. It's quick to make, lighter than fried snacks, and easy to customize with a few smart add-ins.
Want to Save This Recipe?
Enter your email & I'll send it to your inbox. Plus, get great new recipes from me every week!
By submitting this form, you consent to receive emails from Minstry of Curry
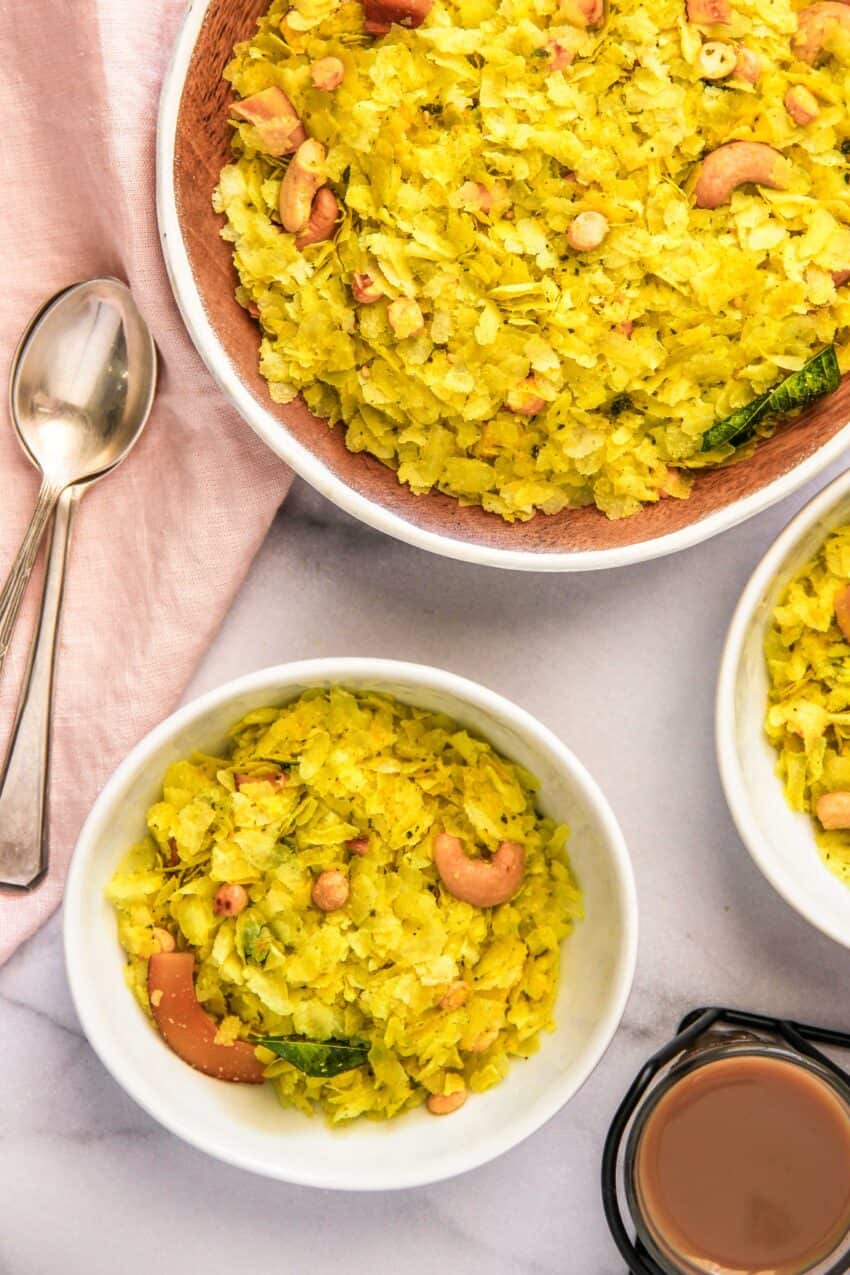
What I love most about Poha Chivda is how customizable and low-effort it is. Tame the heat or dial it up, swap nuts based on what you have, add sev for extra crunch, or finish with a sprinkle of chaat masala. Make it on the stovetop in under 20 minutes or crisp it gently in the oven/air fryer. Perfect for gifting, road trips, lunchbox add-ins, and of course, that 4 p.m. chai.
This spicy "cereal" is also the yummy counterpoint to all the Diwali goodies; alongside classics like ladoo, chakli, shankarpale, and karanji, chivda rounds out the mix of sweets and savories and is perfect to share with family and friends.
If you love Poha Chivda, you'll also enjoy its cousins: Murmura (puffed rice) Chivda for an ultra-light, airy crunch, and Makhana (fox nut) Chivda for a toasty, nutty bite that's naturally gluten-free. Same pantry-friendly masala, different textures - rotate all three to keep snack time exciting or build a beautiful, varied faral spread.
Ingredient Highlights
- Thin Poha - For this roasted Chivda, you want the "thin" poha available in Indian grocery stores. The thick version is used for the hot breakfast poha dish and will not work well for this Chivda
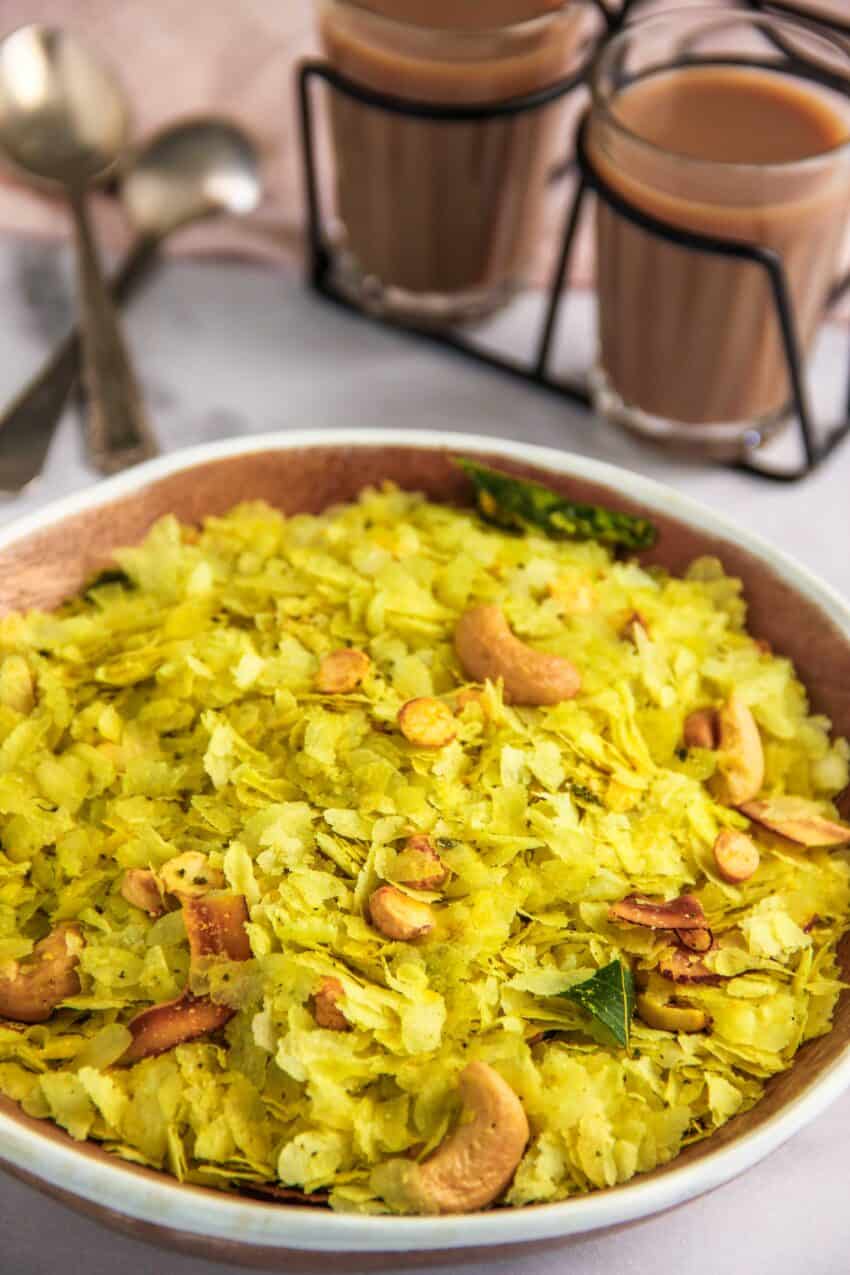
- Nuts, Coconut sliced, and Roasted Chana Daal - add a perfect texture and bite. I love adding cashews, but you can also use peanuts, almonds, or skip nuts altogether. Add as much or as little of these ingredients.
- Curry Leaves and Green Chilies - coarsely grinding curry leaves and green chilies adds a flavor punch, and you won't have to pick them out as you eat
- Spices - Mustard seeds, Sesame seeds, Turmeric, and asafoetida, added to the hot oil, make for an earthy aromatic tadka
Tips to make the best Poha Chivda
- Use a thin variety of poha. Do not over-mix the poha while roasting, as it will cause the flakes to break. Instead, either gently toss if roasting on the stovetop or use the bake option that I have explained in the recipe
- Crushed green chili and curry leaves add a lot of flavor and nutrition to this Chivda. You may choose to simply cut them finely with kitchen shears instead of crushing them in the blender
- Nuts, coconut strips, and roasted chana dal can be baked instead of frying
- Remember to adjust the heat levels so you do not burn the poha, tadka, nuts, or chilis. Most of the cooking in this recipe is done on low-medium heat
- Allow roasted poha to cool down before adding other ingredients
- Wear disposable cooking gloves to mix in all the ingredients to prevent your nails from turning yellow from the turmeric
- Cool down the Chivda completely and then store in an airtight container at room temperature for up to 2 weeks
How to Make Poha Chivda
Maharashtrian Chivda recipe is easy to make, and a few additional steps add a ton of flavor, texture, and nutrition. Let me show you with step-by-step photos here:
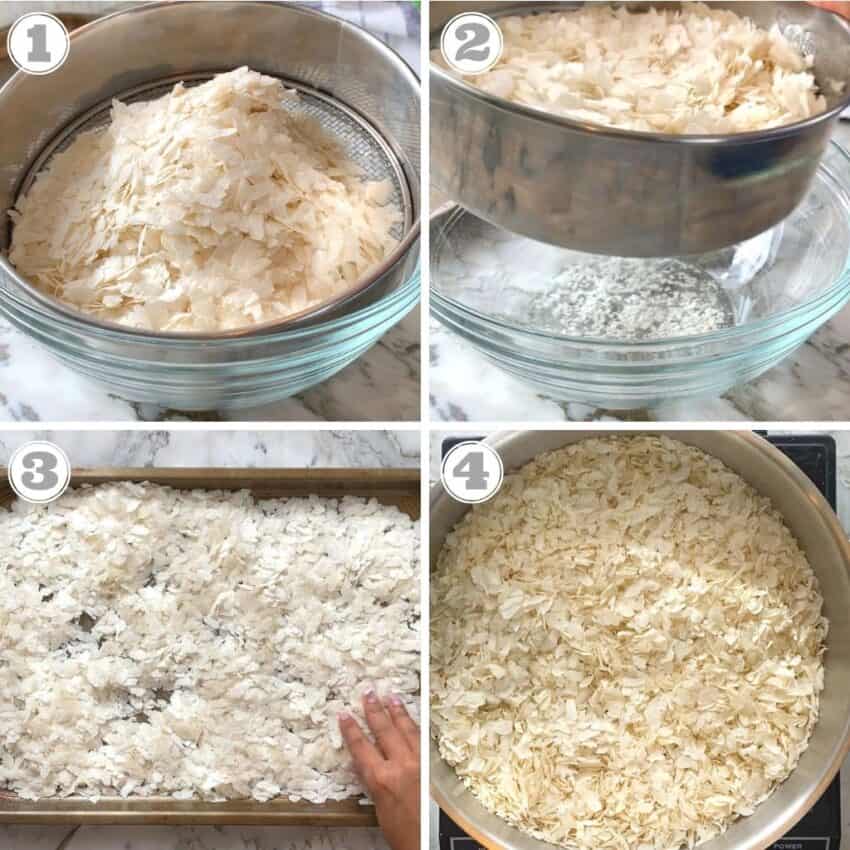
Step 1: Prep the poha
Using a medium sieve, sieve poha and discard any powdery/small broken pieces of poha. Roast the poha, either in the oven or on the stovetop.
Method 1 Oven: Preheat the oven to 300 degrees F. Evenly spread poha (5 cups in each) in two large baking trays. Bake for 10 to 12 minutes, gently mixing halfway through.
Method 2 Stovetop: In a large, heavy-bottomed pot, add half of the poha. Roast on low-medium heat for 10 to 15 minutes. Either gently stir the poha using a wooden spatula or toss the pot gently every 2 to 3 minutes; this will prevent the poha from breaking as you roast.
Reserve the roasted poha and allow it to cool down as you prepare the remaining ingredients.
Step 2: Prep nuts and coconut
In a small saucepan, heat oil. Adjust the heat to low, and add nuts, coconut & roasted chana daal. Cook, stirring constantly until the nuts turn light golden. Take out the nuts in a bowl and reserve.
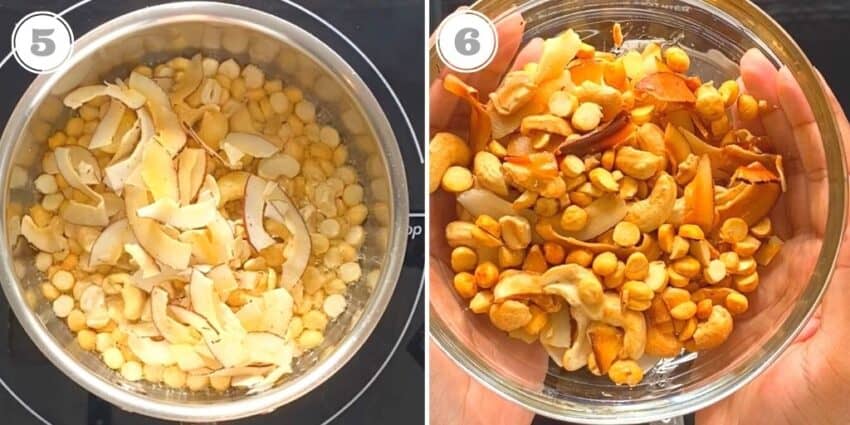
Note: For a low-oil recipe, arrange the choice of nuts, sliced coconut, and roasted chana daal on a baking tray and bake for 10 mins at 300 degrees, mixing halfway through.
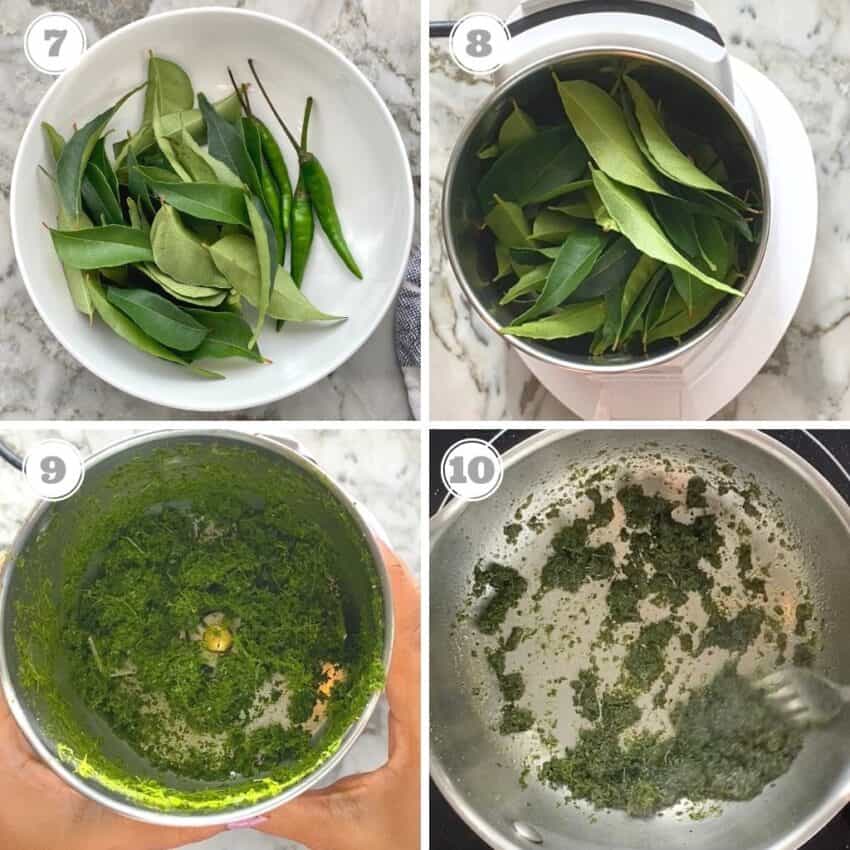
Step 3: Chili & Curry Leaves
Add the chilies and curry leaves to a small blender jar. Pulse a few times to finely crush the chilies and curry leaves. If you do not have a small blender, you can also finely chop the chilies and curry leaves with kitchen shears.
Heat 2 tablespoons of oil on low heat in a small saucepan. Add the crushed curry leaves and green chili and cook for 1 to 2 minutes, stirring constantly as it turns crisp and slightly golden. Make sure the heat is low so you do not burn the chilies and curry leaves. Reserve
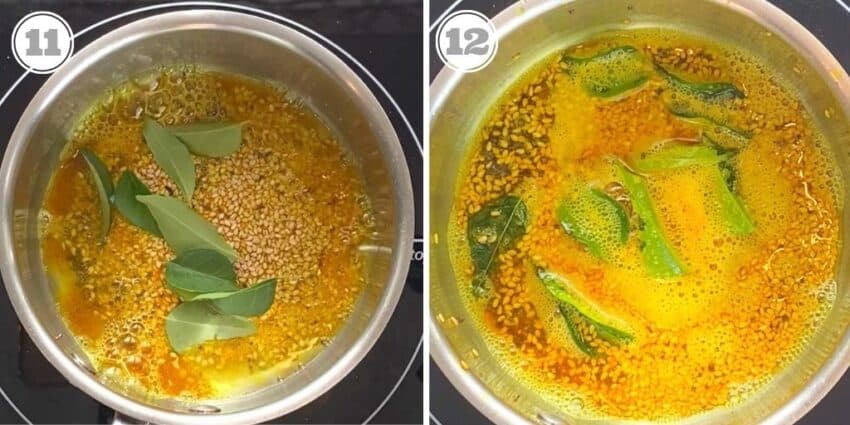
Step 4: Tadka
Heat the oil on medium heat. Add mustard seeds and once they start popping, turn off the heat. Add asafetida, turmeric, sesame seeds & curry leaves. Reserve.
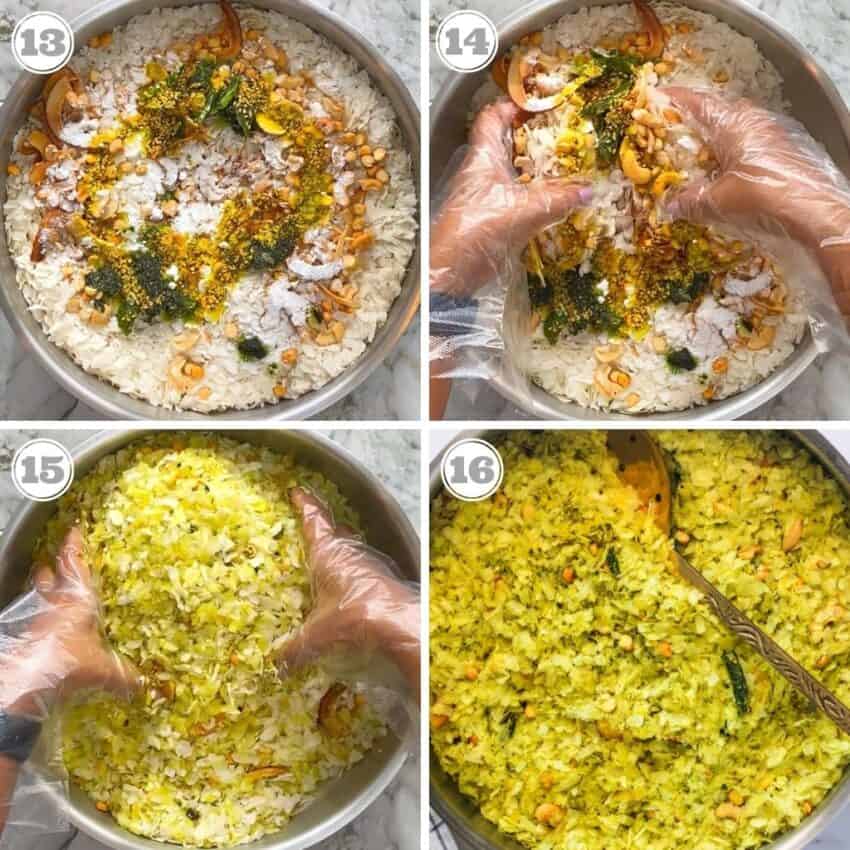
Step 5: Mix
To the roasted and cooled poha, add the reserved fried nuts, coconut & roasted chana dal. Add the fried crushed chili & curry leaves. Pour over the tempering of mustard seeds, turmeric, asafetida, sesame seeds & curry leaves. Sprinkle salt, powdered sugar, and citric acid. Wear cooking gloves and gently mix everything in.
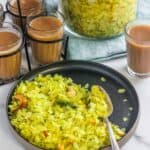
Serving
Chivda makes for a perfect afternoon snack paired with a hot cup of chai. During Diwali, my family often enjoys Chivda along with spinach sev for breakfast.
How to store Poha Chivda
Allow the Chivda to completely cool down. Store in airtight containers at room temperature for up to 2 weeks. The serving size is about ¾ cup.
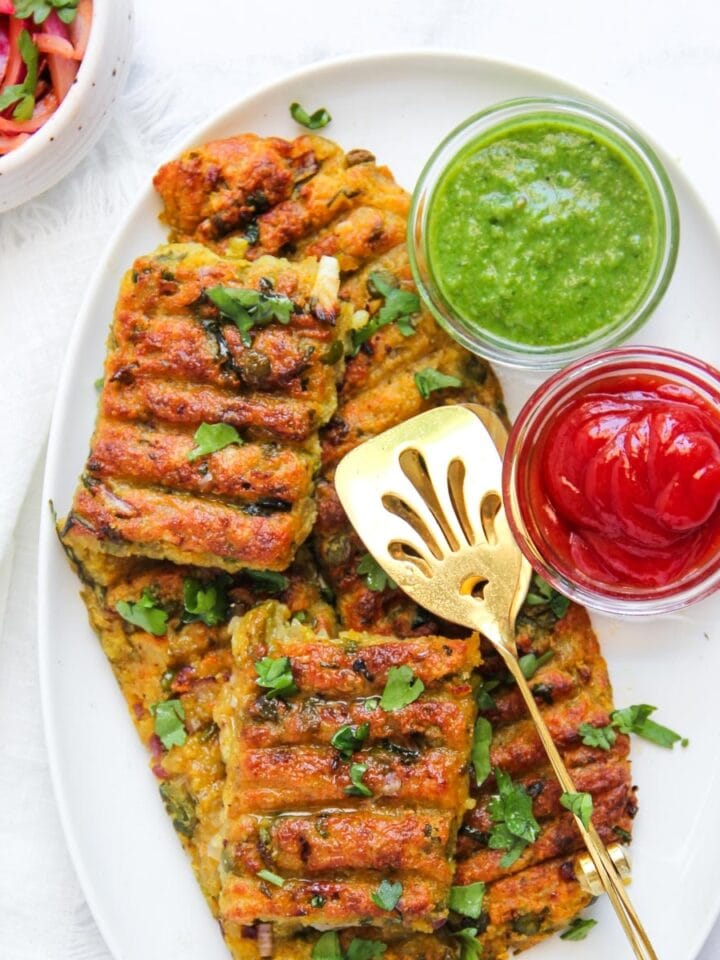
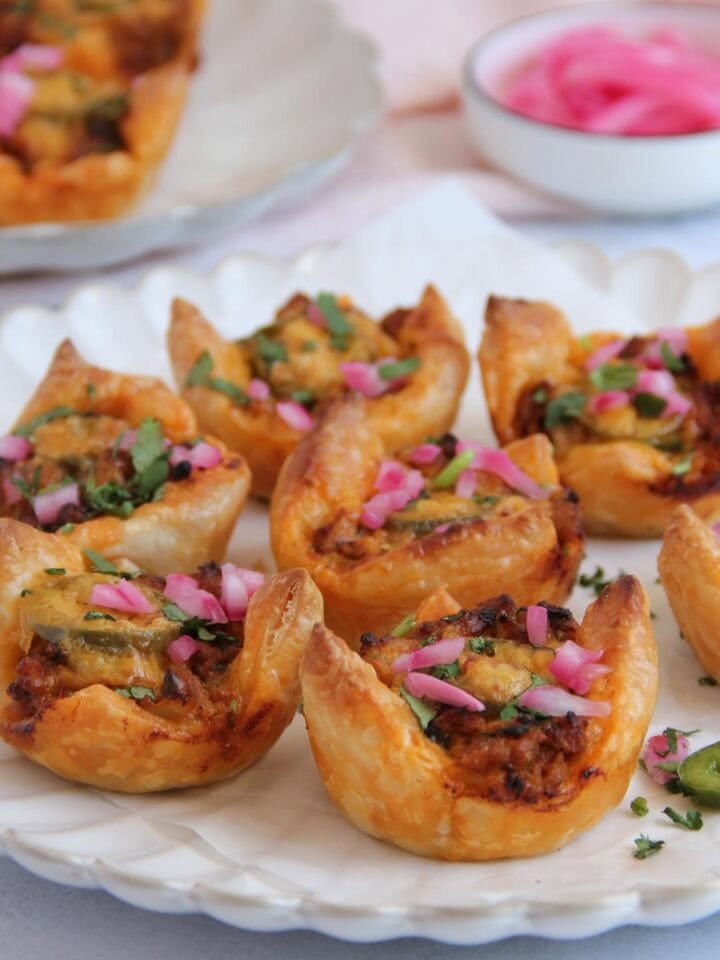
More Diwali Recipes
Did you enjoy this delicious recipe? Here are some more of my family recipes made during the Diwali festival:
Recipe
Pohe Chivda (Light & Crispy!)
Recipe Video
Ingredients
- 1 lb thin poha 10 cups
- ¼ cup split roasted chana daal dalia (optional)
- ¼ cup raw unsalted cashews optional
- ¼ cup thin dry sliced coconut optional
- ¼ cup peanuts optional
- 2 tablespoons oil
Tadka
- 2 tablespoons oil
- ¼ teaspoon asafetida
- 1 teaspoon ground turmeric
- ½ tablespoon mustard seeds
- 1 tablespoon brown sesame seeds
- 12 curry leaves optional
Chilies & Curry Leaves
- 2 tablespoons oil
- 40 curry leaves big handful
- 4 small green chilies add more for spicy chivda
Additional Ingredients
- 1 tablespoon fine kosher salt
- 1 tablespoon powdered sugar
- ¼ teaspoon citric acid powder optional
Instructions
- If using coarse salt make sure to grind it in a mortar and pestle, so you have fine salt which mixes in well in the chivda. Grind the citric acid in a mortar and pestle to make a fine powder.
- Wash curry leaves and green chilies. Pat dry with paper towels so they are completely dry.
- Using a medium sieve, sieve poha and discard any powdery/small broken pieces of poha. Roast the poha, either in the oven or on stove top.
- Oven Method : Pre heat the oven at 300°F (150°C). Evenly spread poha (5 cups in each) in two large baking trays (10" X 15"). Baked for 10 to 12 minutes gently mixing it half way through.
- Stovetop Method : In a large, heavy bottomed pot add half of the poha. Roast on low-medium heat for 10 to 15 mins. Either gently stir the poha using a wooden spatula or toss the pot gently after every 2 to 3 mins, this will prevent the poha from breaking as you roast.
- Reserve the roasted poha and allow it to cool down as you prepare the remaining ingredients.
- In a small saucepan, heat oil. Adjust the heat to low, add nuts, coconut & roasted chana daal. Cook stirring constantly until the nuts turn light golden. Take out the nuts in a bowl and reserve. Wipe down the saucepan to remove any extra oil and use in the next step.
- Heat oil on medium heat. Add mustard seeds and once they start popping turn off the heat. Add asafetida, turmeric, sesame seeds and curry leaves. Reserve.
- Note: For a low-oil recipe, arrange the choice of nuts, sliced coconut and roasted chana daal on a baking tray and bake for 10 mins at 300°F (150°C) mixing in half way through.
- Add the chilies and curry leaves in a small blender jar. Pulse a full time to finely crush the chilies and curry leaves. If you do not have a small blender, you can also finely chop the chilies and curry leaves with kitchen shears.
- Heat oil on low heat in a small saucepan. Add the crushed curry leaves and green chili and cook for 1 to 2 minutes stirring constantly as it turns crisp. Make sure the heat is low so you do not burn the chilies and curry leaves. Reserve
- To the roasted and cooled poha, add the fried nuts, coconut & roasted chana dal. Add the fried crushed chili & curry leaves. Add the tempering of mustard seeds, turmeric, asafetida, sesame seeds & curry leaves. Add salt, powdered sugar and citric acid. Wear cooking gloves and gently mix everything in. Allow the Chivda to completely cool down. Store in airtight containers at room temperature for upto 2 weels. Serving size is about ¾ cup.
Notes
- Use thin variety of poha. Do not over-mix the poha while roasting as it will cause the flakes to break. Instead, either gently toss it roasting on the stovetop or use the bake option that I have explained in the recipe
- Adding crushed green chili and curry leaves, add a lot of flavor and nutrition to the chivda. You may choose to simply cut them finely with kitchen sheers instead
- Nuts, coconut strips, and roasted chana dal can be baked instead of frying
- Remember to adjust the heat levels so you do not burn the poha, tadka, nuts, or chilis. Most of the cooking in this recipe is done on low-medium heat
- Allow roasted poha to cool down before adding other ingredients
- Wear disposable cooking gloves to mix in all the ingredients to prevent your nails from turning yellow from the turmeric
- Cooldown the Chivda completely and then store in an airtight container
Nimisha Bhatt says
Love this recipe I try this today came out perfect yummy❤️❤️❤️❤️❤️
Sumehra Hasan says
This is the perfect recipe for a light chidva. Family, friends and kids everyone loved it! Thank you Archana ❤️
Shivani says
Absolutely delicious yet easy way to make chivda which has a special place in my heart. Thank you so very much Archana ❤️
Archana Mundhe says
You are most welcome! I am so glad you enjoyed it.