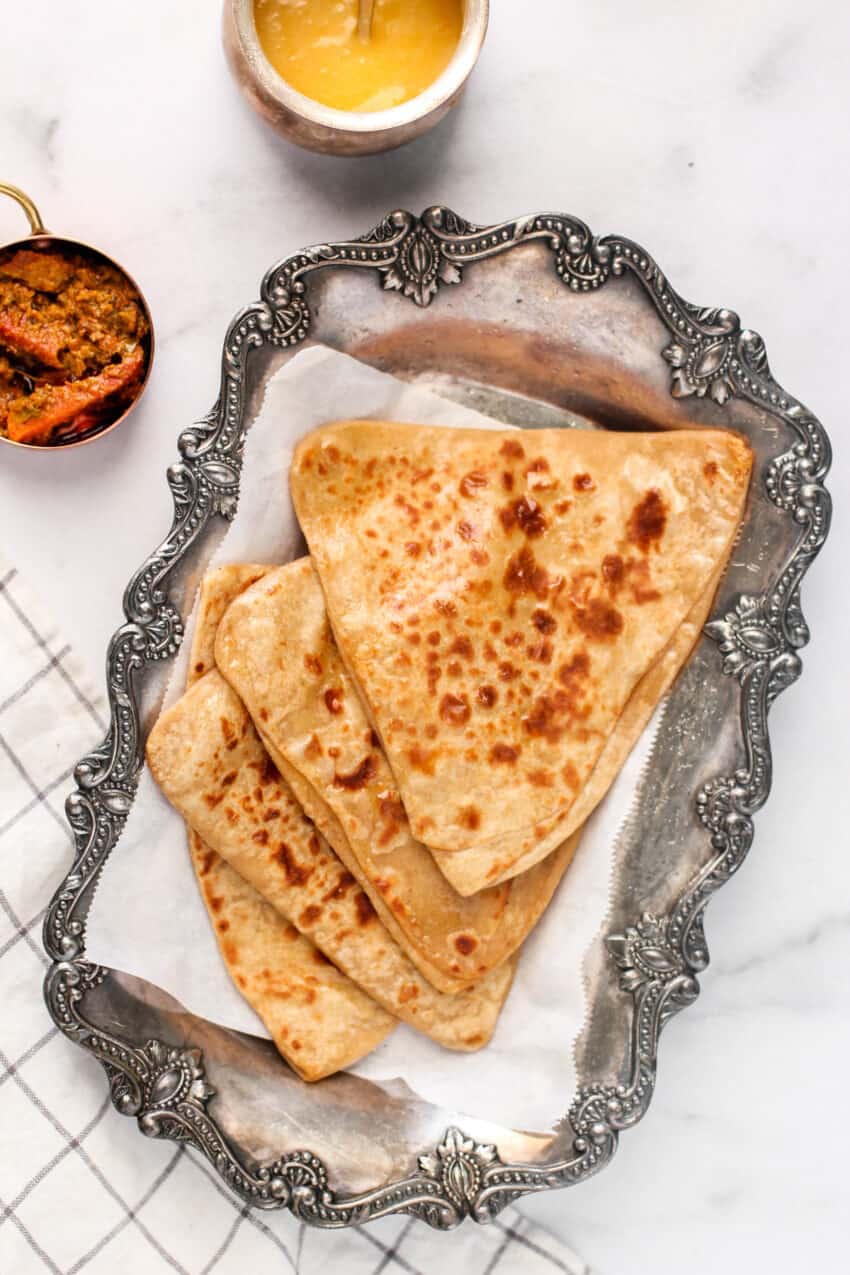
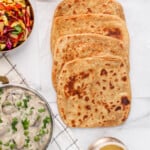
Parathas are homemade Indian flatbreads typically cooked daily to be enjoyed for breakfast, lunch, or dinner. Parathas are made by layering and rolling whole wheat dough that is then cooked on a hot griddle until it turns golden brown on both sides. They fill your kitchen with the wonderful aroma of freshly made bread with the ghee melting over.
Want to Save This Recipe?
Enter your email & I'll send it to your inbox. Plus, get great new recipes from me every week!
By submitting this form, you consent to receive emails from Minstry of Curry
These rich, flaky parathas can be enjoyed with curries, daals, pickles, and chutneys and also make a great accompaniment with a hot cup of chai. I am so excited to share my parathas recipe with step-by-step photos, vidoe, and lots of tips.
The recipe was originally posted in Oct 2018 and has been updated with new photos and video
Jump to:
What are Parathas
Parathas, a staple in many Indian homes, are soft, thin, and flaky flatbread that can be eaten for breakfast lunch, or dinner. Plain parathas are mainly made with whole wheat flour that is kneaded using salt, oil, and water. The dough is then rolled and cooked on a hot griddle with some ghee or oil until both sides get golden brown spots. Stuffed parathas on the other hand have a combination of savory filling in them like these Aloo Parathas and Palak Paneer Parathas.
To make parathas vegan, simply replace the ghee with any cooking oil and you have a vegan version of the parathas.
Ingredients
- Fine Whole Wheat Flour
- Oil
- Salt (optional)
Best Flour for Parathas
Parathas are made with finely ground whole wheat flour also known as Atta. The best place to buy flour is usually an Indian grocery store. Some of my favorite whole wheat flour brands include - Aashirvaad Select Sharbati Atta, Sujata Chakki Atta, and Aashirvaad Whole Wheat Atta
How to Make Parathas
Step 1: Make the Dough
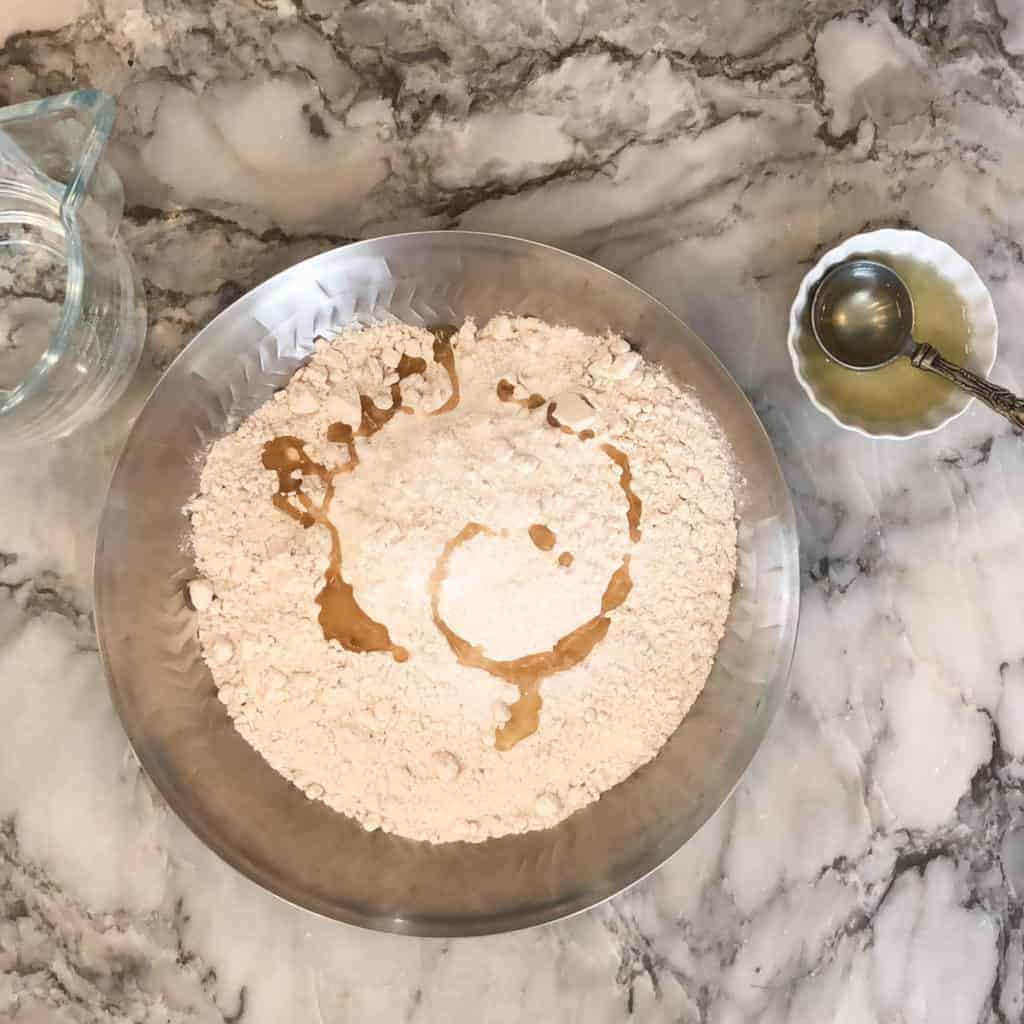
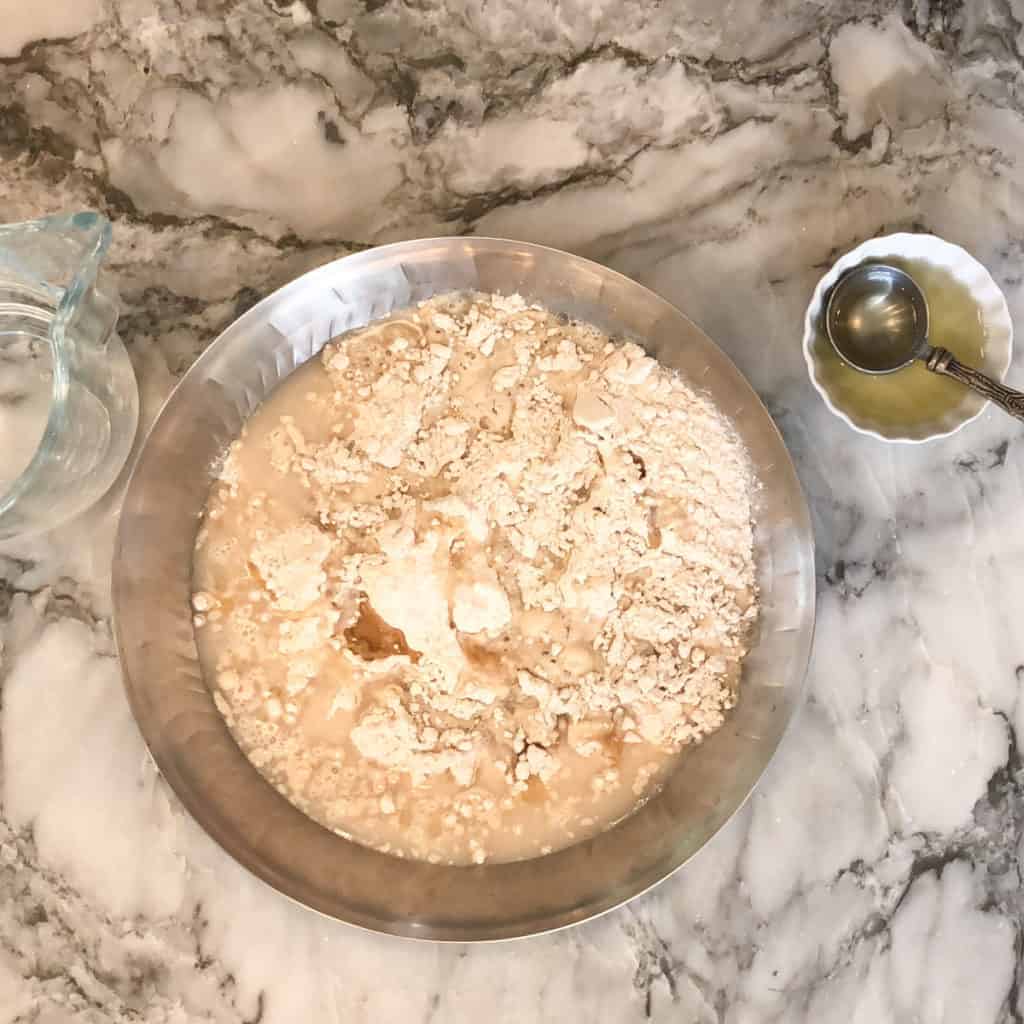
- To a large mixing bowl, add flour, salt, and oil.
- Slowly add water, a little bit at a time, mixing with your hands until soft dough forms. Note: Depending on the brand of the flour you may need more or less water so only add a little bit at a time.
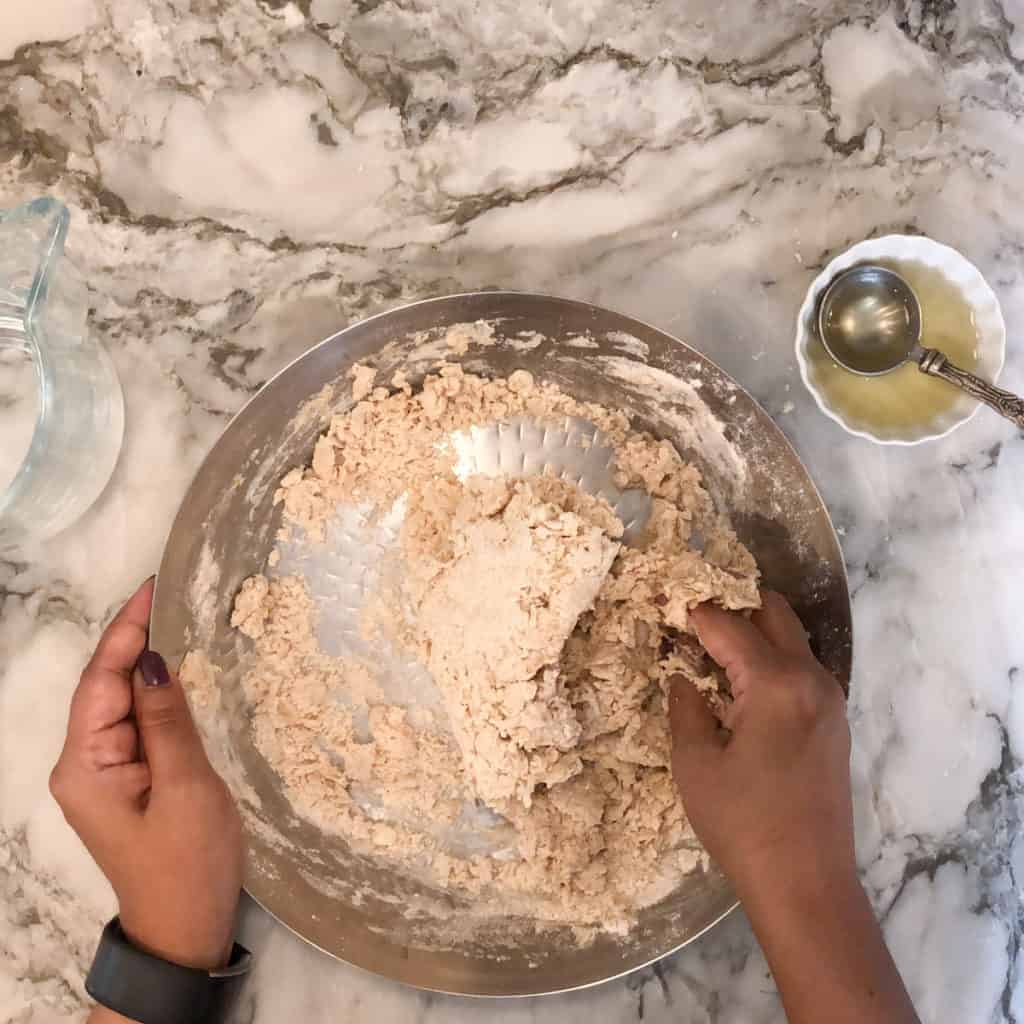
- Add oil to the dough and knead for 4 to 5 minutes until the dough is smooth.
- Rest the dough for 20 minutes covered in an airtight container.
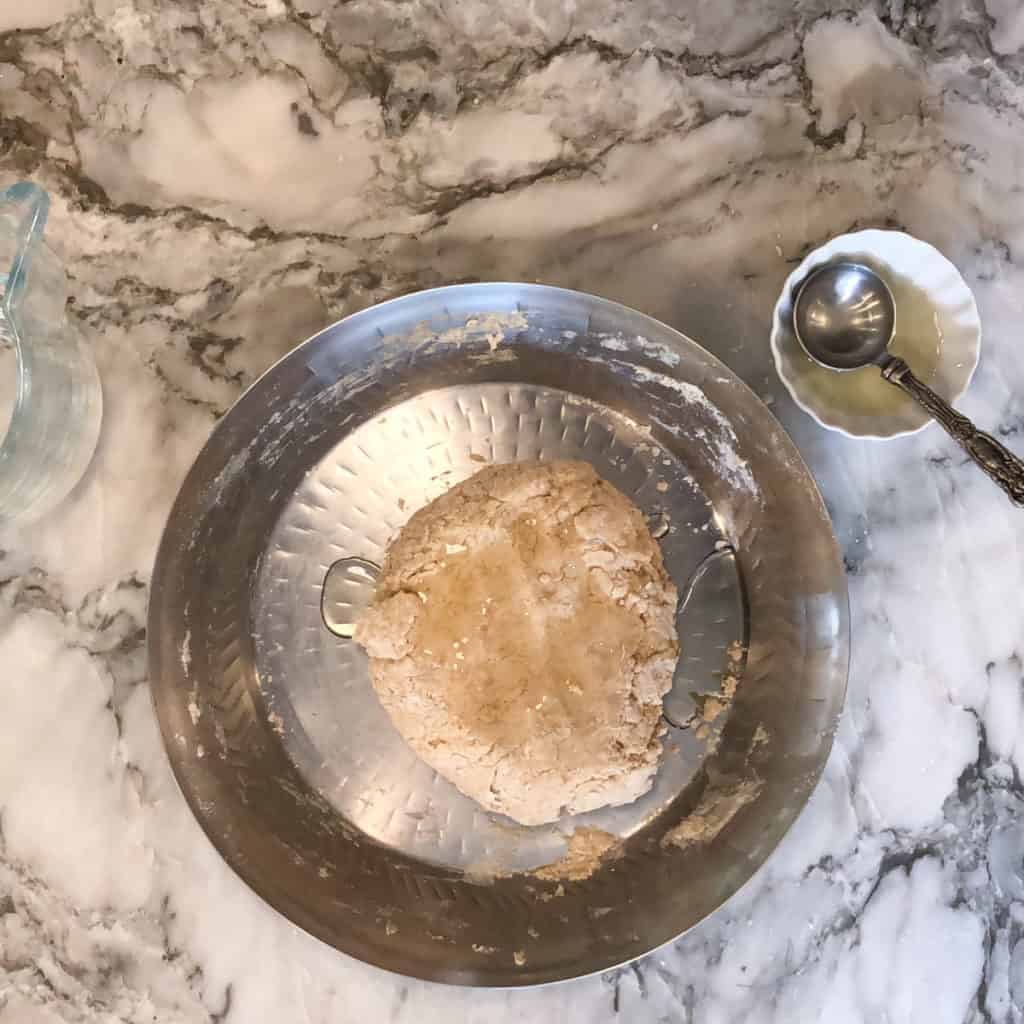
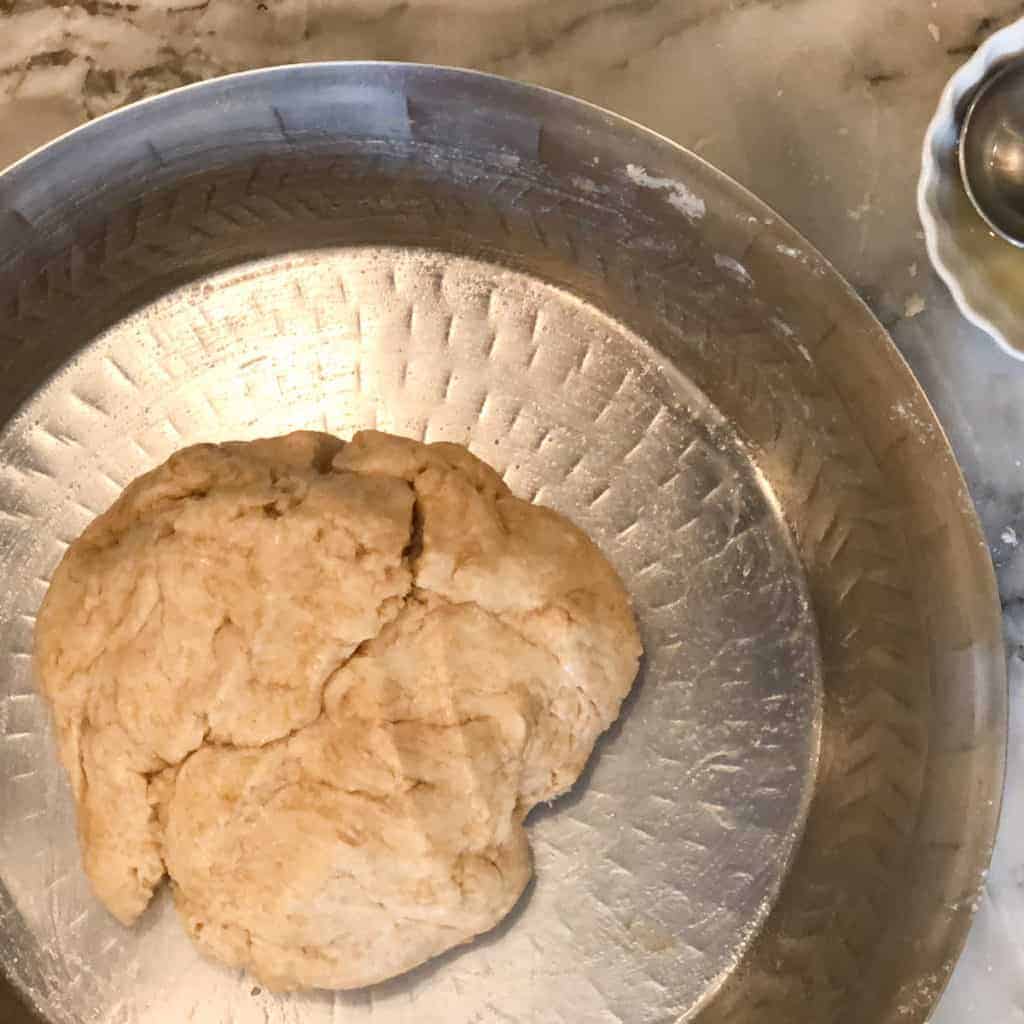
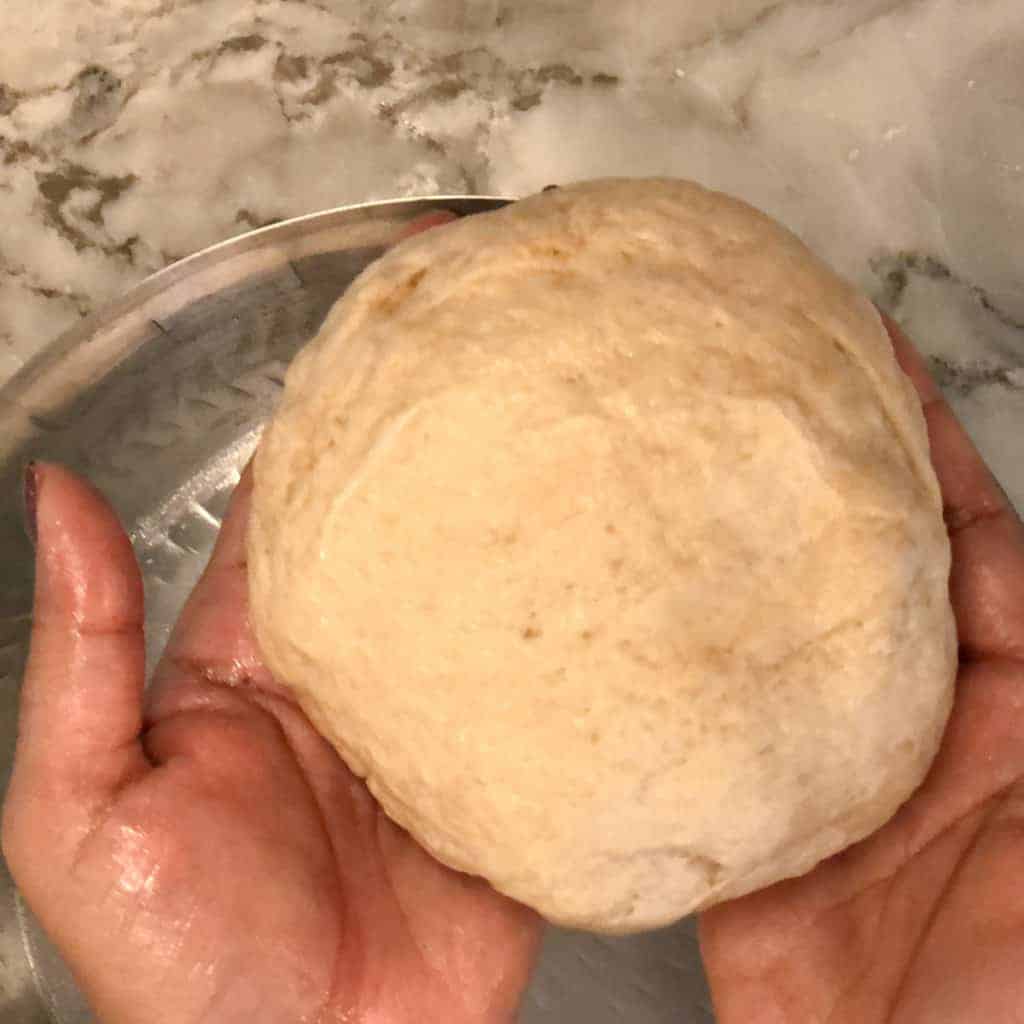
- Divide the dough into ten parts and roll each part on the palm of your hands into a round ball.
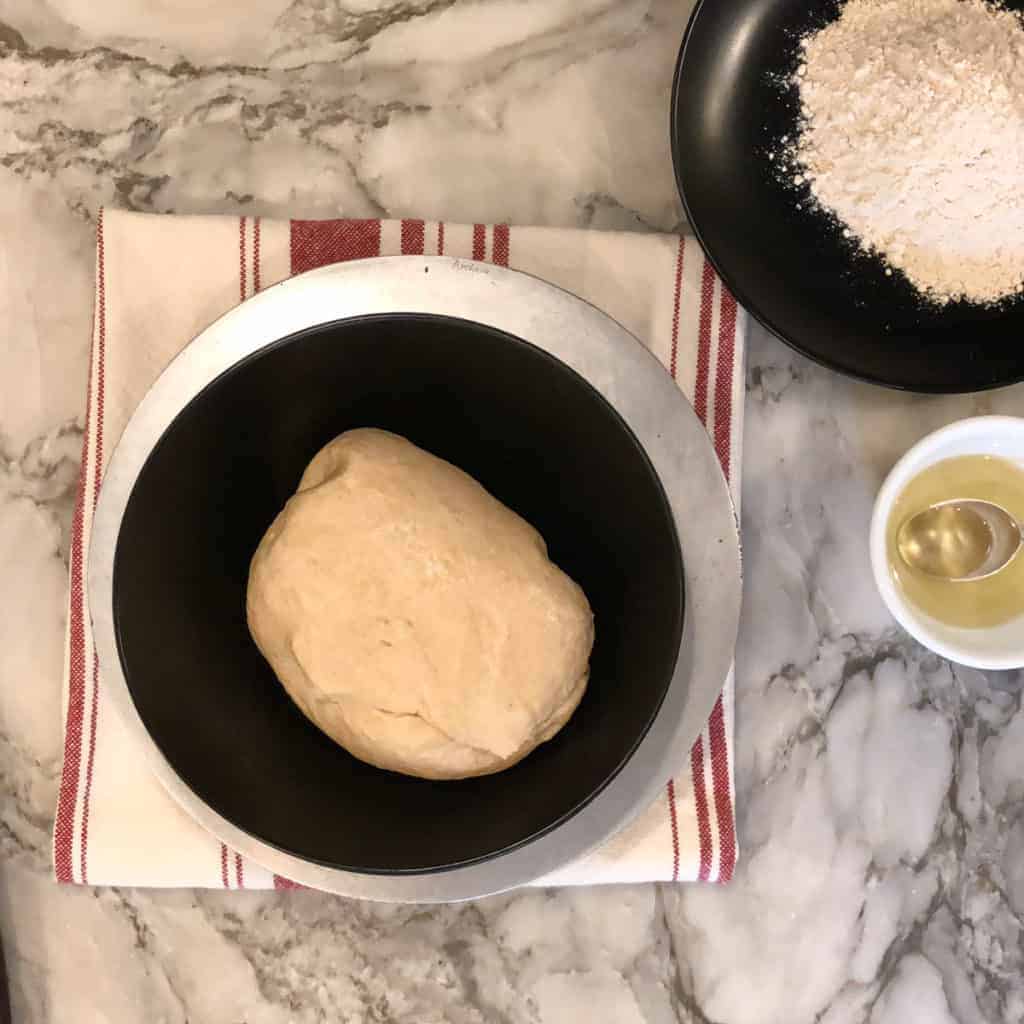
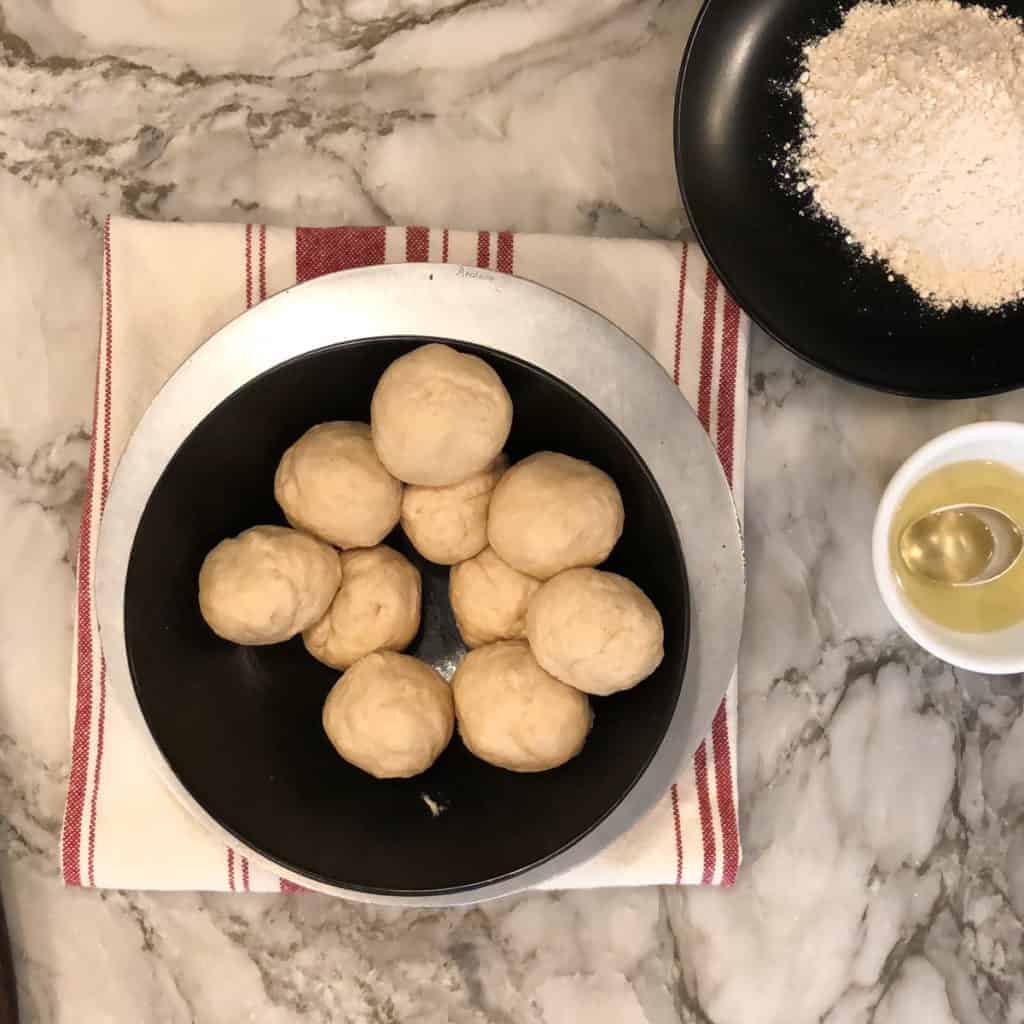
1. Rolling Square Paratha
- Take one piece of the dough ball and dip it in the dry flour lightly coating it all over with flour.
- Using a rolling pin, roll the dough into a 4-inch circle.
- Dip one side of the circle into the flour. Drizzle the floured surface with a few drops of oil, and spread it evenly with your fingers.
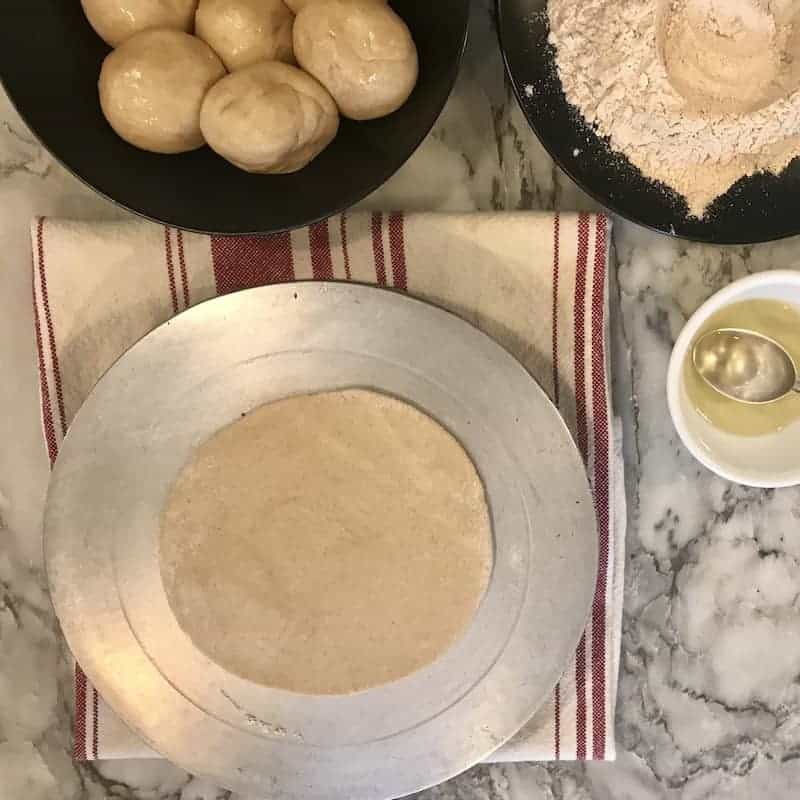
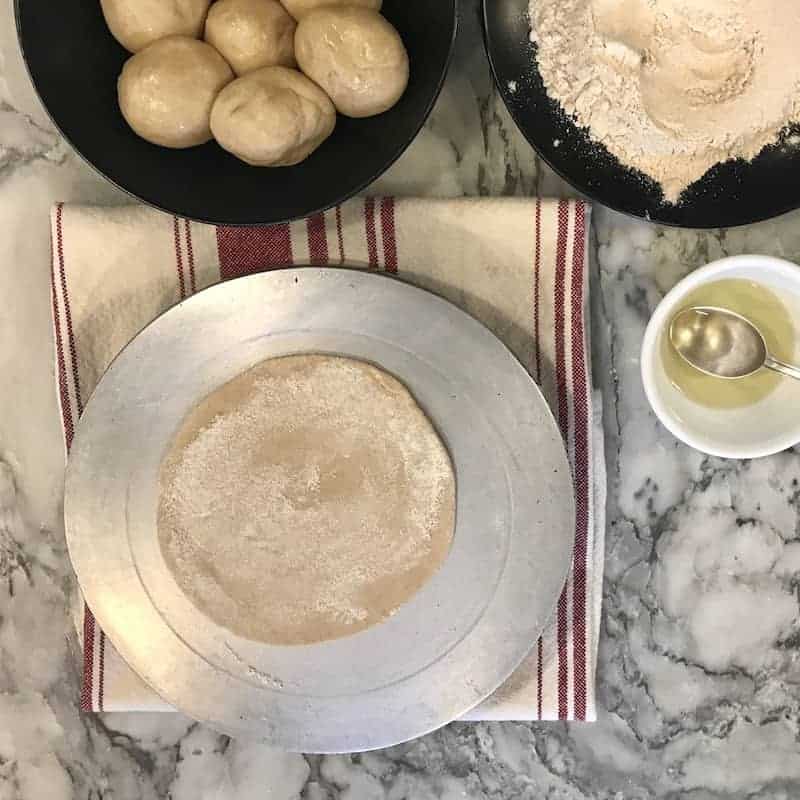
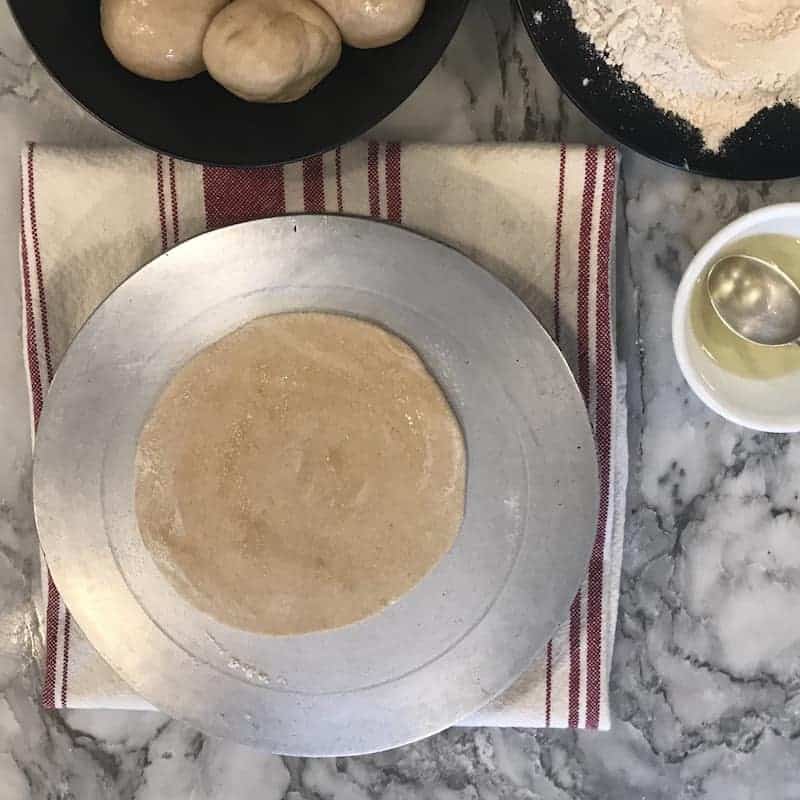
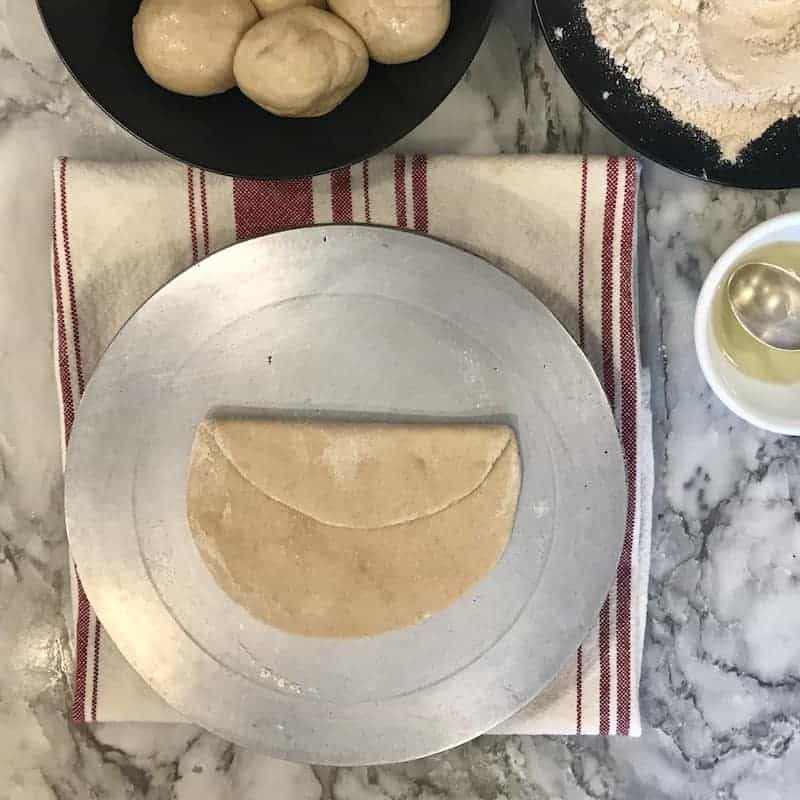
- Fold the top ⅓ side of the circle to the center.
- Fold the bottom ⅓ side of the circle to the center.
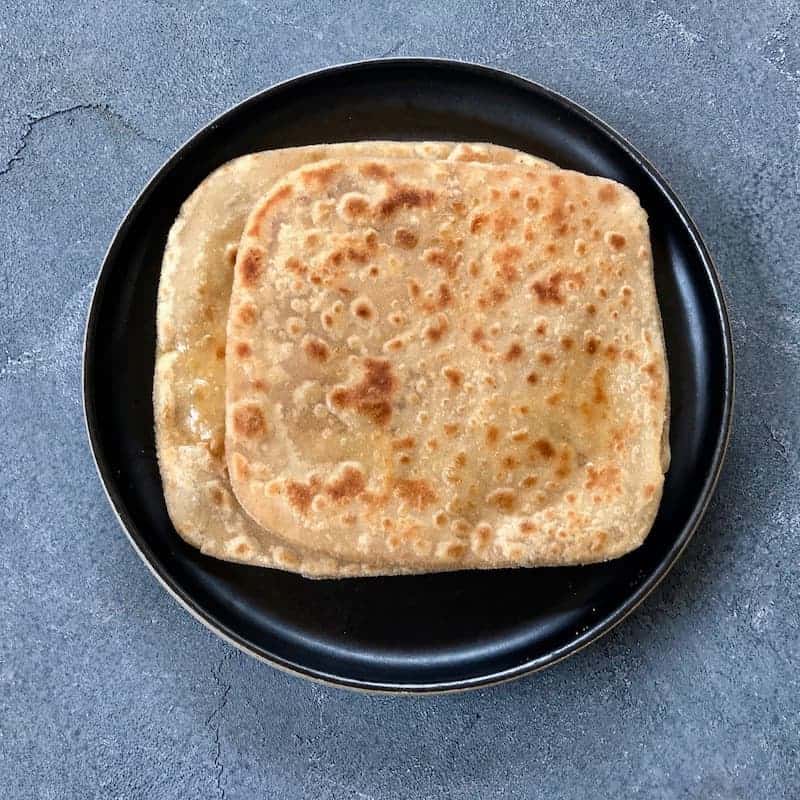
- Drizzle the surface with a few drops of oil, spread it evenly with your fingers, and fold the left ⅓ side to the center and the right ⅓ side to the center. This will form a square-shaped piece of dough layered with oil and flour.
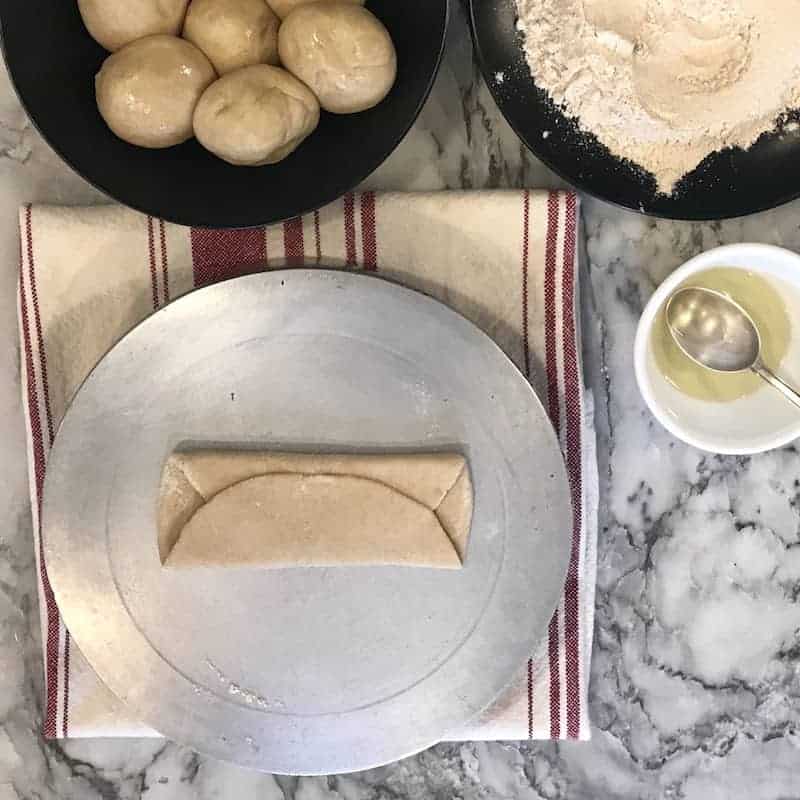
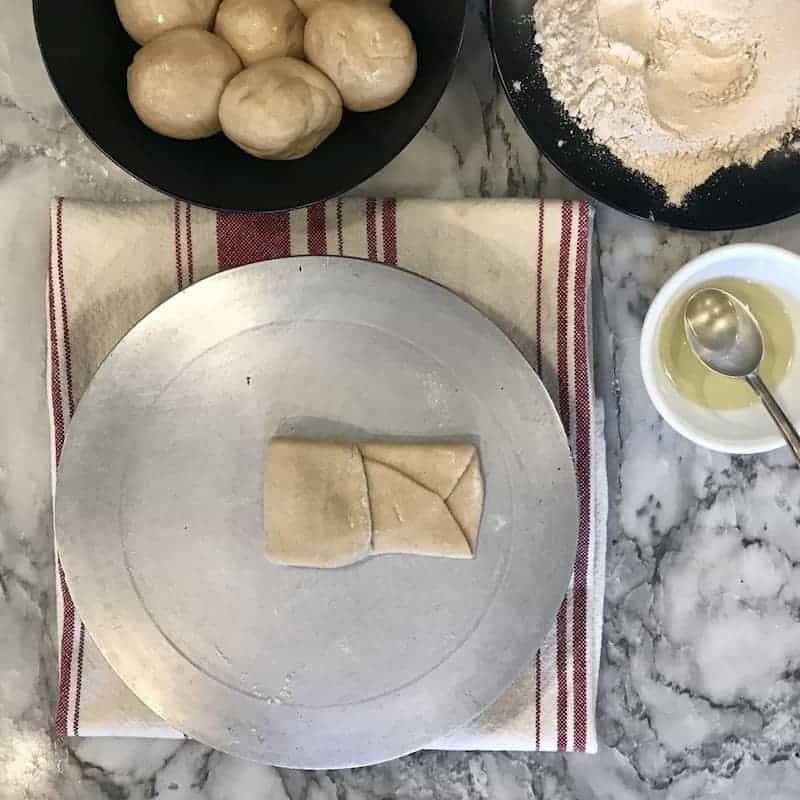
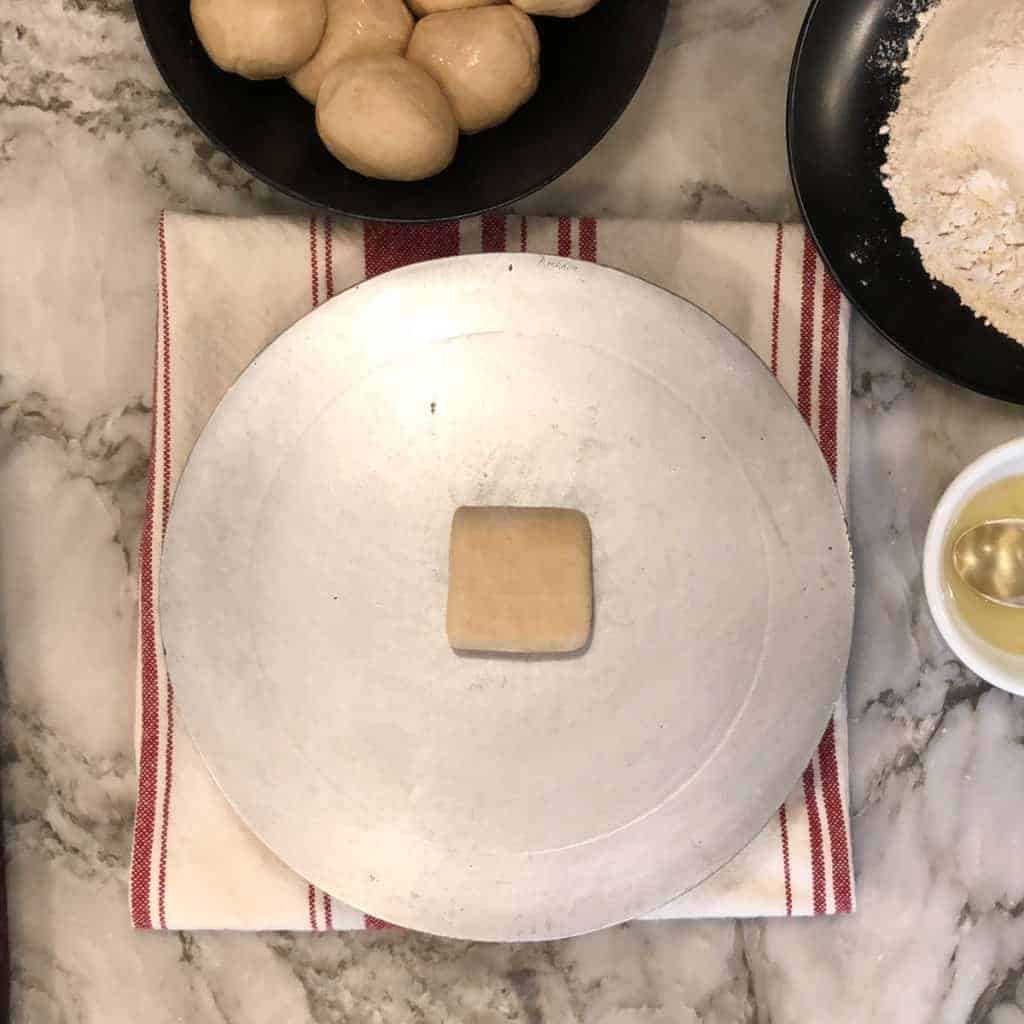
- Dip the square-shaped dough in dry flour coating both sides generously with flour.
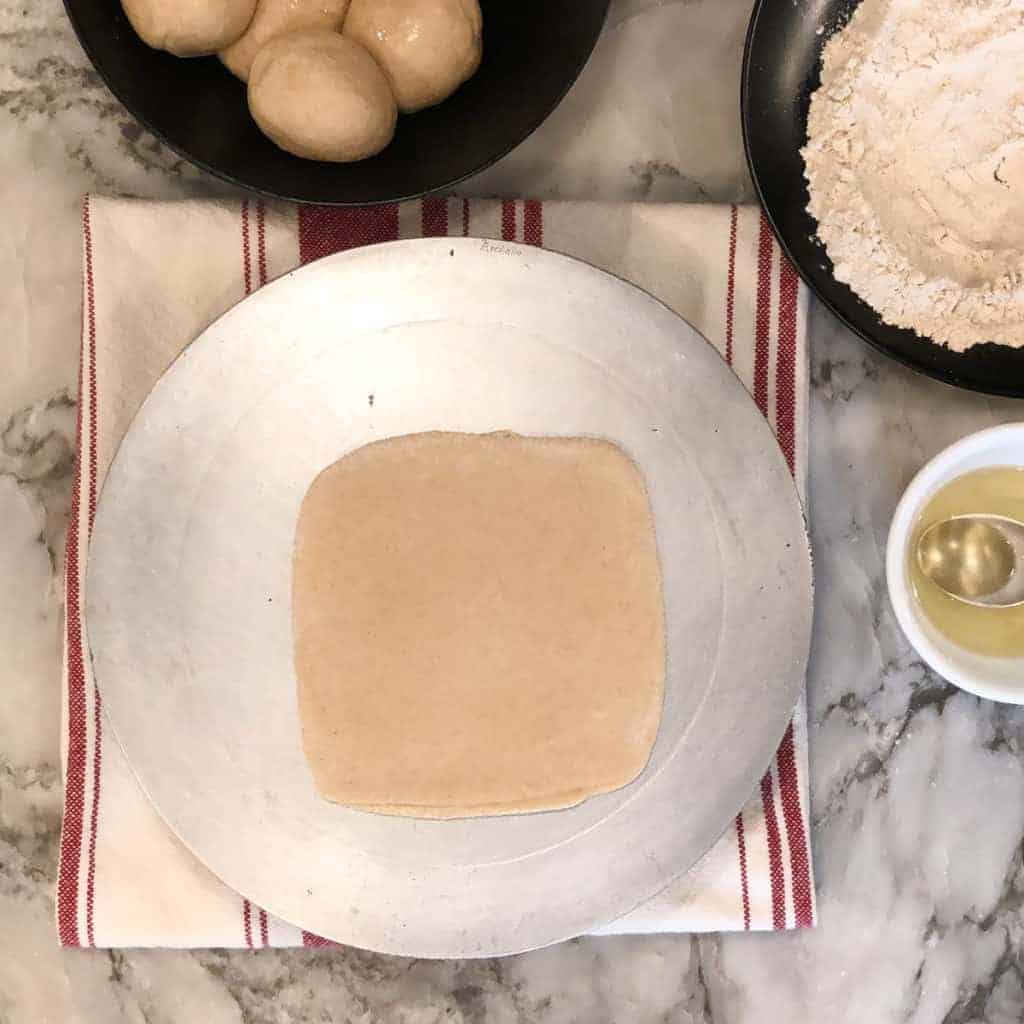
- Next, roll the dough back and forth with the rolling pin as you maintain the square shape. Check the video in the recipe card for more details on the rolling.

2. Rolling Triangle Paratha
- Take one piece of the dough ball and roll it in the dry flour. Using a rolling pin, roll the dough into a 6-inch circle.
- Dip one side of the circle into the flour.
- Drizzle the floured surface with a few drops of oil, and spread it evenly with your fingers.


- Fold the circle in half so that the oil is on the inside.
- Drizzle the surface with a few drops of oil, and spread it evenly with your fingers.
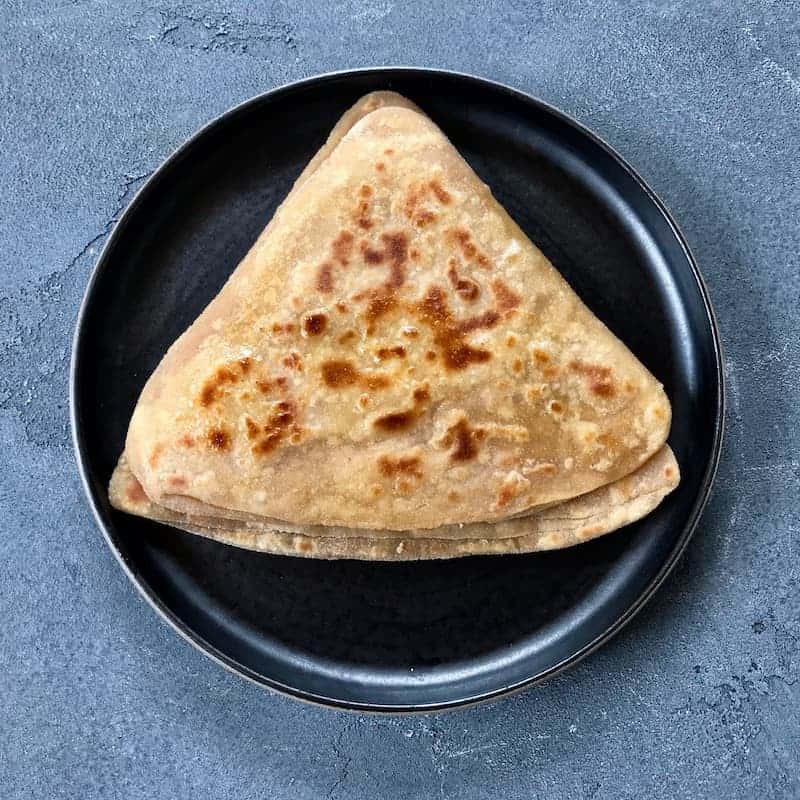
- Fold the semicircle in half again to form a triangle-shaped piece of dough layered with flour and oil.
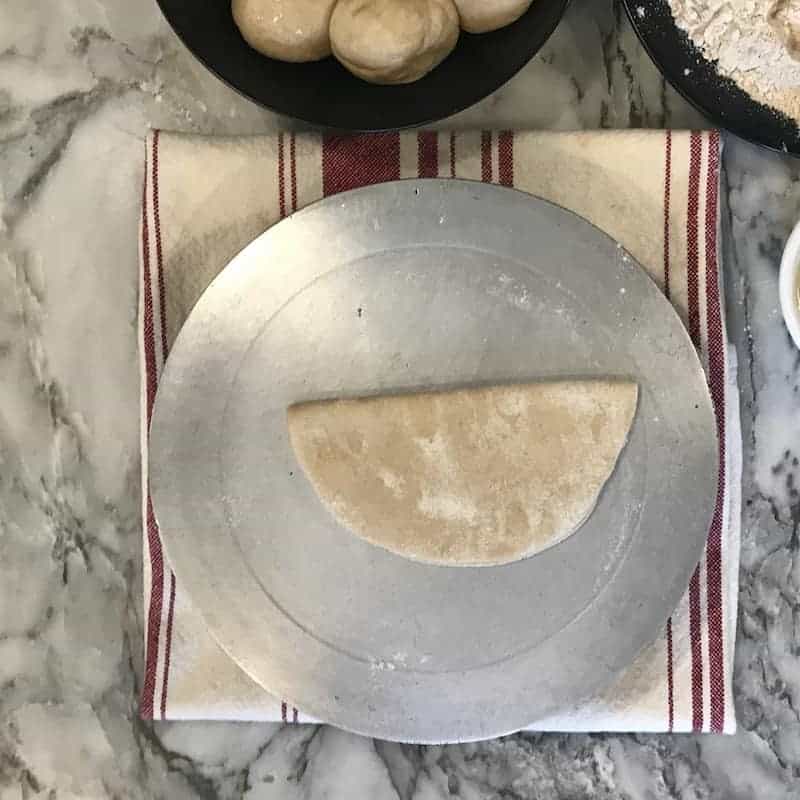
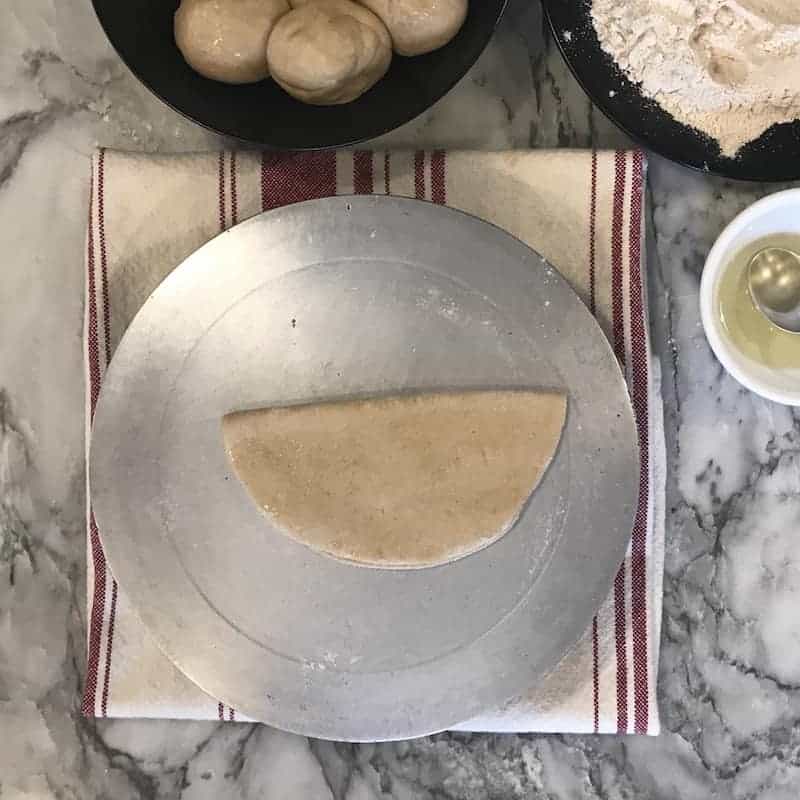
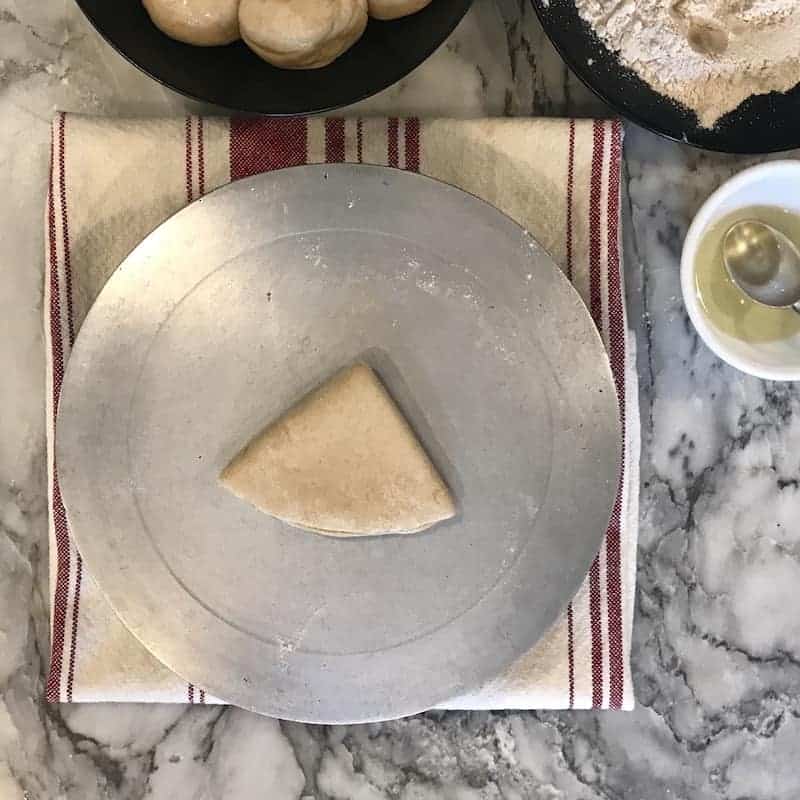
- Dip the dough in the dry flour to generously coat both sides.
- Roll the dough back and forth with the rolling pin as you maintain the triangle shape. Check the videos for more details on the rolling.
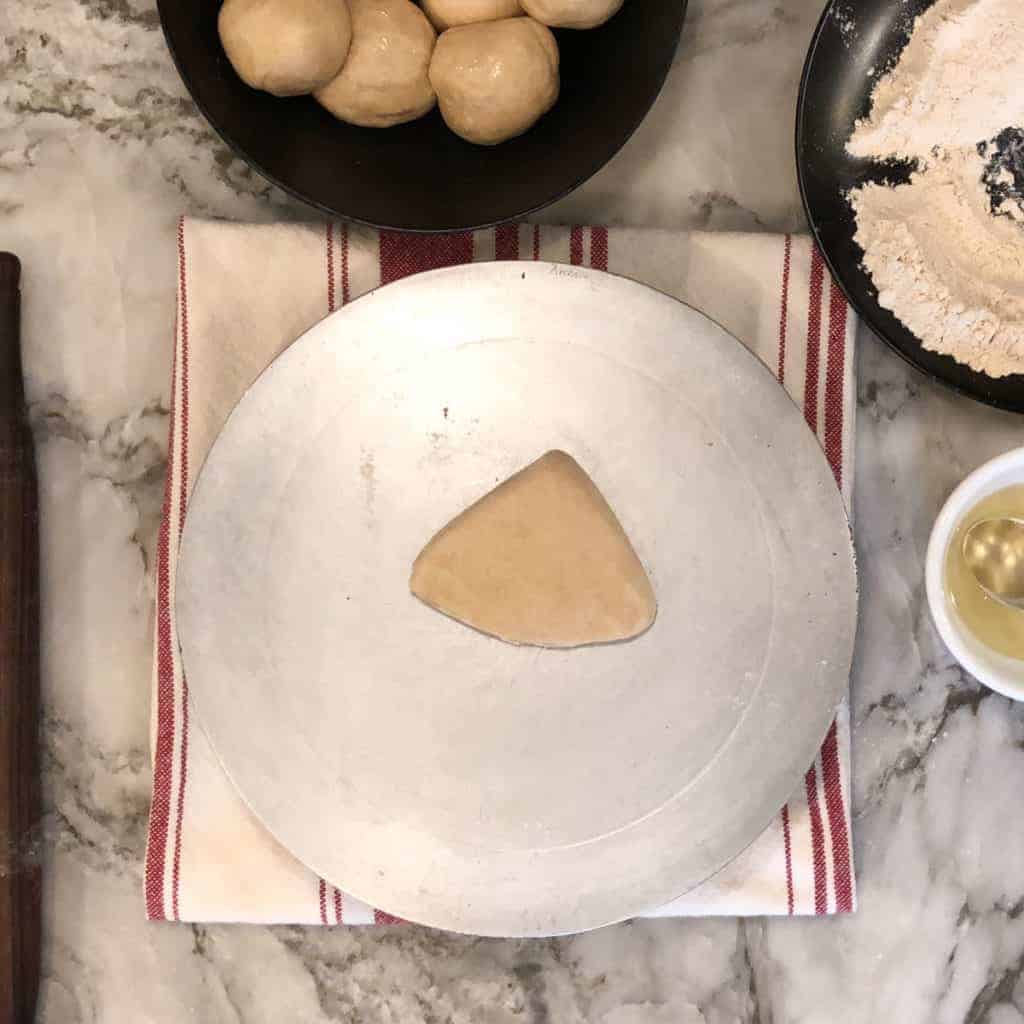
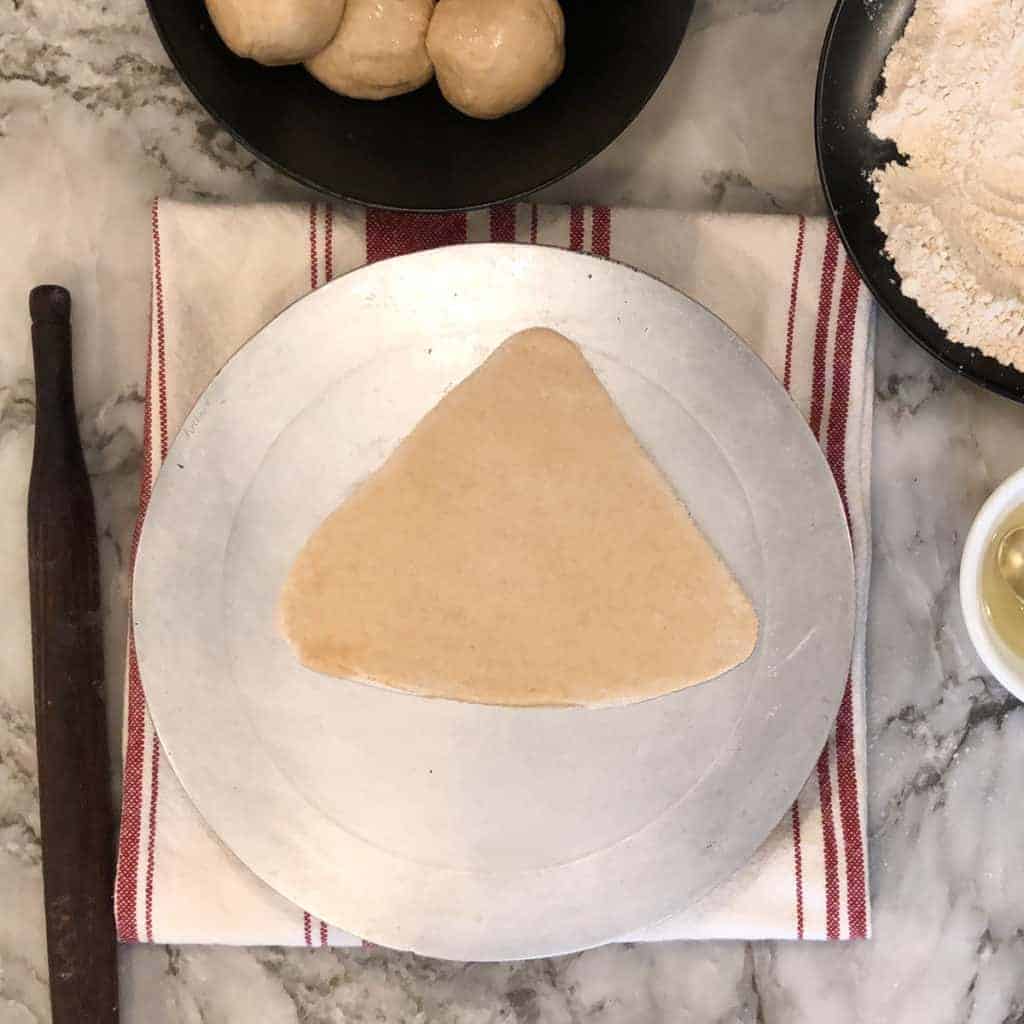
Step 3: Cooking Paratha
Now that we have the paratha rolled out, it's time to cook it!
- Warm a griddle over medium-high heat. Once the griddle is hot, carefully place the rolled-out paratha on the surface and cook until the bottom of the paratha turns lighter than the uncooked top, about 1 minute.
- With a flat spatula, flip the paratha and top it with ghee, spreading it evenly over the surface with the back of the spoon. Cook the second side until it turns light brown, about 2 minutes.
- Flip the paratha and top it with ghee, spreading it evenly over the surface. Cook until light brown, 1 to 2 minutes.
- Gently press the paratha with the spatula to help the paratha cook evenly; be sure to press gently for a soft, flaky paratha. Once both sides get spotty golden brown, transfer the paratha to a plate. Note: Please check the video for visual details.
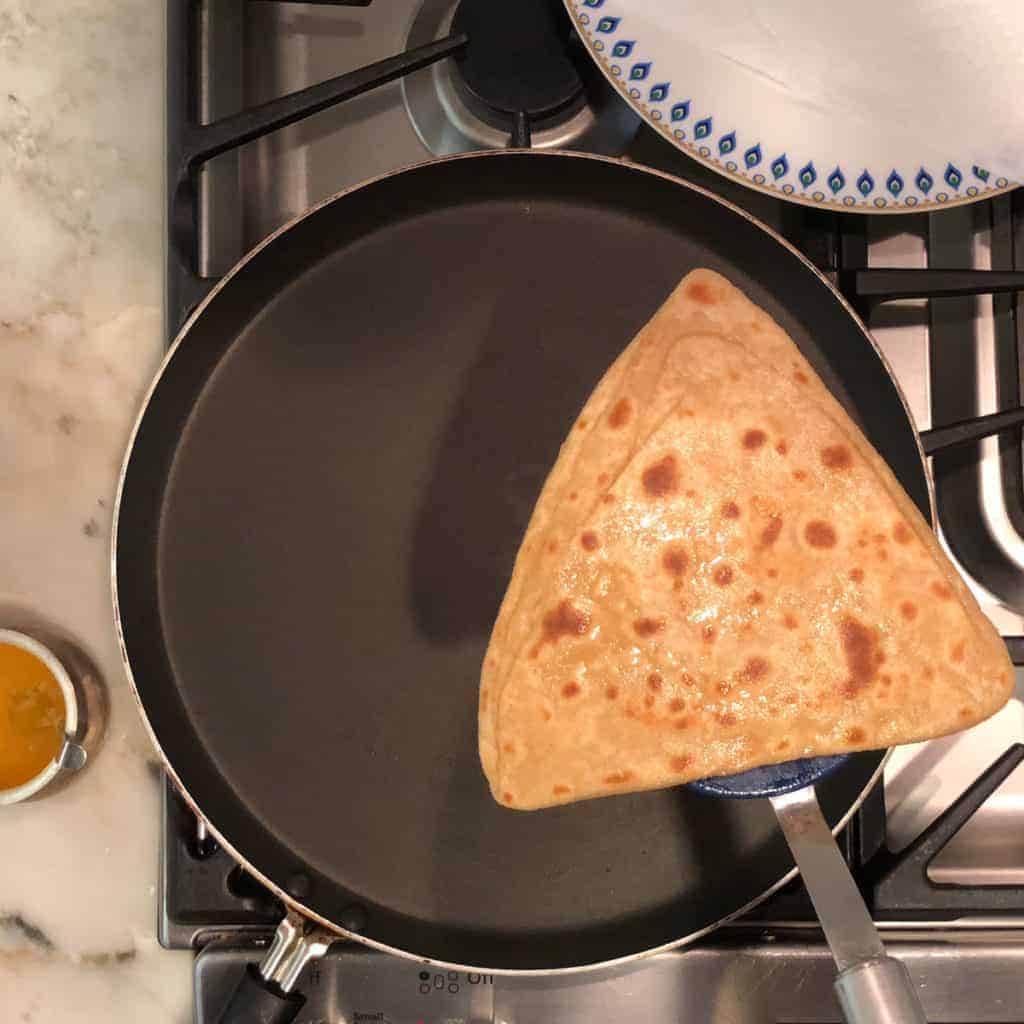
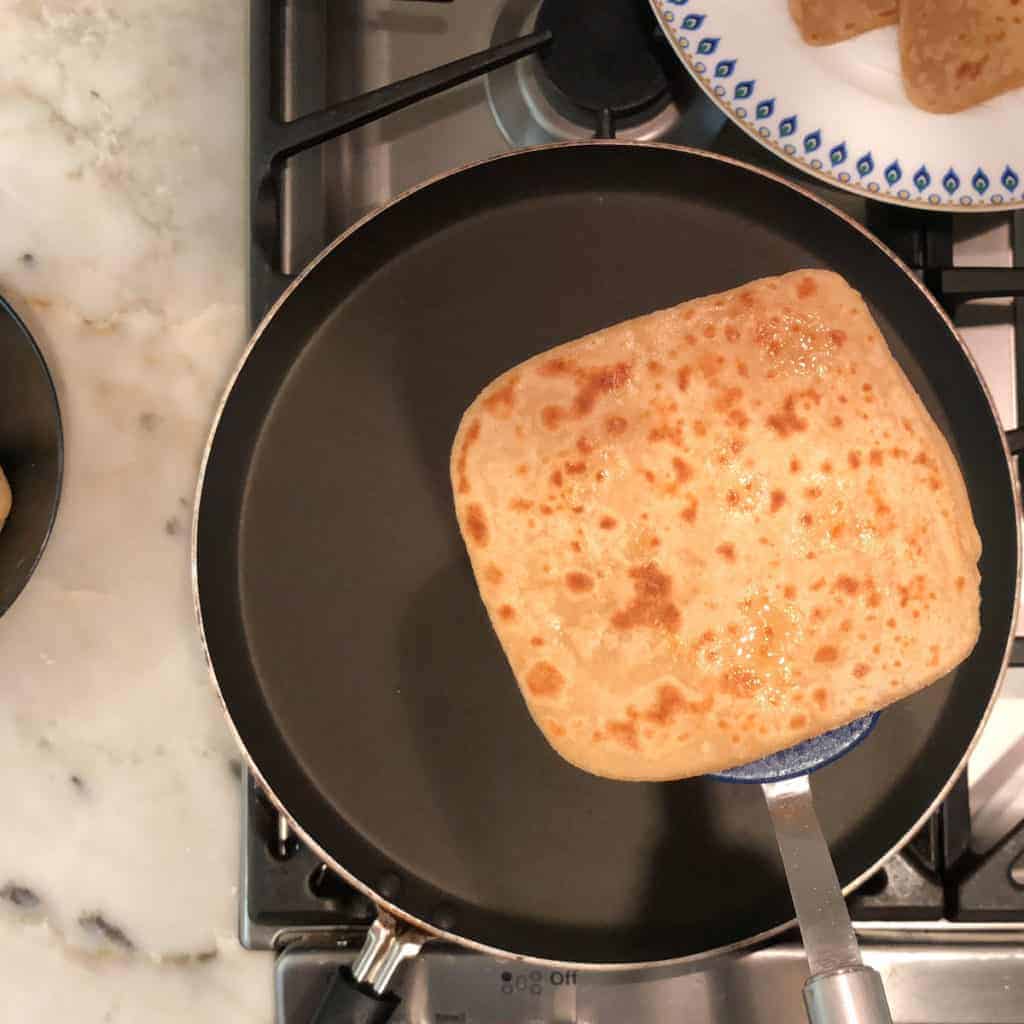
- Repeat with the remaining dough pieces, oil, and ghee. While one paratha is cooking you can start to roll the next. Enjoy warm!
Pro tips for soft and flaky Parathas
- Make sure the dough is not too hard or not too soft by adding a little water at a time as needed.
- Knead the dough really well after adding the oil to make sure that the dough is lump-free.
- Allow the dough to rest for 20 minutes. Cover the dough so it does not get dry.
- Roll with light hands. Do not apply too much pressure.
- Cook by gently pressing the paratha on the sides with a flat spatula. Pressing it too much will cause the paratha to get tough.
- Apply ghee when the paratha is cooked halfway through or when it's almost fully cooked.
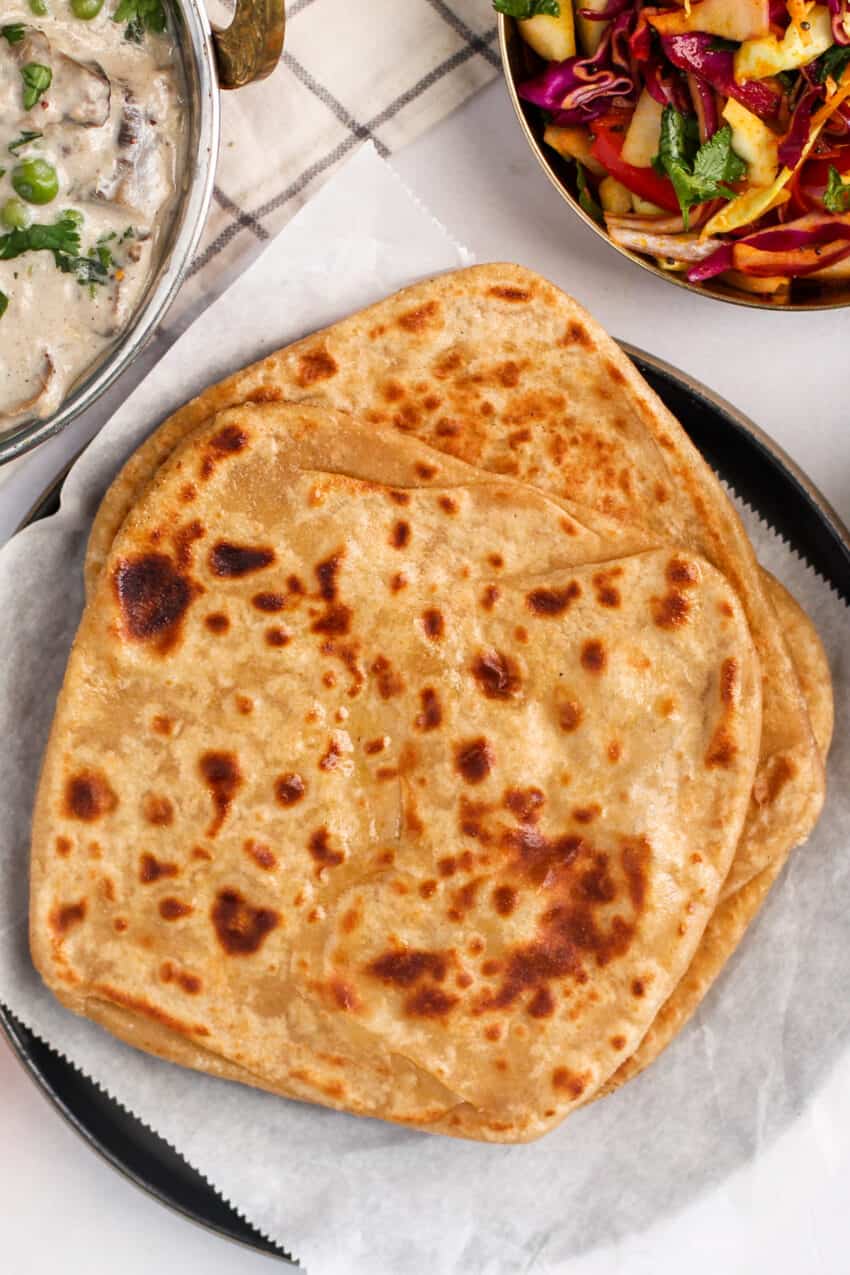
Serving
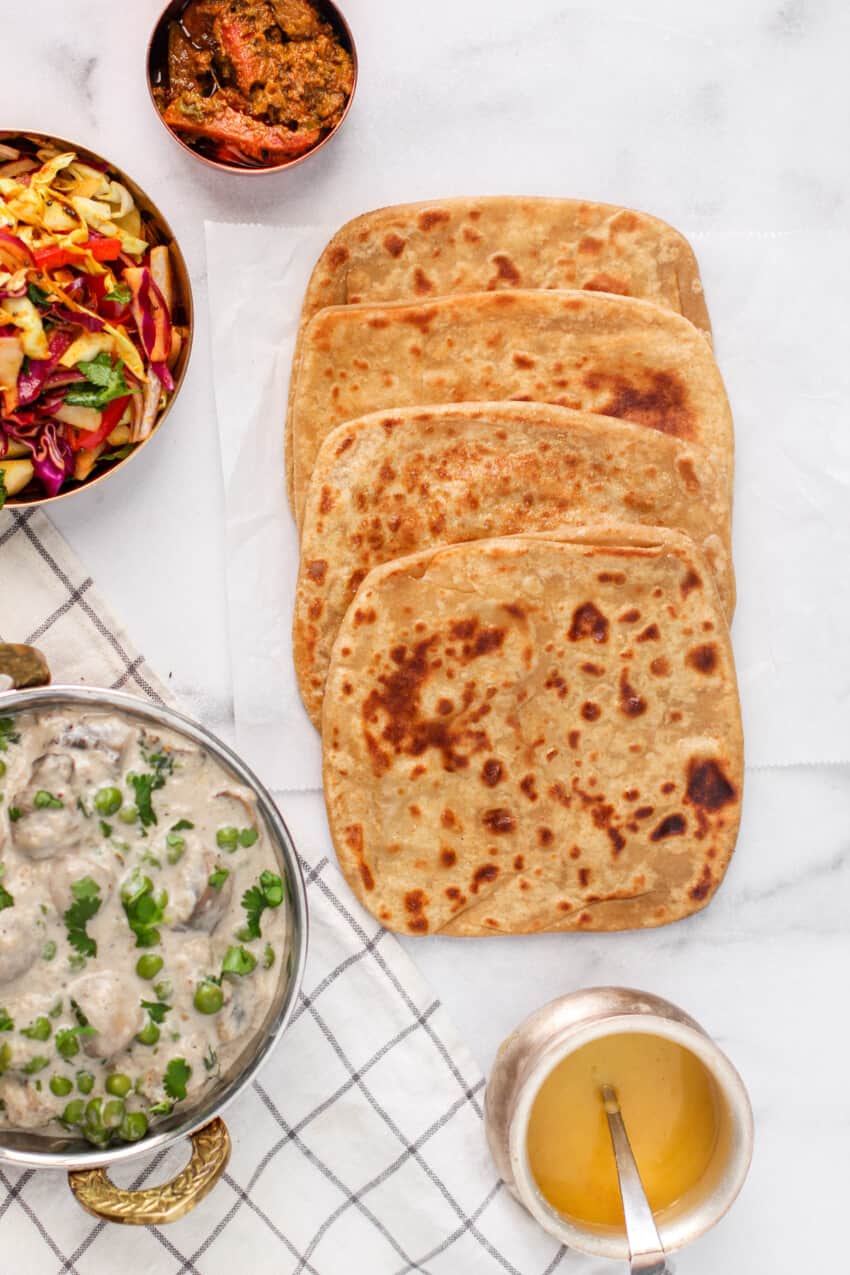
I love to serve parathas with dal makhani (instant pot method). Here are some more of our favorite vegetarian curries to pair with parathas:
You can also serve parathas with a cup of hot chai. Rolled-up paratha dipped in hot chai makes for a perfect breakfast or snack.
Storing the Dough and Parathas
Here is how to store the dough and parathas:
- The dough can be refrigerated in an air-tight container for up to 3 days.
- When using refrigerated dough, allow the dough to come to room temperature before rolling.
- Cooked Parathas can be refrigerated for 3 to 4 days or frozen for a longer shelf life. Reheat the Parathas on a stovetop griddle with a sprinkle of oil or ghee
Enjoy homemade Indian flatbreads? Try these variations.
- Roti
- Puri
- Bajra Bhakri
- Jowar Roti
- Fenugreek sweet potato paratha
- Kale Potato Parathas
- Purple Cabbage Parathas
- Pumpkin Parathas
Also, try my recipes for gluten-free Jowar Roti and Bajra Roti with all my tips!
★ Have you tried this recipe? We love your feedback, Please click on the stars in the recipe card below to rate.
Recipe
Parathas
Recipe Video
Ingredients
Dough
- 3 cups whole wheat flour see notes
- 2 tablespoons oil
- 1 teaspoon kosher salt
- 1¼ cups water plus additional 2 to 3 tablespoons if needed.
Rolling
- 1 cup whole wheat flour
- 2 tablespoons oil
Cooking
- 4 tablespoons ghee use oil for vegan variation
Instructions
Dough
- In a large bowl, mix 3 cups of flour, salt and 1 tablespoon oil. Slowly add water, little bit at a time, mixing with your hands until soft dough forms. Adding about 1 and ¼ cup of water. Note: Depending on the brand of the flour you may need more or less water so only add little bit at a time.
- Add 1 tablespoon of oil to the dough and knead again until the dough is smooth. Rest the dough for 10 to 20 minutes covered with plastic wrap or in an airtight container.
- Divide the dough into 10 to 12 pieces and roll each piece on the palm of your hands into a round ball.
Rolling layered square Paratha
- Take one piece of dough ball and roll it in the dry flour. Using a rolling pin, roll the dough into a 4-inch circle. Dip one side of the circle into the flour. Drizzle the floured surface with few drops of oil, spread it evenly with your fingers.
- Fold the top ⅓ side of the circle to the center. Fold the bottom ⅓ side of the circle to the center. Drizzle the surface with few drops of oil, spread it evenly with your fingers, and fold the left ⅓ side to the center and the right ⅓ side to the center. This will form a square-shaped piece of dough layered with oil and flour.
- Dip the dough in the dry flour coating both the generously with flour. Roll the dough back and forth with the rolling pin as you maintain the square shape. Check the videos for more details on the rolling.
Rolling layered triangle Paratha
- Take one piece of dough ball and roll it in the dry flour. Using a rolling pin, roll the dough into a 6-inch circle. Dip one side of the circle into the flour. Drizzle the floured surface with few drops of oil, spread it evenly with your fingers. Fold the circle in half so that the oil is on the inside.
- Drizzle the surface with few drops of oil, spread it evenly with your fingers. Fold the semicircle in half again to form a triangle shaped piece of dough layered with flour and oil.
- Dip the dough in the dry flour to generously coat both the sides. Roll the dough back and forth with the rolling pin as you maintain the triangle shape. Check the videos for more details on the rolling.
Cooking Paratha
- Warm a griddle over medium-high heat. Once the griddle is hot, carefully place the rolled out paratha on the surface and cook until the bottom of the paratha turns lighter that the uncooked top, about 1 minute.
- With a flat spatula, flip the paratha and top with ¼ teaspoon of ghee, spreading it evenly over the surface with the back of the spoon. Cook the second side until it turns light brown, about 2 minutes.
- Flip the paratha and top with ¼ teaspoon ghee, spreading it evenly over the surface. Cook until light brown, 1 to 2 minutes. Gently press the paratha with the spatula to help the paratha cook evenly; be sure to press gently for a soft, flaky paratha. Once both sides get spotty golden brown, transfer the paratha to a plate or store in a casserole. Note: Please check the video for visual details.
Repeat with the remaining dough pieces, oil, and ghee. While one paratha is cooking you can start to roll the next. Enjoy warm!
Notes
- Make sure the dough is not too hard or not too soft by adding little water at a time as needed.
- Knead the dough really well after adding the oil to make sure that the dough is lump free.
- Allow the dough to rest for 10 to 20 minutes. Cover the dough at this step to avoid it getting dry.
- Roll with light hands. Do not apply too much pressure.
- Cook by gently pressing the paratha on the sides with a flat spatula. Pressing it too much will cause the paratha to get tough.
- Apply ghee when the paratha is cooked halfway through or when it's almost fully cooked.
- The dough can be refrigerated in an air-tight container for up to 3 days.
- When using refrigerated dough, allow the dough to come to room temperature before rolling.
- Cooked Parathas can be refrigerated for 3 to 4 days or frozen for longer shelf life. Reheat the Parathas on the stovetop griddle with a sprinkle of oil or ghee.
Nutrition
♥ We LOVE to hear from you! Did you try this recipe? Please share your food photo with hashtag #ministryofcurry on Facebook or Instagram, so we can see it and our followers can enjoy it too! Thank you and Happy Cooking ♥ Subscribe to our Youtube Channel for tasty and easy video recipes. Looking for more Instant Pot recipes? Check out our delicious Instant Pot Recipe board on Pinterest.




Laura says
Great recipe Archana - I would be very happy living in a household where these were whipped up fresh daily! Congrats on your cookbook too - I have been following your posts on Instagram and you must be so proud!
Archana says
Thank you Laura! Appreciate your kind words and support through my journey. Yes, excited and proud for my book to come out and hope that it will be helpful for many people who are interested in easy and healthy Indian recipes 🙂
Melodie says
What type of oil do you use?And do you make your own ghee?
Archana says
Hi Melodie, I use avocado oil and yes I make my own ghee. It is very easy, I have both stove top and Instant Pot recipes for ghee on the website.
Lori says
Looks fun and yummy! What is the tray you roll them out on called? I would like to find one.
Archana says
It is called Chakla. You can buy it on amazon - https://amzn.to/2Ce0s6T
Bb says
Hi Archana ! Nice and easy recipe. What is the rolling pin you use. ? Also what brand avocado oil ? Thx
Archana says
It’s a wooden rolling pin available in Indian groceries and also amazon. I use chosen foods avocado oil
Pinky says
Hi Archana! What type/brand griddle do you use? Looking to change mine.
Archana says
I have a link to this pan on my influencer page - https://www.amazon.com/shop/influencer-369a3d0c
Paul says
Hi Archana. Do we need to put oil on the griddle before putting the paratha on it ?
Archana says
Hi Paul, not before putting the paratha. Oil or ghee is added in the end to finish the cooking
Nita Taylor says
Hi Archana, do you use hot/boiling water, cold water or room temperature water to tie the dough?
Archana says
room temperature water.
Charlene says
Do you have to use oil?
Archana says
Oil can be optional
Susan Saeed says
Thank u so much for your recipe and tips! For the first time I did not struggle and they came out awesome! I’ve been trying for years!
Aditi Chang says
Clear and easy to follow recipe even for a beginner! Next time I think I'll mix the dough in the food processor to make it easier, and probably a better dough!
Archana says
Thank you Aditi!
Reynold says
Hi Archana I love your recipes made simple
Archana says
Thank you!
Wendy says
Hello Archana!
I sent my husband to the ethnic food store in Tucson (4 hours away) to get atta so we could try this recipe. Good thing we love it - the smallest bag they sold was 20#.
We really enjoyed MAKING these - it's a super fun, tactile activity and you end up with something delicious to eat. We decided it is absolutely a two person activity though. A couple notes you might want to add, that we figured out by trial and error (we did not watch the video first)::
1) The parathas need to be rolled out VERY thin - so they end up being about 8-9" across for the square shape, and maybe 1.5-2 millimeters thick. The first two turned out doughy, but the chickens will approve.
2) 'Medium-high' might be a little high, at least for our gas stove. We had black spots instead of brown, discovered our smoke alarms are not working and had to air the house out for about 10 minutes, even though we didn't have them on the stove long. We are thinking maybe we should do them on a pan on the grill outside.
3) 'Square' is subjective (at ;east mine were by the time I got done rolling them. 🙂
We really had fun and between us, downed 8 of these things as we made them.
As always, thank you so much.
Wendy
Archana says
Thank you for the detailed feedback wendy! I am so glad you enjoyed the process of making and eating them 🙂
Reshma says
I’ll stop buying the frozen junk filled with preservatives after trying this! The tips were very helpful! It’s a Must try! Thank you Ministry of Curry!
Archana Mundhe says
Amazing! Homemade parathas are the best.