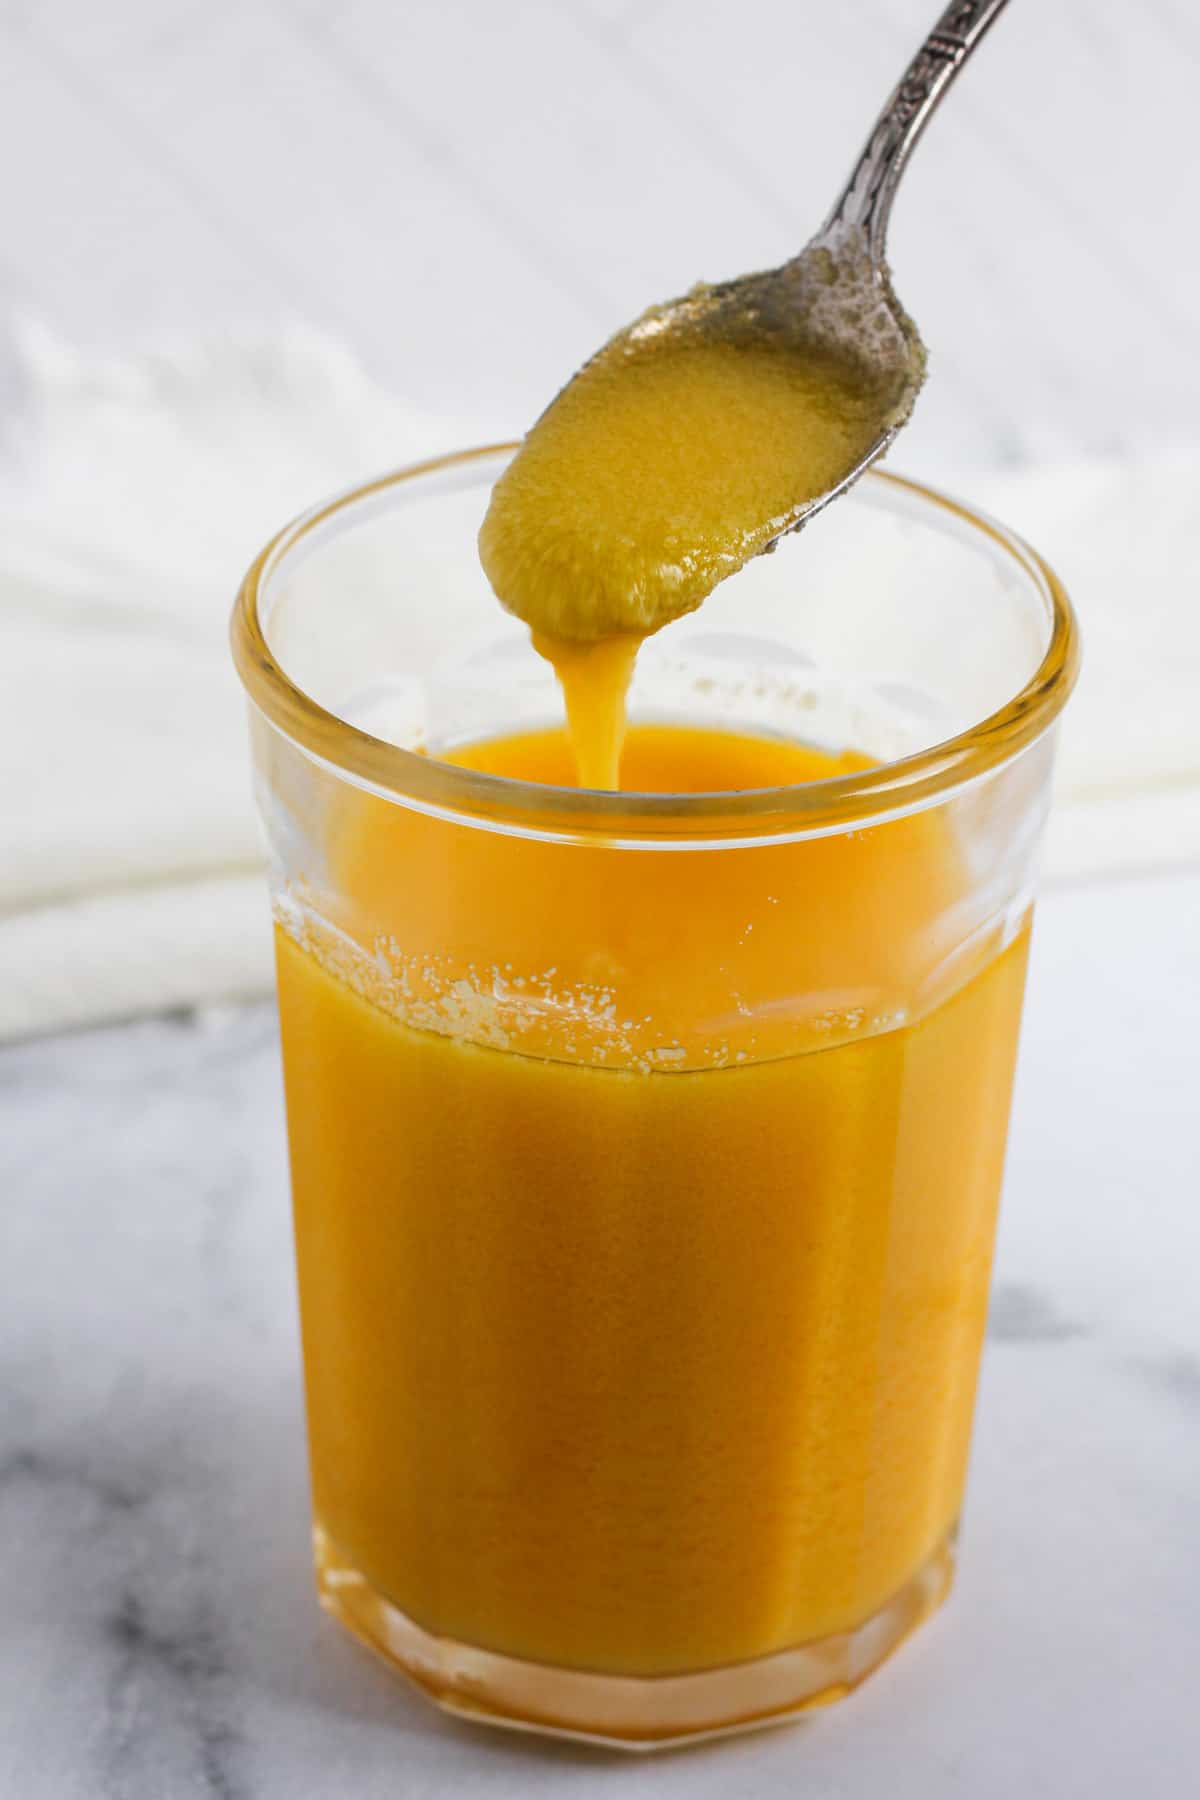
A staple in every Indian household, rich-nutty ghee is a must for Indian cooking.Learn how to make gheeat home using the stovetop or Instant Pot. My recipefor ghee uses just 1 ingredient — unsalted butter — and is ready within 25minutes.
Want to Save This Recipe?
Enter your email & I'll send it to your inbox. Plus, get great new recipes from me every week!
By submitting this form, you consent to receive emails from Minstry of Curry
The recipe was originally posted in March 2017 and has been updated with new photos and stovetop ghee instructions.
⭐️⭐️⭐️⭐️⭐️
"I tried this recipe for making ghee! I can’t brag enough about it. This is probably the most easy and fuss free recipe. The instructions are so well mentioned along with the pictures. My ghee took a little more time to cook but I followed the picture on how it should look etc . Just to mention that I am very fussy to eat just grassfed ghee. I used to get store bought ghee in the States but here in London I couldn’t get a single brand that could satisfy me. This was so economical with 4 blocks of butter!! Thank you Archana ❤️" -
Growing up in India, I remember mom making homemade ghee every couple of weeks. We would get farm fresh milk delivered every day. The milk was pasteurized at home by boiling it. Once the milk cooled down it was refrigerated. This is when the milk fat would separate forming a thick layer of cream also known as Malai. Mom would carefully scoop out the top cream layer and refrigerate it in a container. Once she had enough cream collected for a week or so, she would then churn the cream to separate the butter (aka Makkhan) from the buttermilk. This butter was then simmered to make homemade ghee.
In the US, I love the convenience of unsalted grass-fed Kerrygold butter—it makes ghee that’s wonderfully similar to desi ghee, with a rich, nutty aroma and a beautiful golden hue. While I prefer using unsalted butter, you can use salted butter too! Just remember to shorten the cooking time slightly. And if you’re curious—no, salted butter won’t make your ghee salty! 😊
If you love Indian food, making it at home is so much easier when you start with staples like homemade ghee. Once you’ve mastered that, why not learn how to make garlic paste or even whip up some Homemade Garam Masala? It’s easier than you think!

What is Ghee?
- Ghee is unsalted butter that has been cooked. The cooking process melts the butter, which separates the milk solids from the yellow liquid.
- Sometimes also known as clarified butter, ghee is simmered down longer than clarified butter, to the point where the milk solids cook a bit, giving the butter a golden hue, and a nutty flavor.
- Ghee has a much higher smoke point than butter which makes it ideal for sautéing and frying. It can be used in most recipes that call for butter or oil.
- Ghee has a long shelf life. It can be stored at room temperature or can be refrigerated for extended shelf life
- Since ghee has its milk solids removed, individuals with lactose or casein intolerances typically find it easier to digest. Ghee is endorsed by Ayurveda and is compliant with Whole30 and Paleo diets.
Why Homemade Ghee?
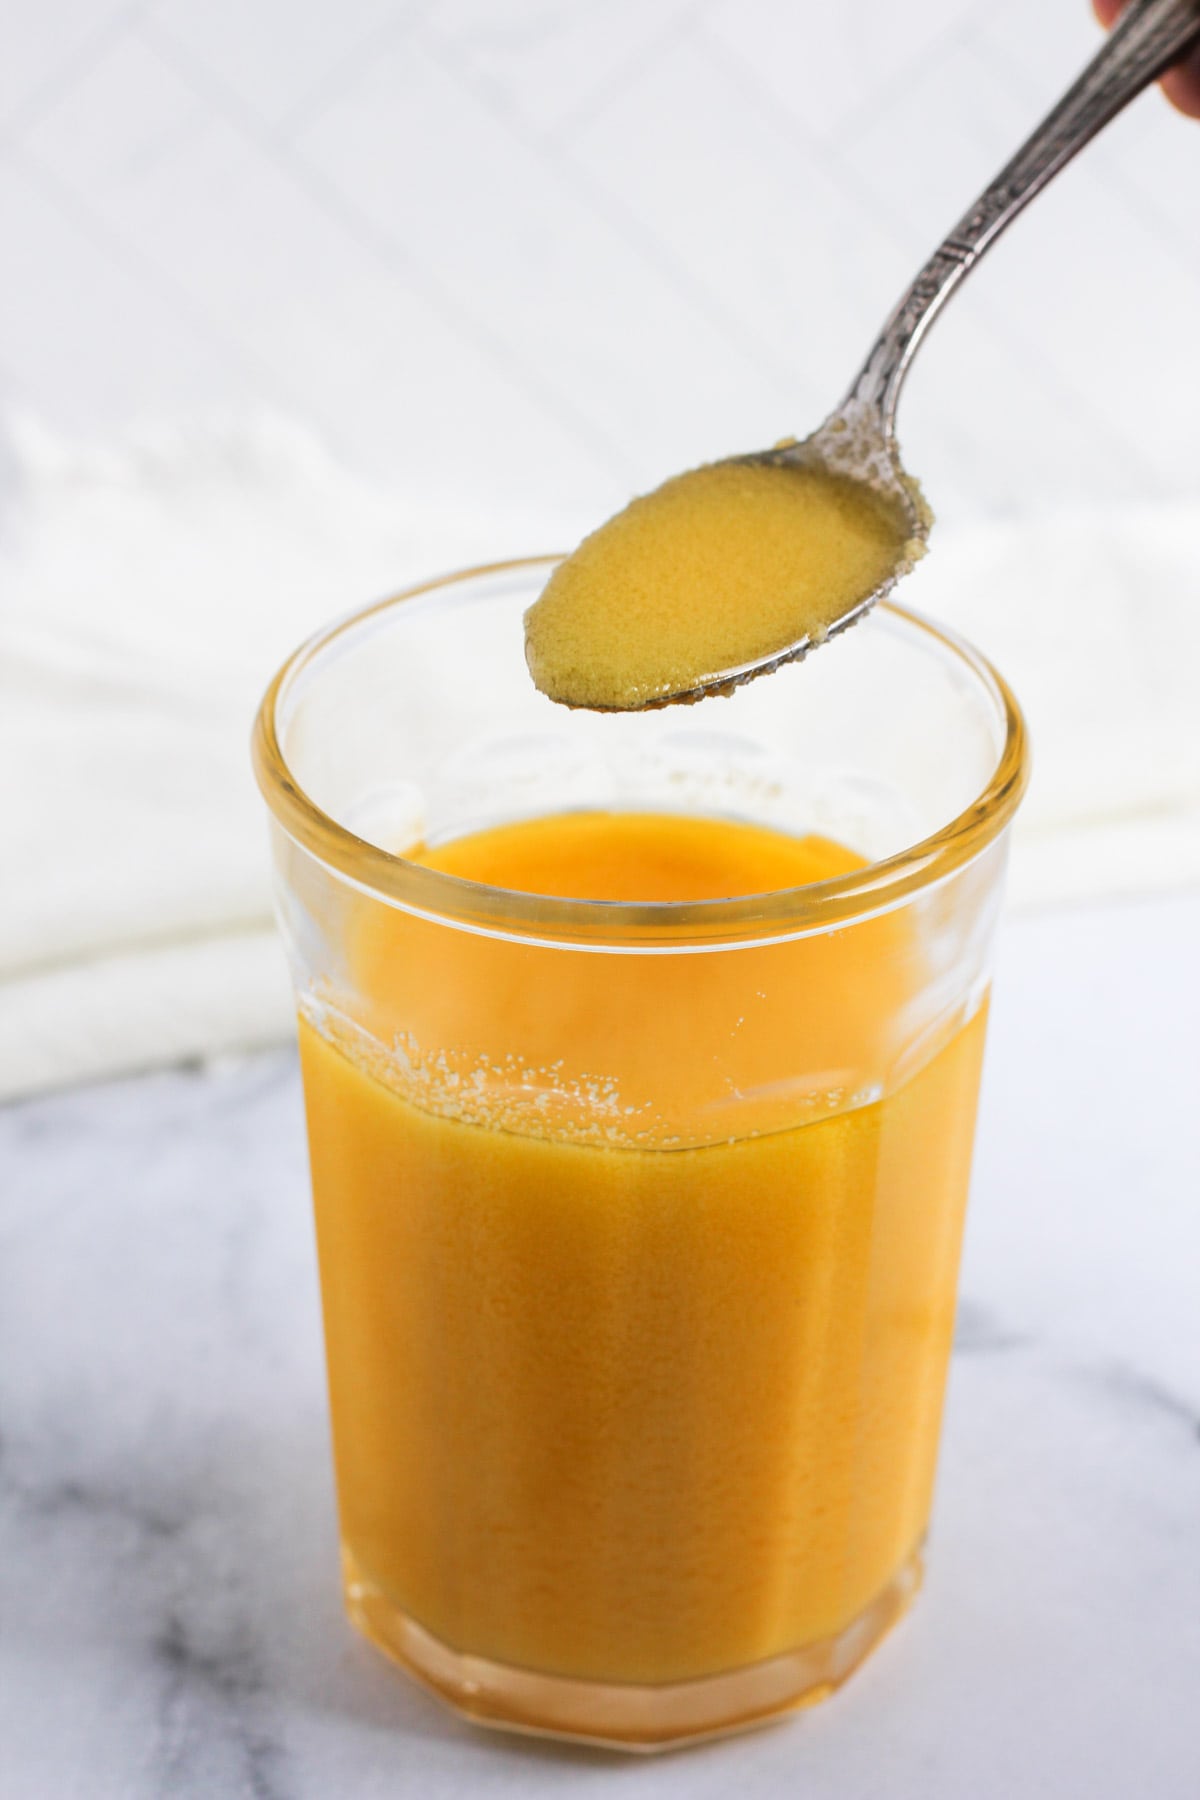
Although ghee is sold in many stores, it is very easy to make it at home, and cheaper. The aroma, color, flavor, and freshness of the ghee made using unsalted Irish Kerrygold butter is simply divine and always takes me back to my mom's kitchen in India. Once you have tried this homemade version, you will not go back to the store-bought.
How to Make Ghee (Stove Top)
- Add butter to a heavy bottom pot and cook on medium heat.
- Butter will melt and foam will start to form on the top. Do not skim the foam on the top.
- The foam will then turn into bubbles as the ghee continues to cook and become translucent. The milk solids will start to form at the bottom of the pan.
- The bubbles will again start to become light-foamy as the milk solids start to turn golden brown and settle at the bottom of the pot. Turn the heat off at this point. Allow the ghee to cool down before straining in a clean dry glass jar.


How to Make Ghee (Instant Pot)
- Set the Instant Pot to Saute (NORMAL). Add the butter to the Instant Pot.
- Butter will start to melt and then turn milky & frothy.
- After about 8 to 9 minutes the froth will start to disappear.
- You will see transparent bubbles being formed and should be able to see the bottom of the pot. Turn the Instant Pot off at this point.
Note: Here in the photos below, I show the process every 2 to 3 minutes and the different stages the butter goes through.


- The Ghee will continue to cook for the next 2 to 3 minutes as the Instant Pot gradually cools down.
- Note: If your ghee already looks like step 8 below, take the inner pot out and place it on a trivet to cool down so it does not cook further.
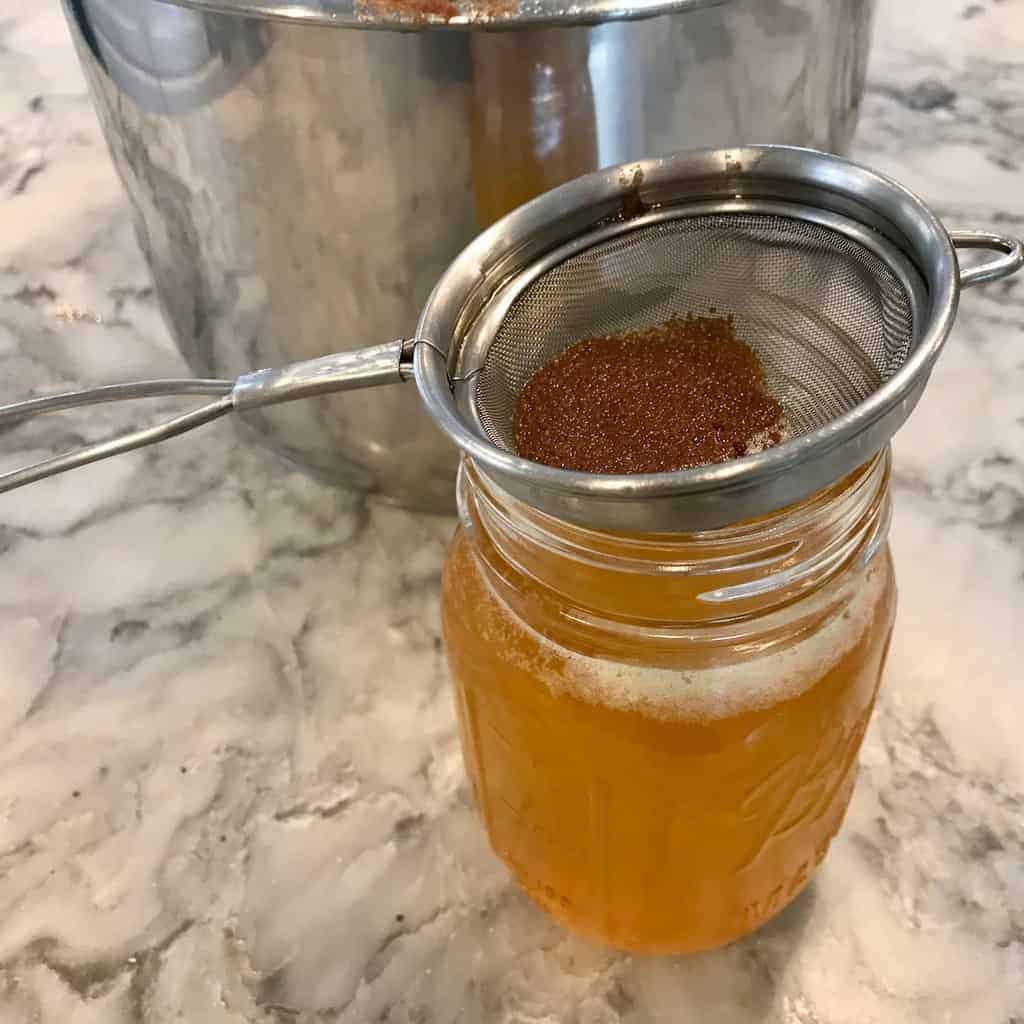
- Allow the ghee to cool down completely before straining it using a mesh strainer, coffee filter, or cheesecloth.
How to Store Ghee
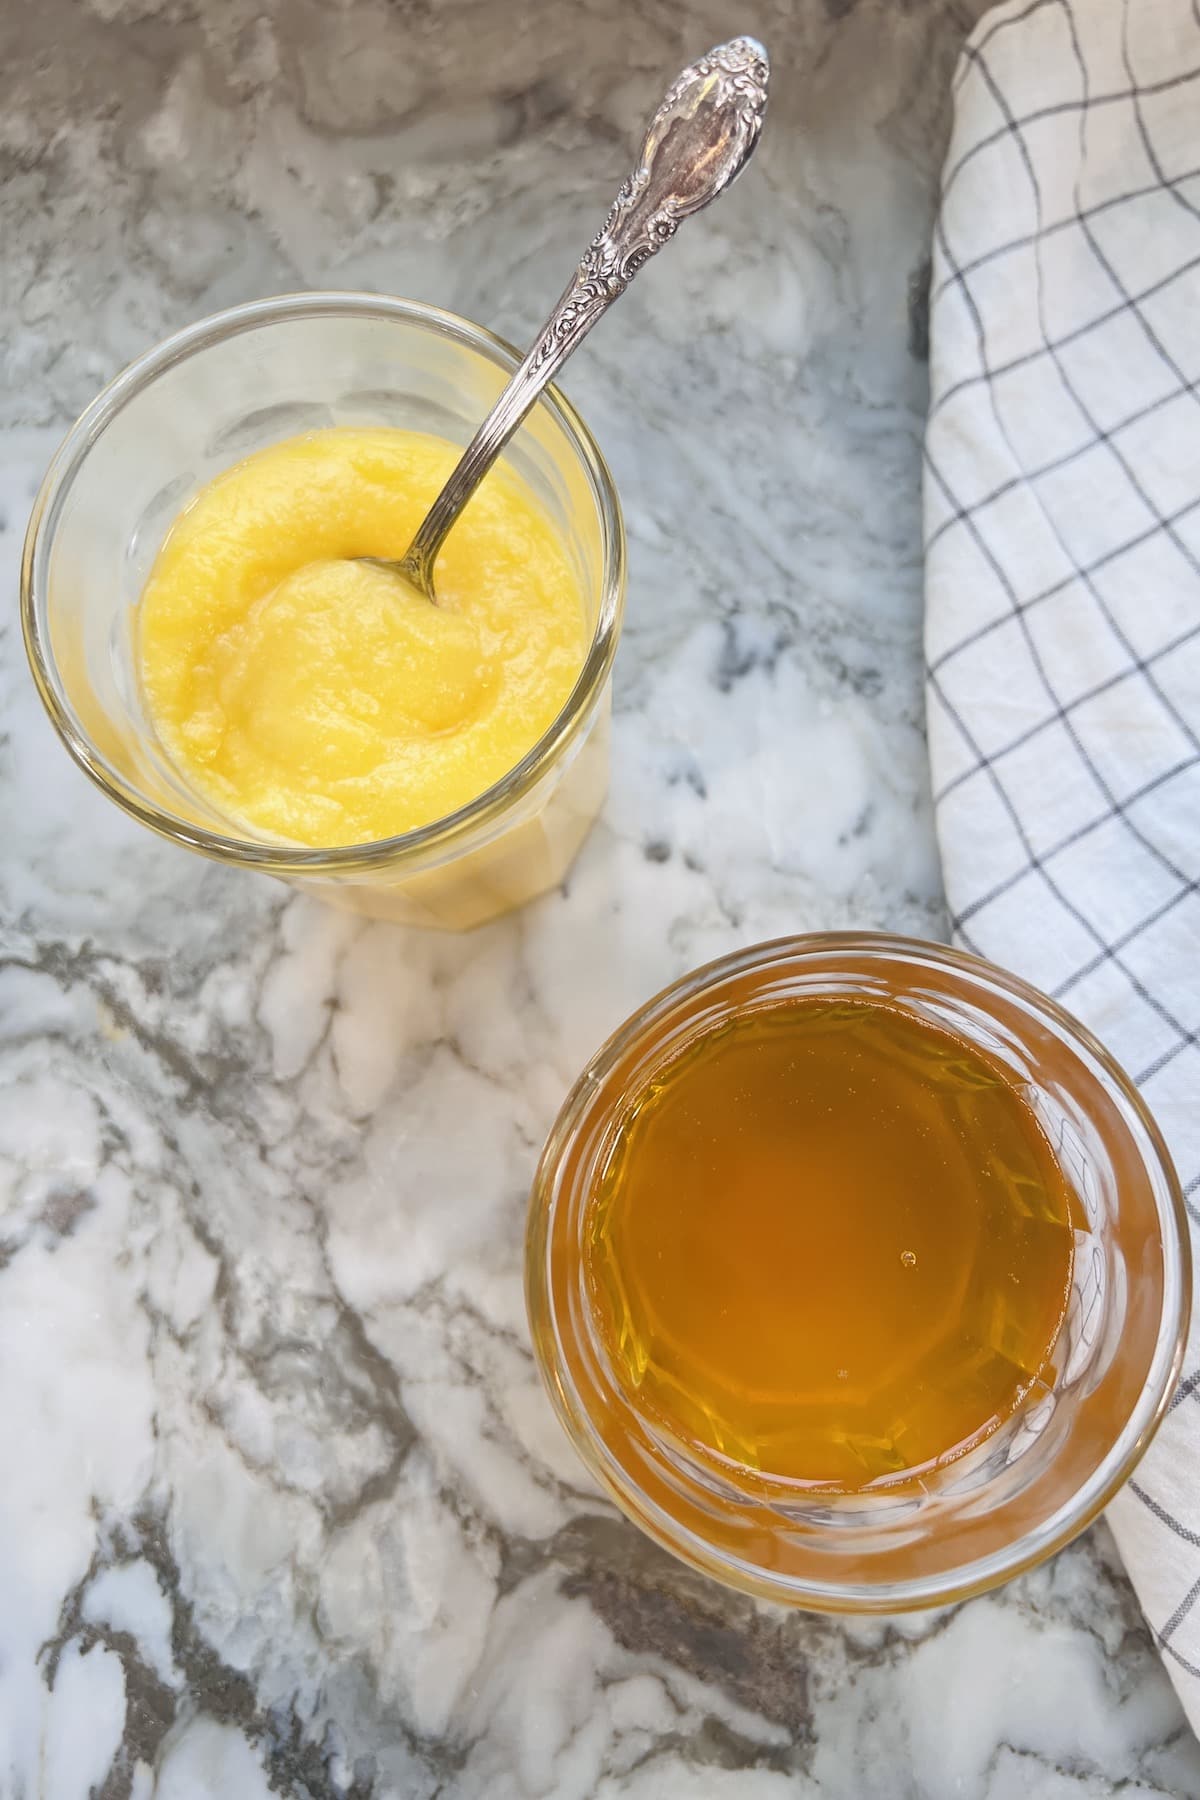
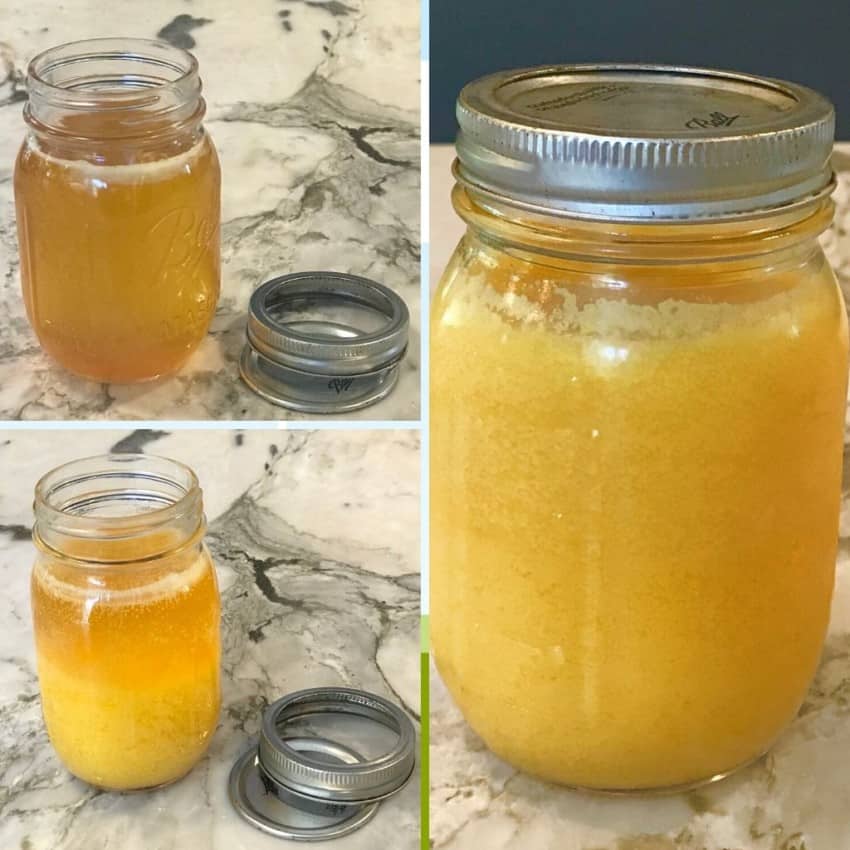
Store ghee in clean and dry glass jars. Ghee is shelf-stable at room temperature but can be refrigerated for up to a year. I always keep the ghee at room temperature as I make a fresh batch every 4 to 6 weeks. Use a clean dry spoon to take out the ghee. Depending on the temperature in your home your ghee will completely solidify or may be half solid and half liquid.
How to Use Ghee
- Cooking and Frying: Ghee has a high smoke point, making it suitable for cooking and deep-frying. Ghee is a staple in many traditional Indian dishes and is used in the preparation of dal, curries, and various Indian desserts for its distinctive flavor.
- Baking: Substitute ghee for butter or oil in baking recipes. It adds a distinct flavor to baked goods and can enhance the overall richness of cakes, cookies, and pastries. I love adding it to the almond flour brownies.
- Seasoning: Use ghee as a seasoning for rice, pulao, lentils, or other grains. Drizzle a bit of melted ghee over cooked dishes like palak khichdi, mixed vegetable khichdi, and masoor khichdi to add flavor and richness. Adding ghee to spicy dishes also tones down the heat and is especially good for little children.
- Spreading: Ghee can be spread on bread or toast, similar to how you would use butter.
- Popcorn Topping: Melted ghee makes a tasty and aromatic topping for popcorn. Drizzle it over freshly popped corn and sprinkle salt and turmeric for a delightful snack.
- Coffee or Tea: Some people enjoy adding a small amount of ghee to their coffee or tea for a rich and creamy texture.
Why I love Making Ghee in the Instant Pot
Although the stove-top version works well, it's hard to tell the exact cooking time and temperature given that each one of us will cook in a different pot and will have different types of stoves. Here are a few benefits of making ghee in Instant Pot:
- Consistent cook time using Saute (normal) mode
- Easy & almost fool-proof process
- Mostly hands-free
- Take less than half the time to make ghee using 16 oz of unsalted butted compared to stovetop
How to Adjust Instant Pot Ghee Cook Time
This recipe is written for butter that is refrigerator-cold. If the butter is warmer, it may cook faster than 10 minutes. Keep an eye on the butter as it melts, and as soon as the bottom starts to brown, transfer the inner pot to a trivet to cool. Depending on the temperature of the butter, the total time to make ghee could vary by a minute or 2. Here are the cook times that have worked for me for unsalted butter using the Instant Pot Sauté normal mode:
1 LB (16 ounces) - 9 minutes - Yields 1.5 cups
2 LB (32 ounces) - 15 minutes - Yields 3 cups
3 LB (48 ounces) - 23 minutes - Yields 4.5 cups
Note: You can also make ghee with salted butter. Salted butter cooks much faster, so reduce the above cook times by 2 to 3 minutes
Recipes Using Homemade Ghee
Homemade ghee is a game-changer in the kitchen, adding its rich, nutty flavor to a variety of dishes. Use it in classics like Sooji Ka Halwa, Khichdi, and Puran Poli, or add depth to comforting favorites like Butter Chicken and Rice Kheer. It’s also fantastic for baking, bringing a unique richness to cookies, cakes, and other treats. Once you try cooking with homemade ghee, there’s no going back!
Recipe
Simple 1-Ingredient Ghee Recipe
Equipment
Recipe Video
Ingredients
- 16 Oz Unsalted Butter Irish Kerrygold
Instructions
Instant Pot Method
- Set the Instant Pot to Saute (normal). To change the settings on Sauté mode either press the adjust button or press Sauté button multiple times to switch between less, normal and more modes.
- Add the butter to the Instant Pot. Butter will start to melt, then turn milky & frothy. After about 8 to 9 minutes, depending on the temperature of the butter when you first added to the instant pot, the froth will start to disappear. You will see transparent bubbles being formed and should be able to see the bottom of the pot. Turn the Instant Pot off at this point.
- The Ghee will continue to cook for next 2 to 3 minutes as the Instant Pot gradually cools down. Note: If the bottom of the pot looks brownish, take the inner pot out and place on a hot plate to cool down so it does not cook further.
- Allow the ghee to cool down completely. Then strain the ghee using a strainer or cheese cloth into a clean and dry glass jar. Stored at room temperature or can be refrigerated for extended shelf life.
Stovetop Method
- Add butter to a heavy bottom pot and cook on medium heat. Butter will melt and foam will start to form on the top. Do not skim the foam on the top.
- The foam will then turn into bubbles as the ghee continues to cook and become translucent. The milk solids will start to form at the bottom of the pot.
- The bubbles will again start to become light-foamy as the milk solids start to turn golden brown and settle at the bottom of the pot. This process takes about 20 to 25 minutes. Turn the heat off at this point.
- Allow the ghee to cool down before straining in a clean dry glass jar.
Notes
- Milk solids collected in the strainer can be discarded. You can also add some sugar to it and enjoy it as a yummy treat or add it to dough when you make homemade Roti or Parathas.
- Does your ghee look dark or burnt? Wait until the ghee cools down, as it starts to solidify the color will get lighter. So don't panic if the ghee looks dark. If it has rich nutty aromas you have made browned butter! But if it smells burnt it is probably burnt.
Nutrition
♥ We LOVE to hear from you! Did you try this recipe? Please share your food photo with hashtag #ministryofcurry on Facebook or Instagram, so we can see it and our followers can enjoy it too! Thank you and Happy Cooking ♥ Subscribe to our Youtube Channel for tasty and easy video recipes. Looking for more Instant Pot recipes? Check out our delicious Instant Pot Recipe board on Pinterest.


Pooja says
Love this easy recipe! Ghee comes out perfect every time!
Archana Mundhe says
Thank you!!
Pooja says
Ghee turnes out perfect every single time, been using this recipe from last couple of years!
Archana Mundhe says
So happy to know that this is your go to recipe for homemade ghee!
Poornima says
Life saving recipe much thanks.
Archana Mundhe says
Thank you!